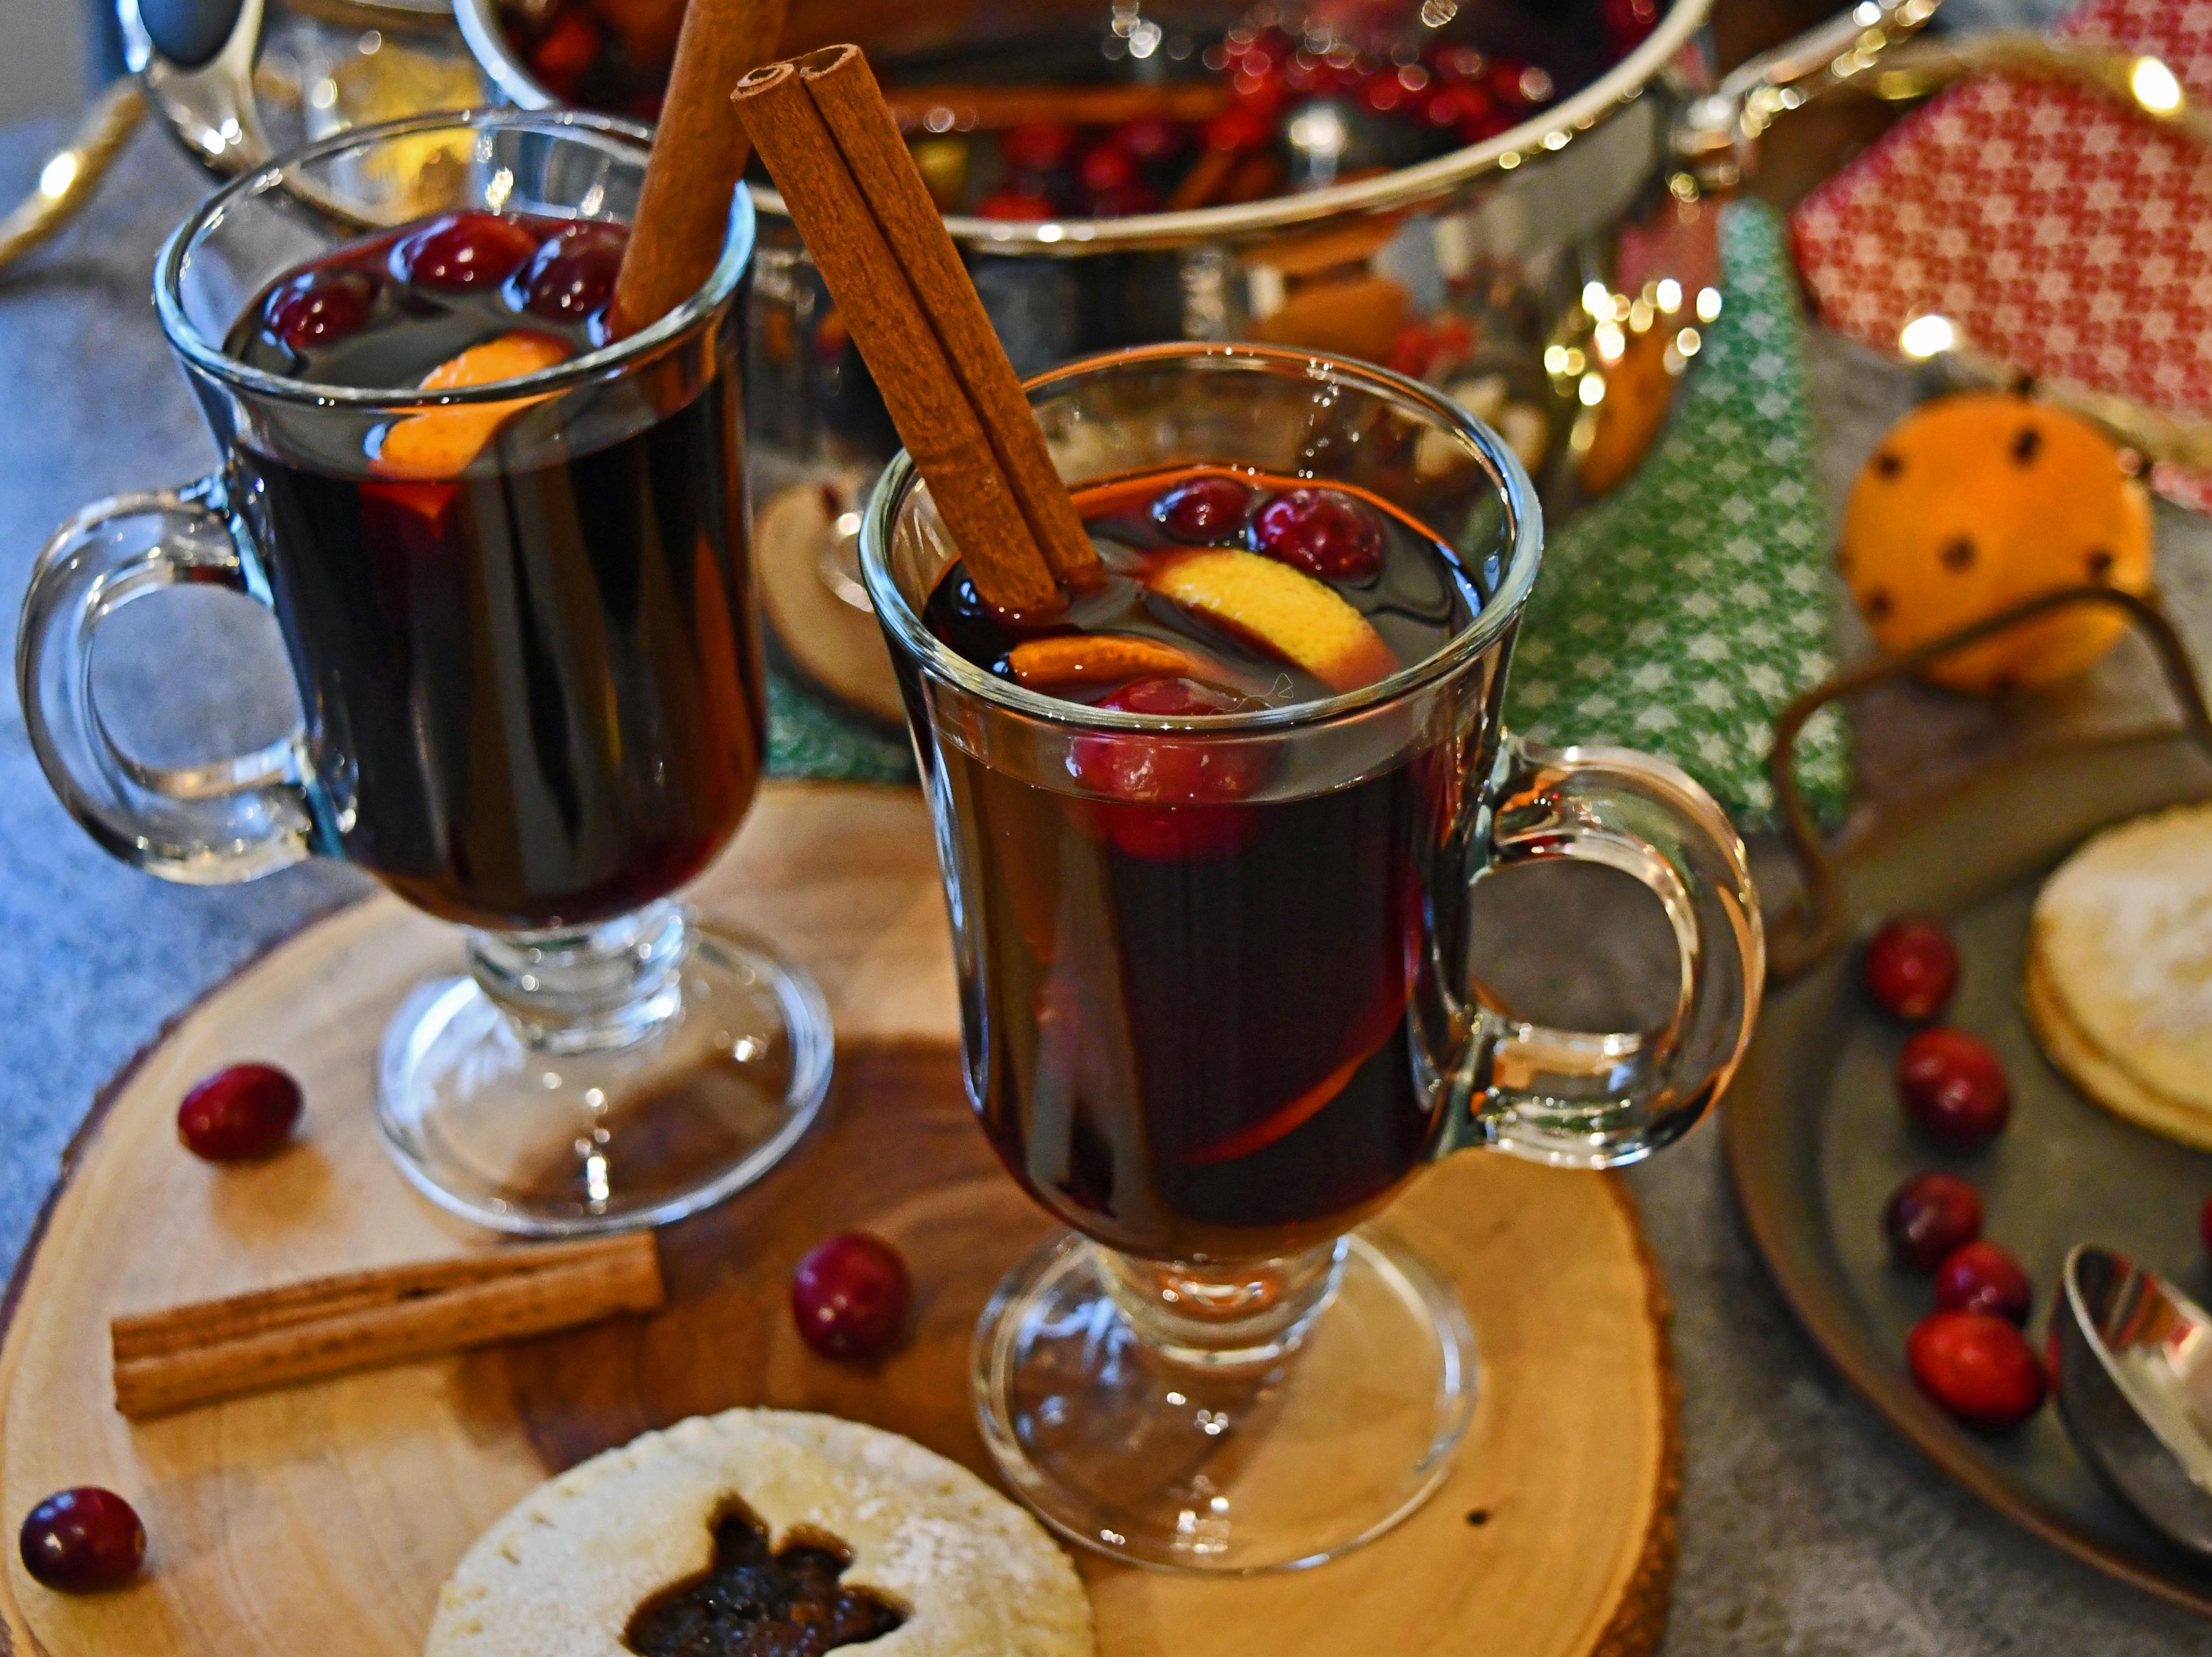
Hot, spiced mulled wine is one of the quintessential drinks of Christmas. The smell of the spices and the hot wine makes the house smell wonderful and what better way to welcome guests to your festive get together?
I’m not keen on mulled wine (or mulled cider) to be too sweet, so just sweeten enough to suit your preference and leave the wine on a low heat so everything slowly heats and infuses together.
This is so easy to make and you can do it on the stovetop, or in a slow cooker and you can customise the spices and spike with brandy, rum or the liqueur of your choice!
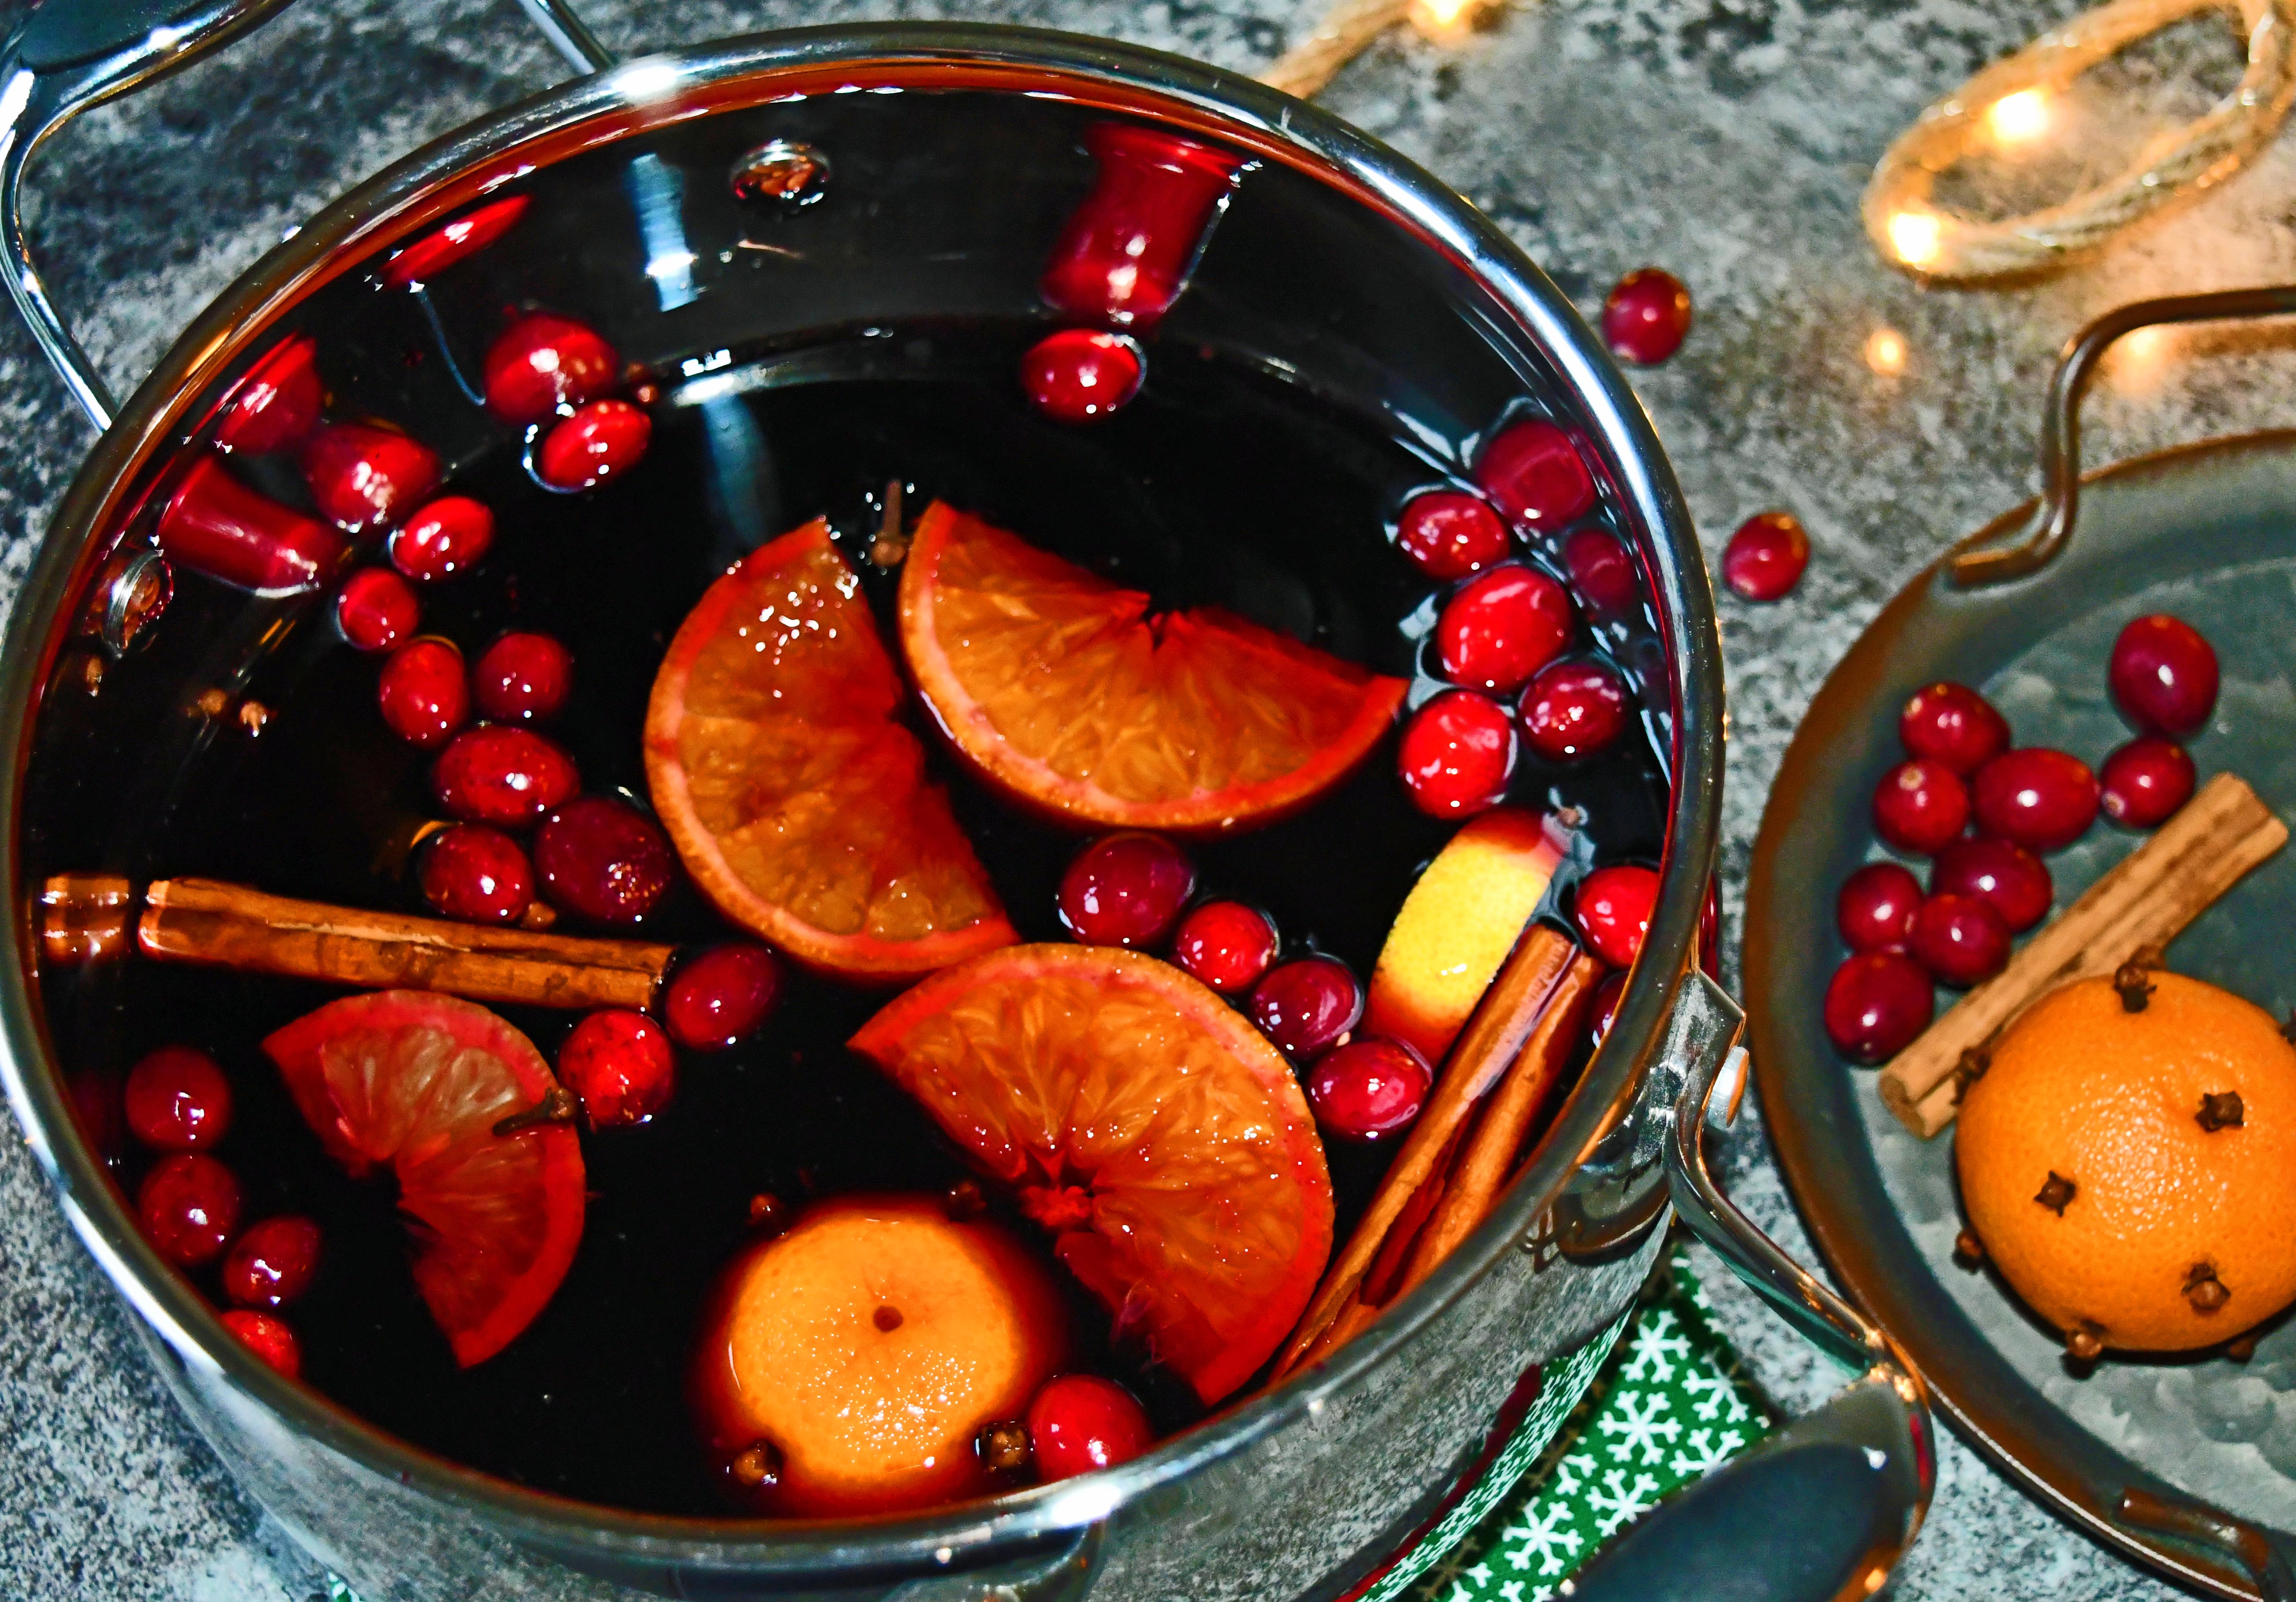
Ingredients – double for a crowd, halve for 2! 2 bottles of red wine – one that you would drink 1 large orange, sliced 1-2 lemons, sliced 2 small clementines A few cranberries (optional) 8 cloves (or more) Cinnamon sticks Sweetener of your choice to taste – caster or brown sugar/honey/maple syrup Brandy (optional)
Method: Stud each clementine with the cloves and then add everything to a pan and heat slowly. Don’t let it boil, just leave it on a low simmer and check the sweetness.
To serve, ladle into heatproof glasses or mugs and add a little extra brandy (if using) and don’t forget the mince pies. Merry Christmas!
There is nothing particularly sophisticated about a cheese ball, but they are so good to eat! I’ve made lots of them over the years as they are super easy to make and use just a few ingredients so you can whip one up in no time at all.
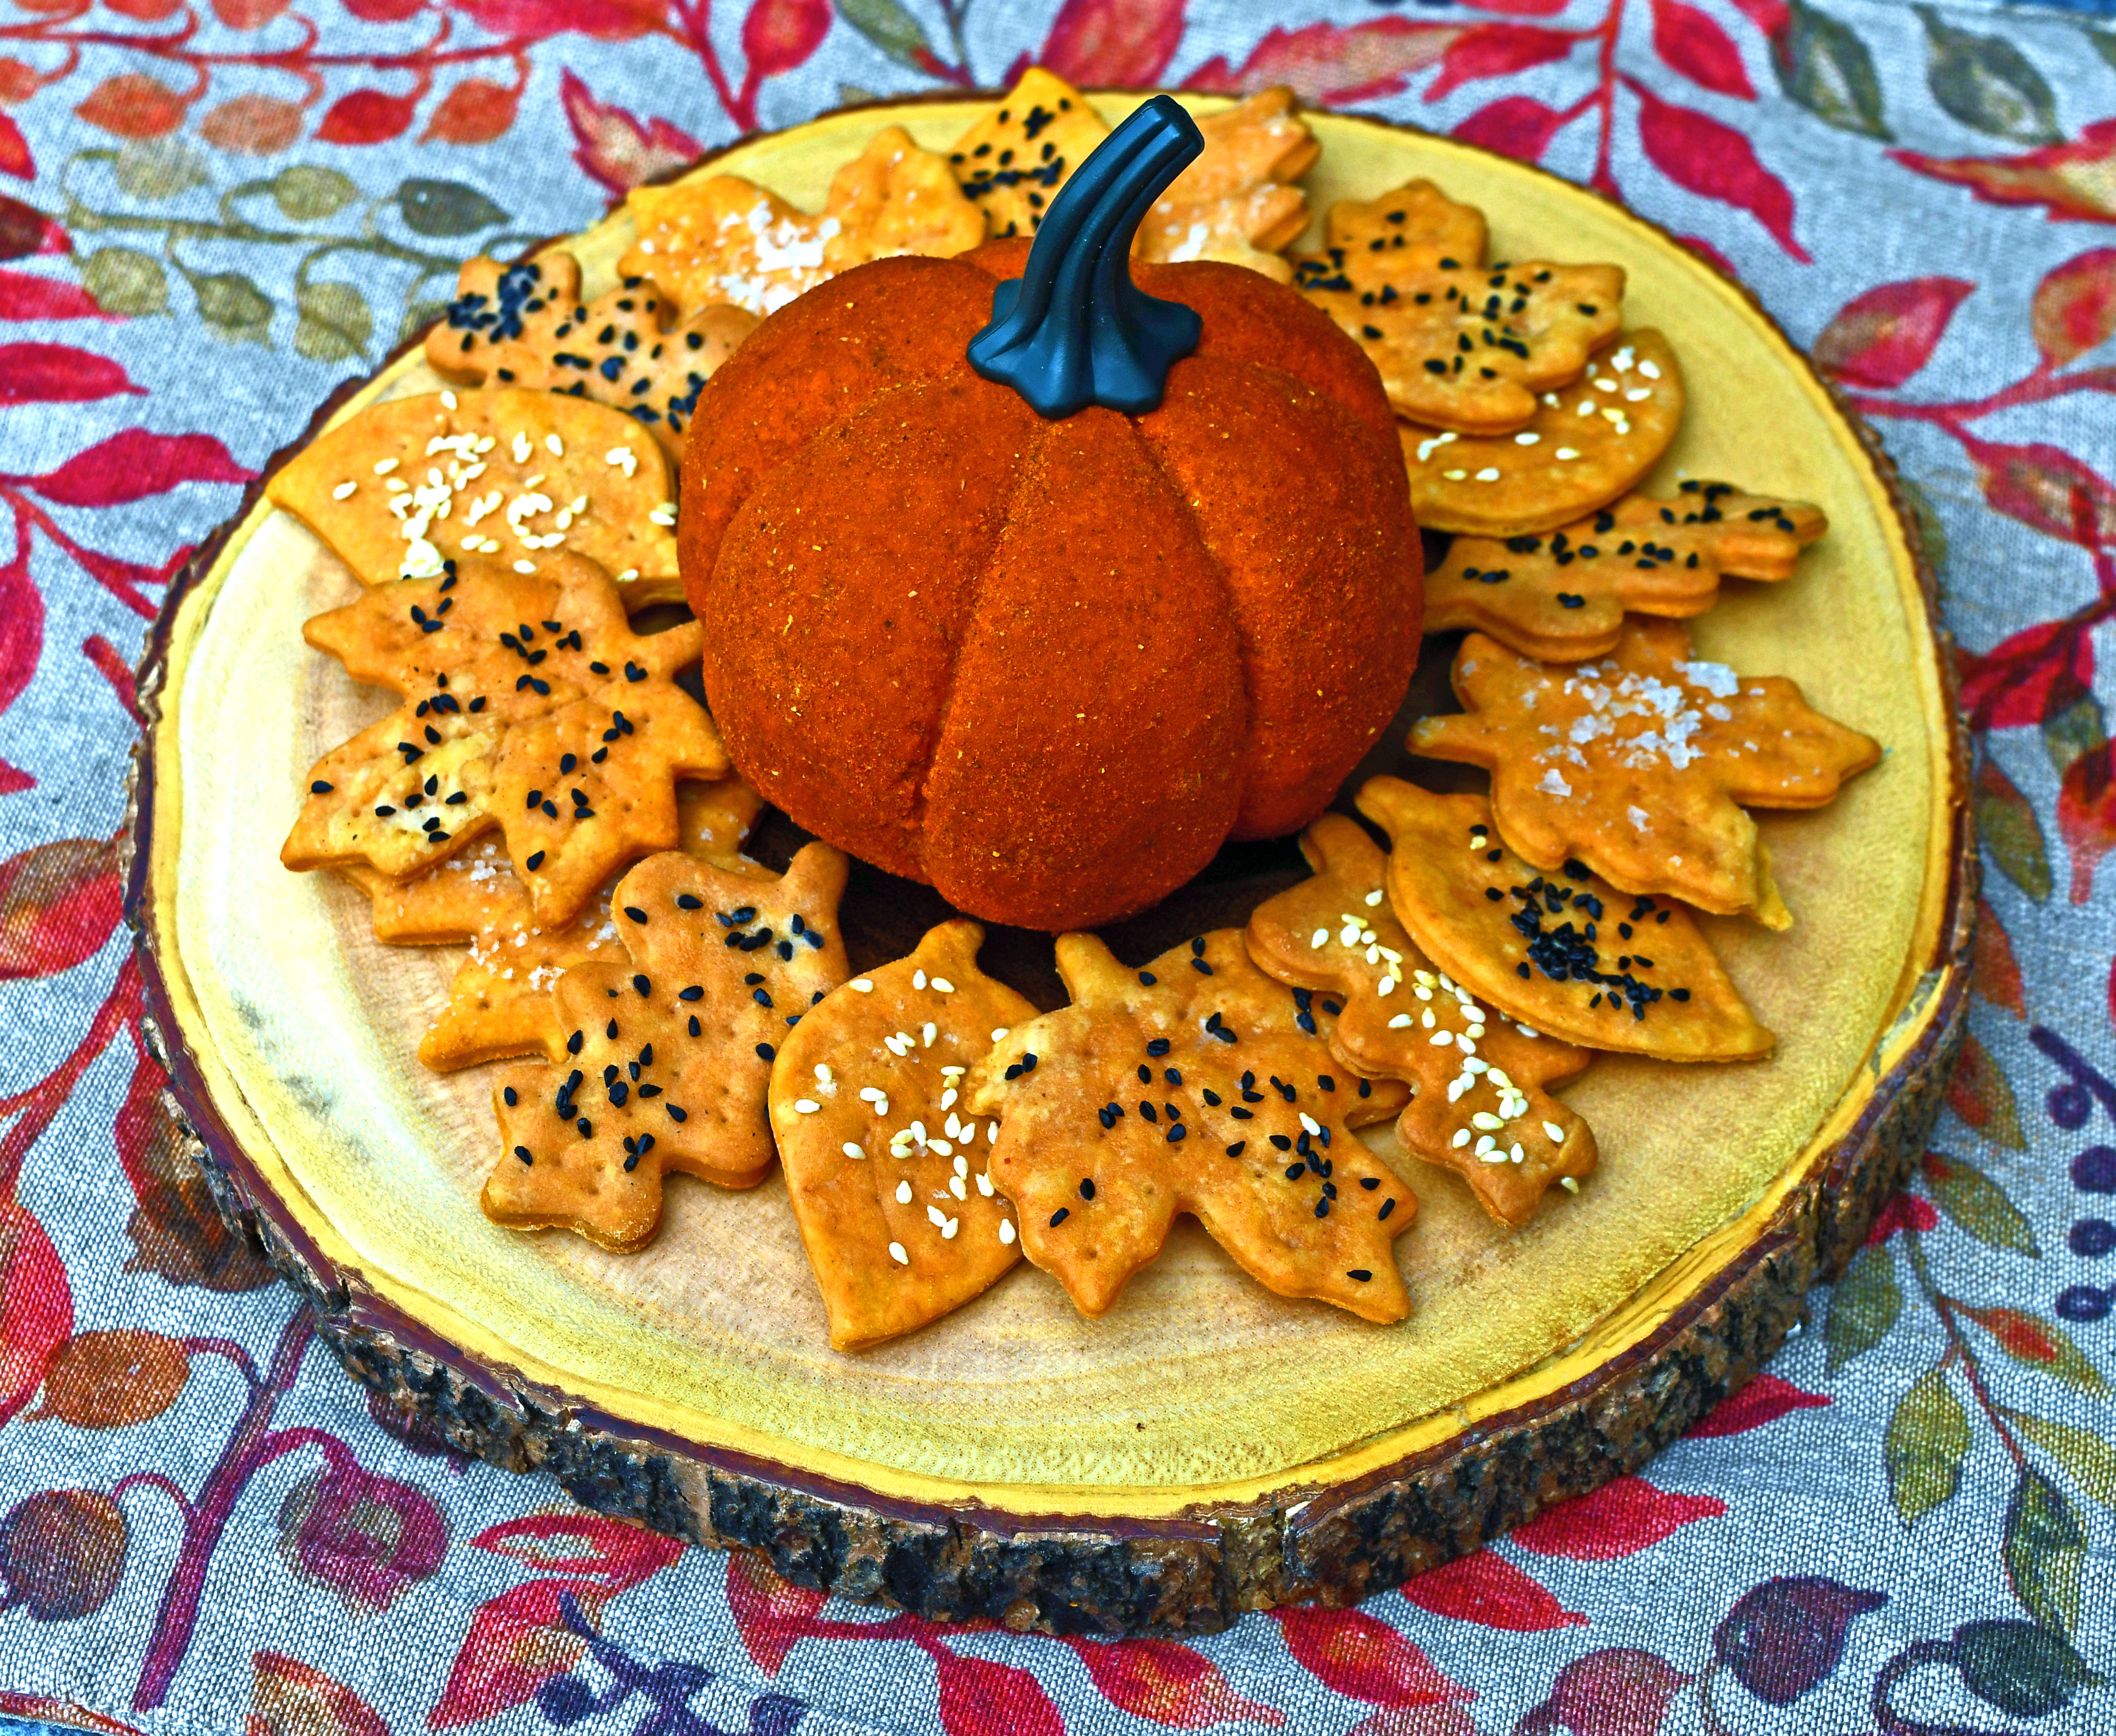
This one is fairly traditional with equal quantities of cream cheese and hard cheese and dusted with spices but shaped into a pumpkin! Great for an autumn party, Halloween or Thanksgiving.
There are a million of these on Pinterest and everyone uses a pepper stalk, but I used one of my faux pumpkin stalks – I knew they would come in useful one day! (My husband thinks I’m a hoarder btw).
A cheese ball will keep for a few days in the fridge, but you can also freeze them. I think they taste at their very best when they are room temperature, so of course they make a great choice for a buffet table.
You can go spicy or non-spicy. I normally put chilli in mine, but just taste your chilli first for heat. I had pretty mild ones here, so put a green and a red one in. I burn the skins of the pepper and chillies over the gas flame and then put them in either a plastic bag, or a bowl, covered by a plate and rub off the skins when cool enough.
Ingredients: Cream cheese at room temperature – I used a 280g family pack Grated cheese, I used a mixture of Cheddar, Red Leicester and Double Gloucester, use whatever cheese you have, just use equal quantities of cream cheese and hard cheese 1tbs tomato puree 1-2tsp Dijon mustard 1-2 chillies, grilled and skin removed, finely chopped 1 red bell pepper, grilled and skin removed, finely chopped (reserving the stalk to use to decorate the cheese ball later) 1tsp paprika 1tsp Worcester sauce Salt and pepper
Coating: 2tbs paprika 1tbs mild curry powder
Method: Beat everything together with a wooden spoon and check the seasoning.
Form into a ball and wrap with plastic and chill for 30 minutes
When it has had chance to firm up a little, wrap fairly tightly with string (or elastic bands) to form a pumpkin shape before leaving to chill until firm – at least another 30 minutes.
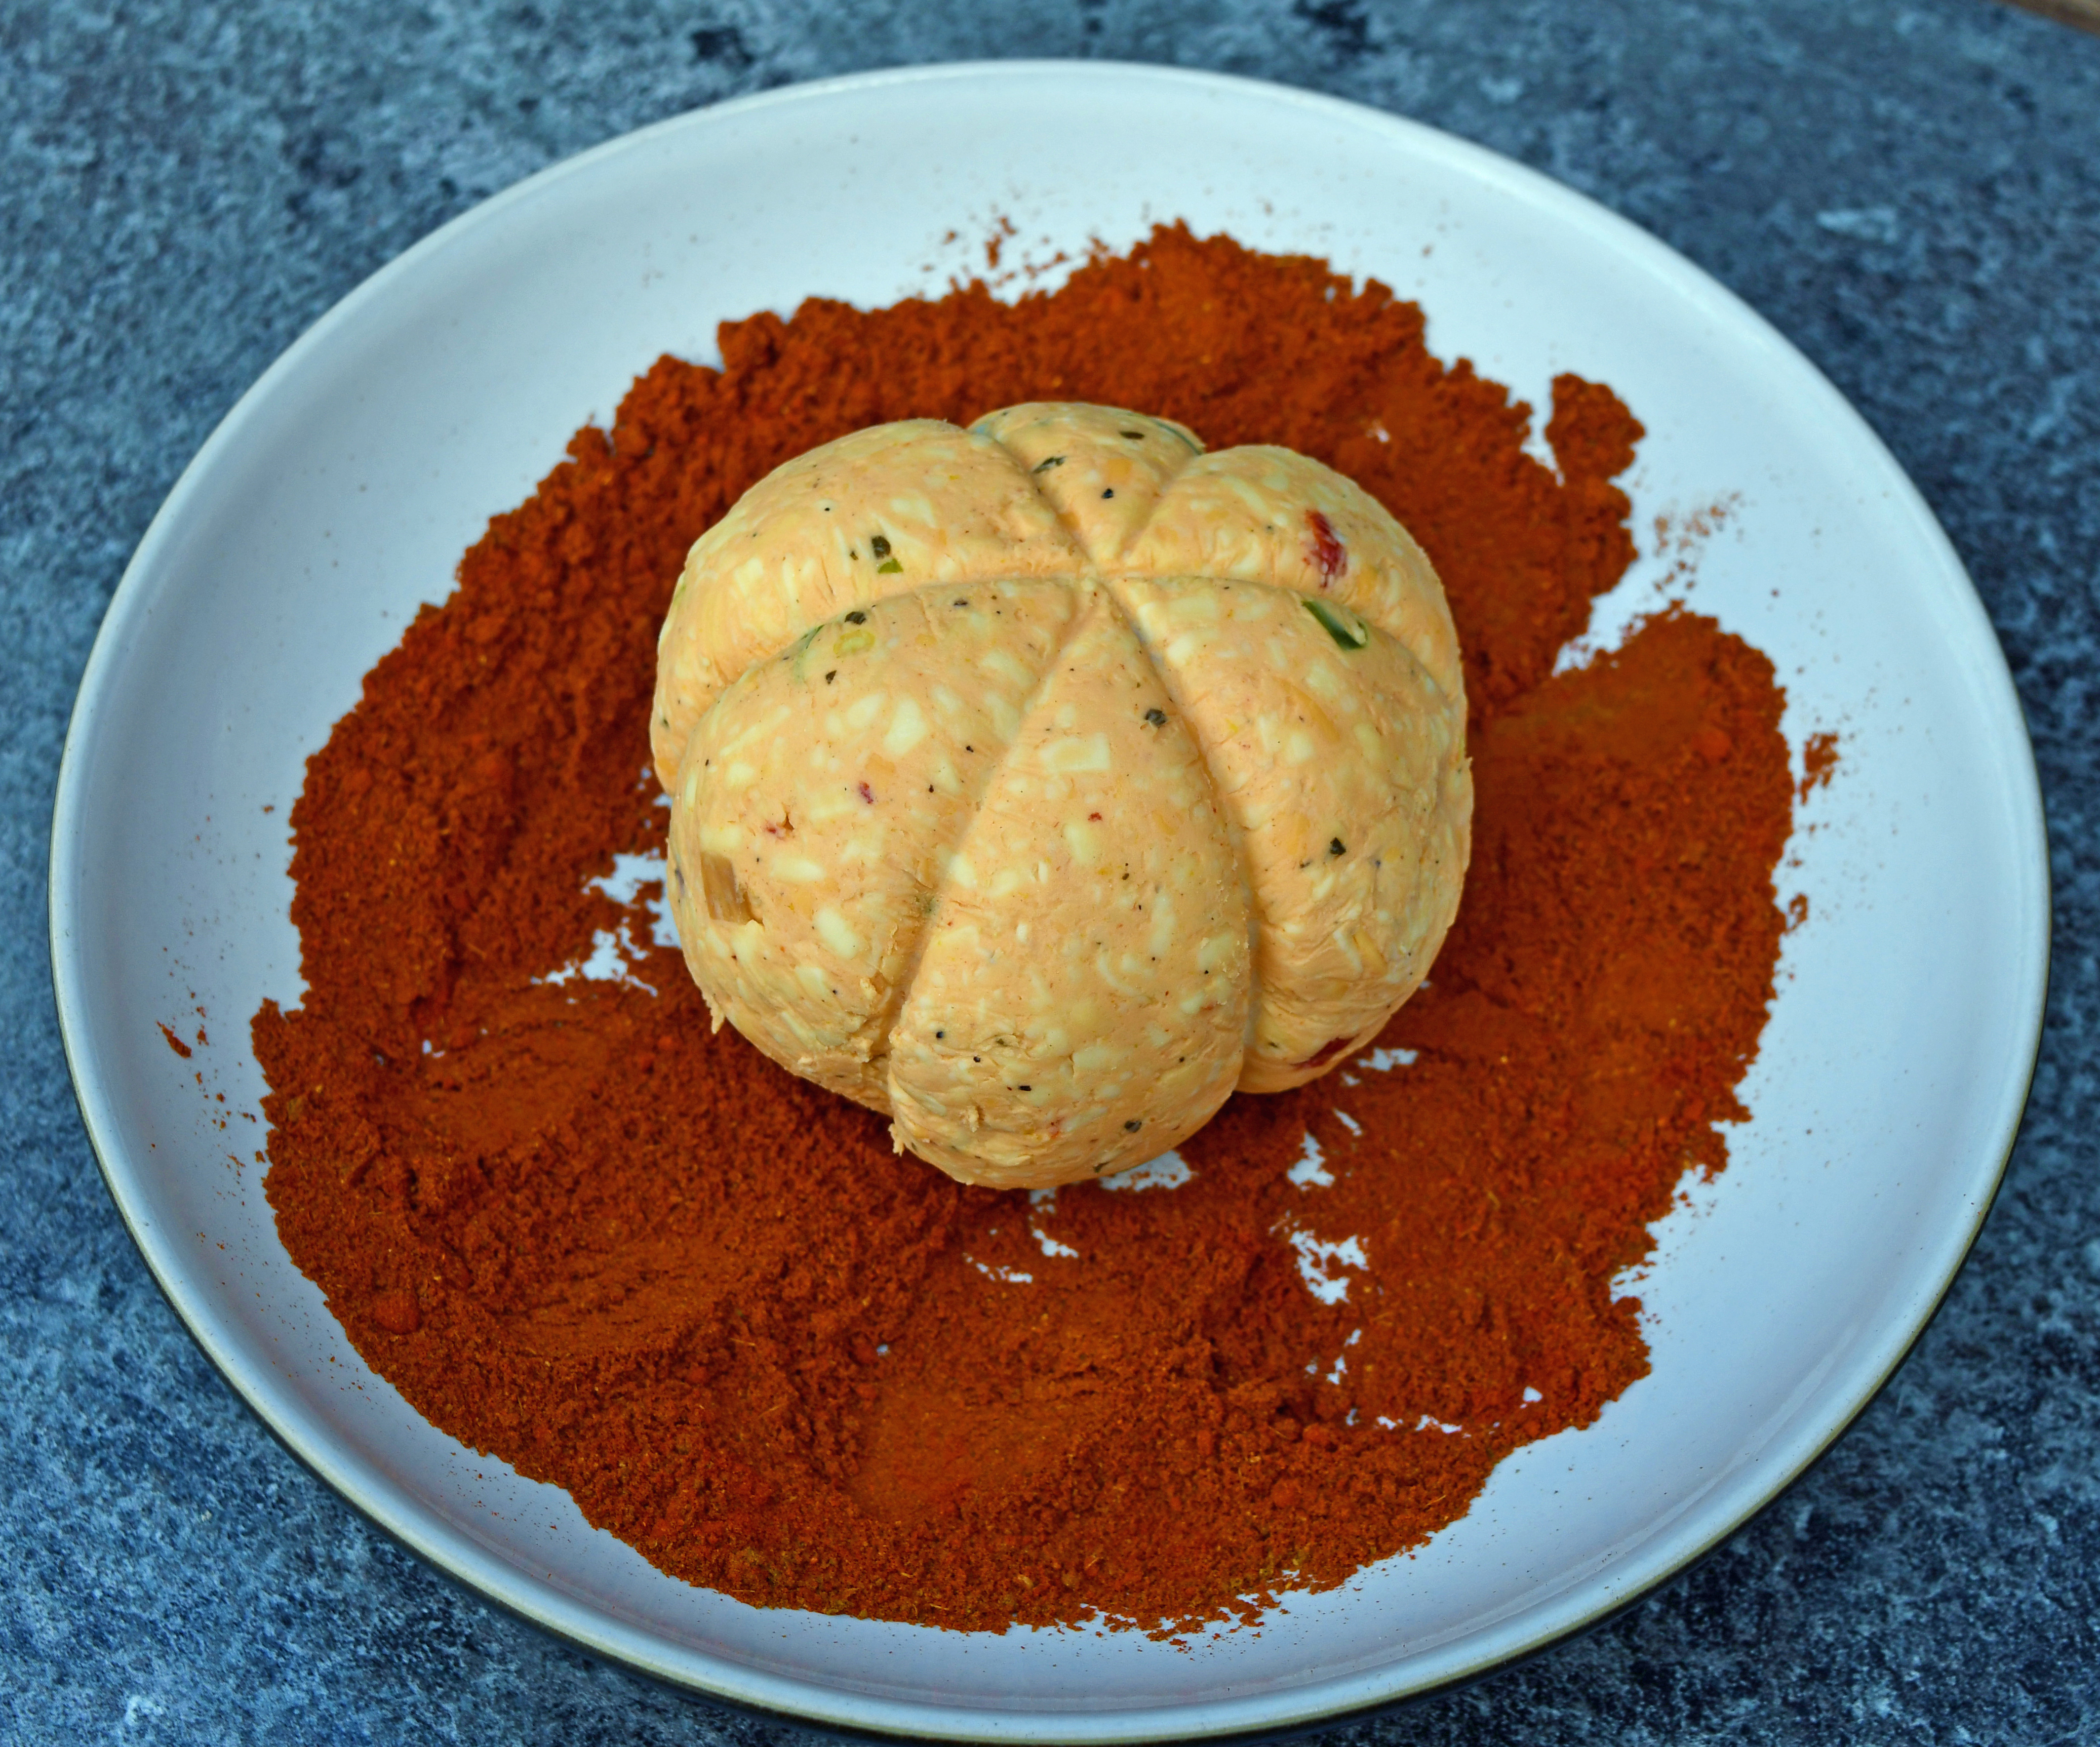
Place the paprika and curry powder into a bowl and mix together.
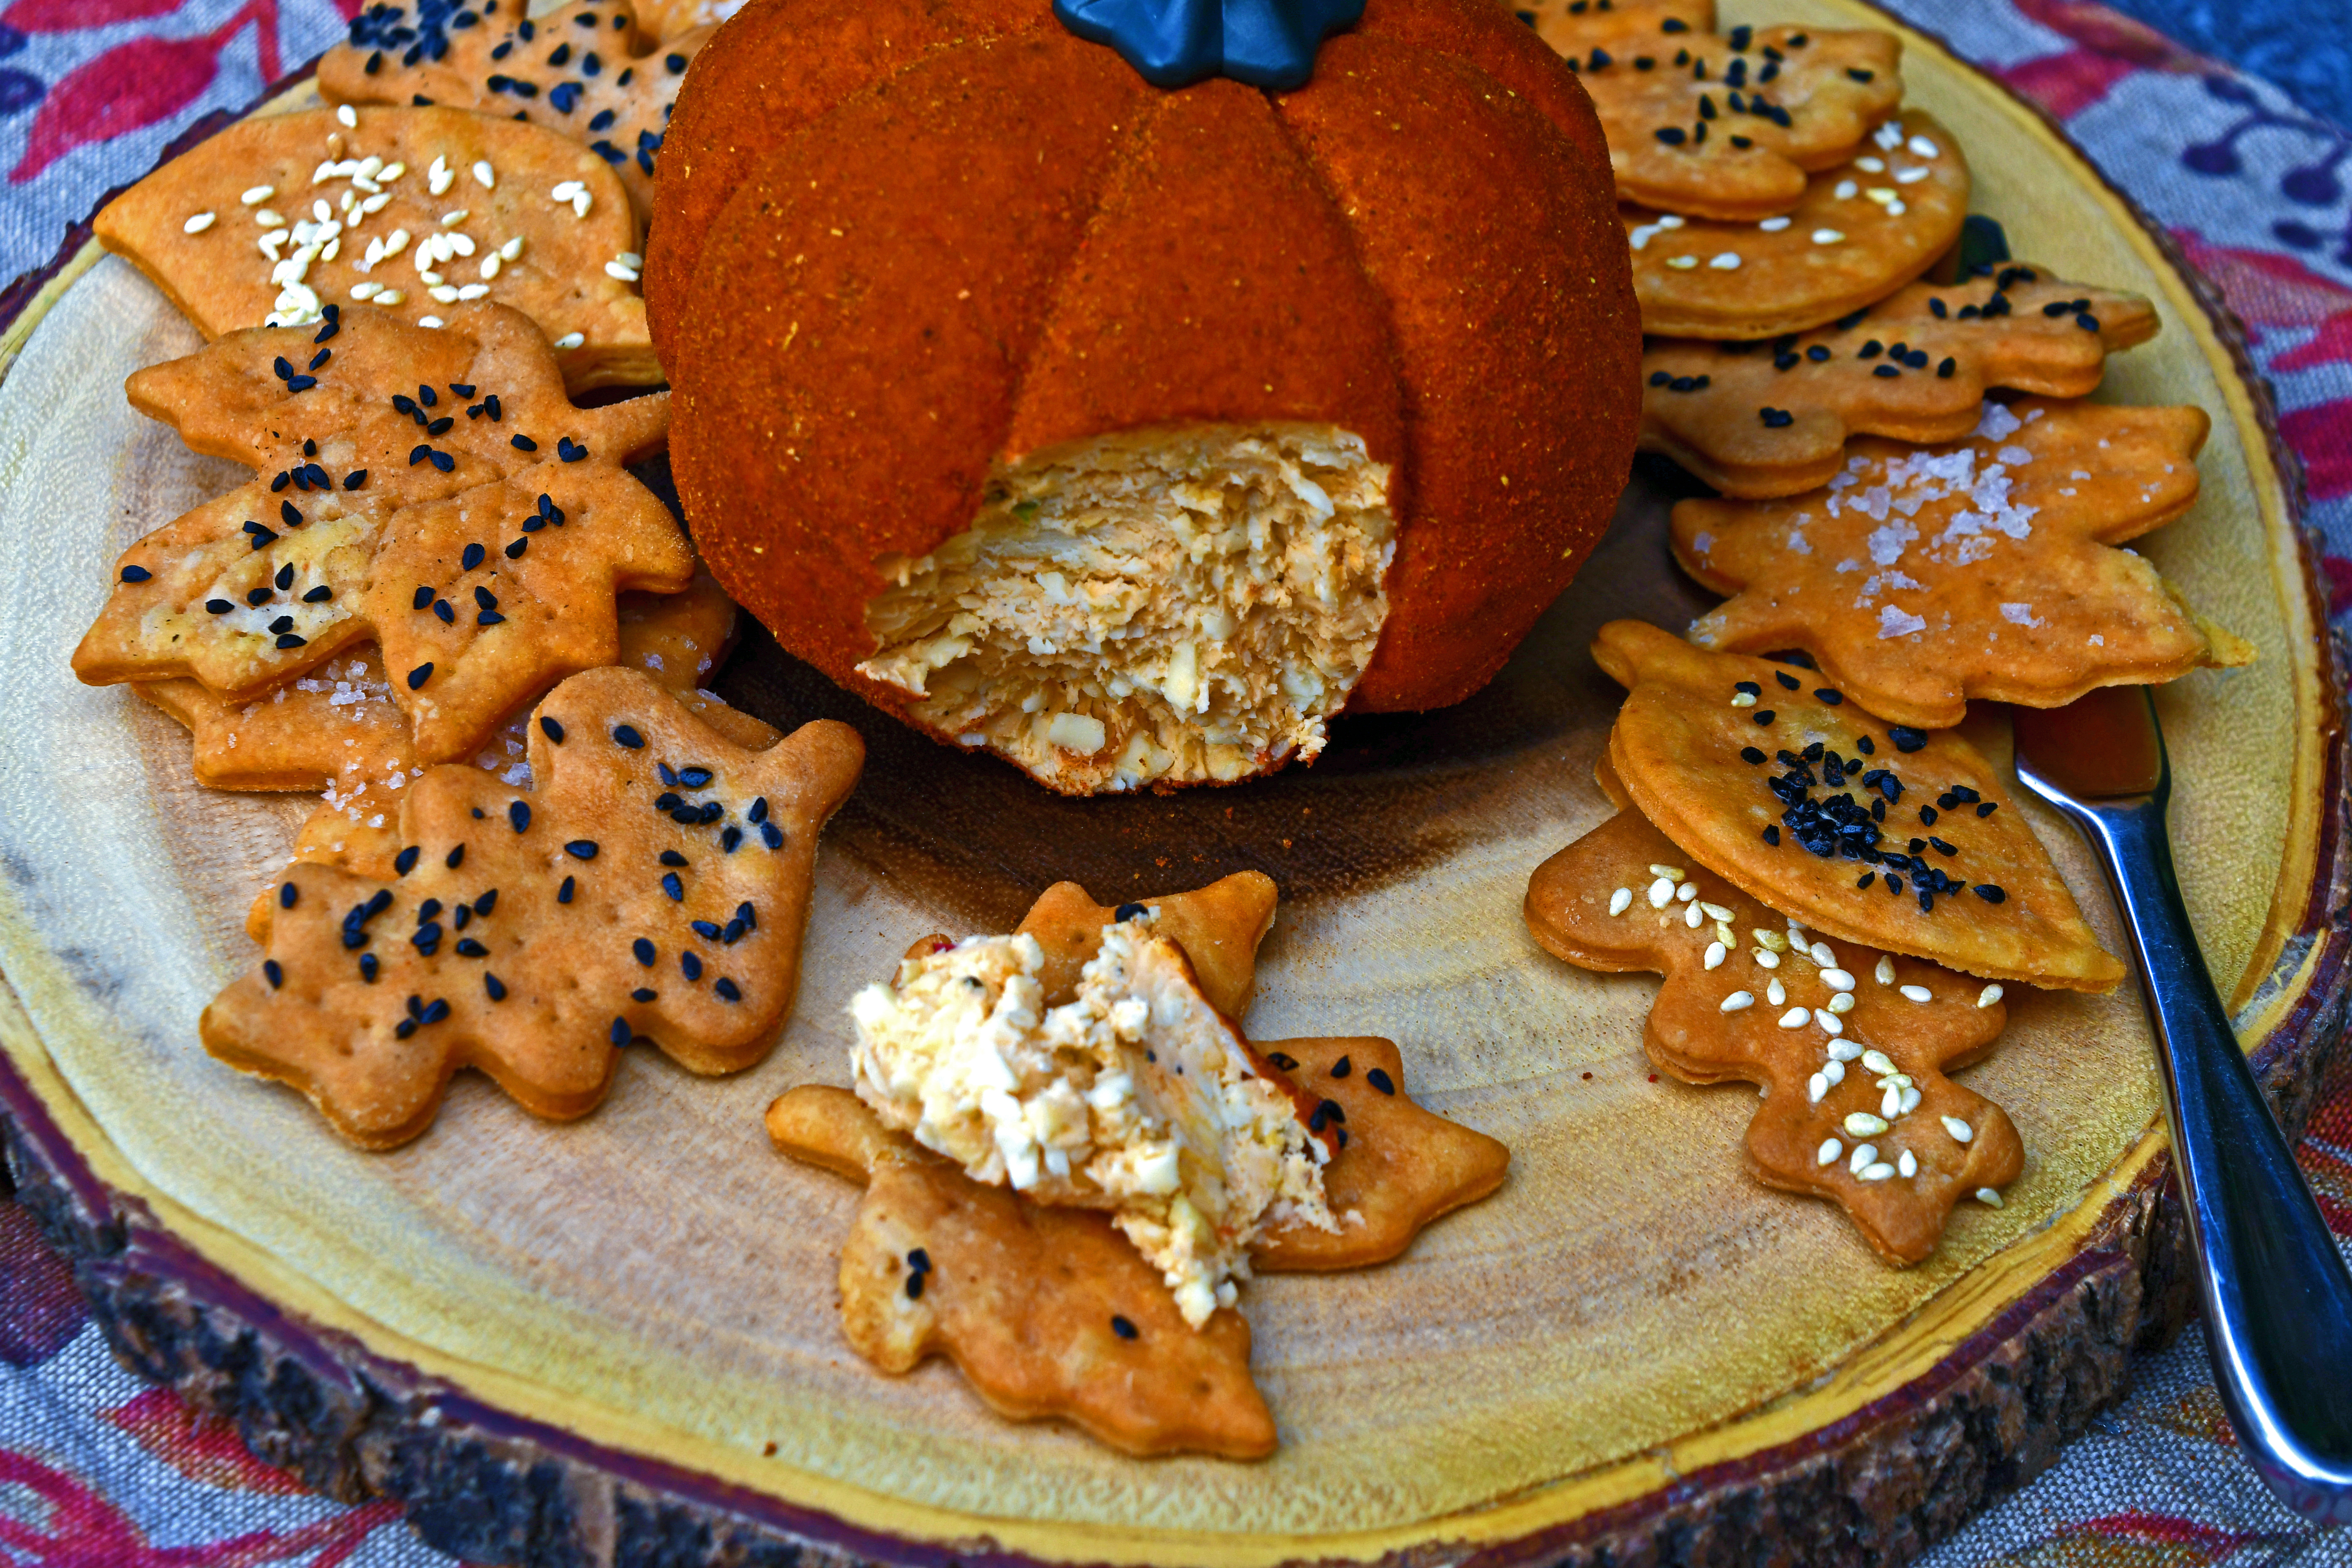
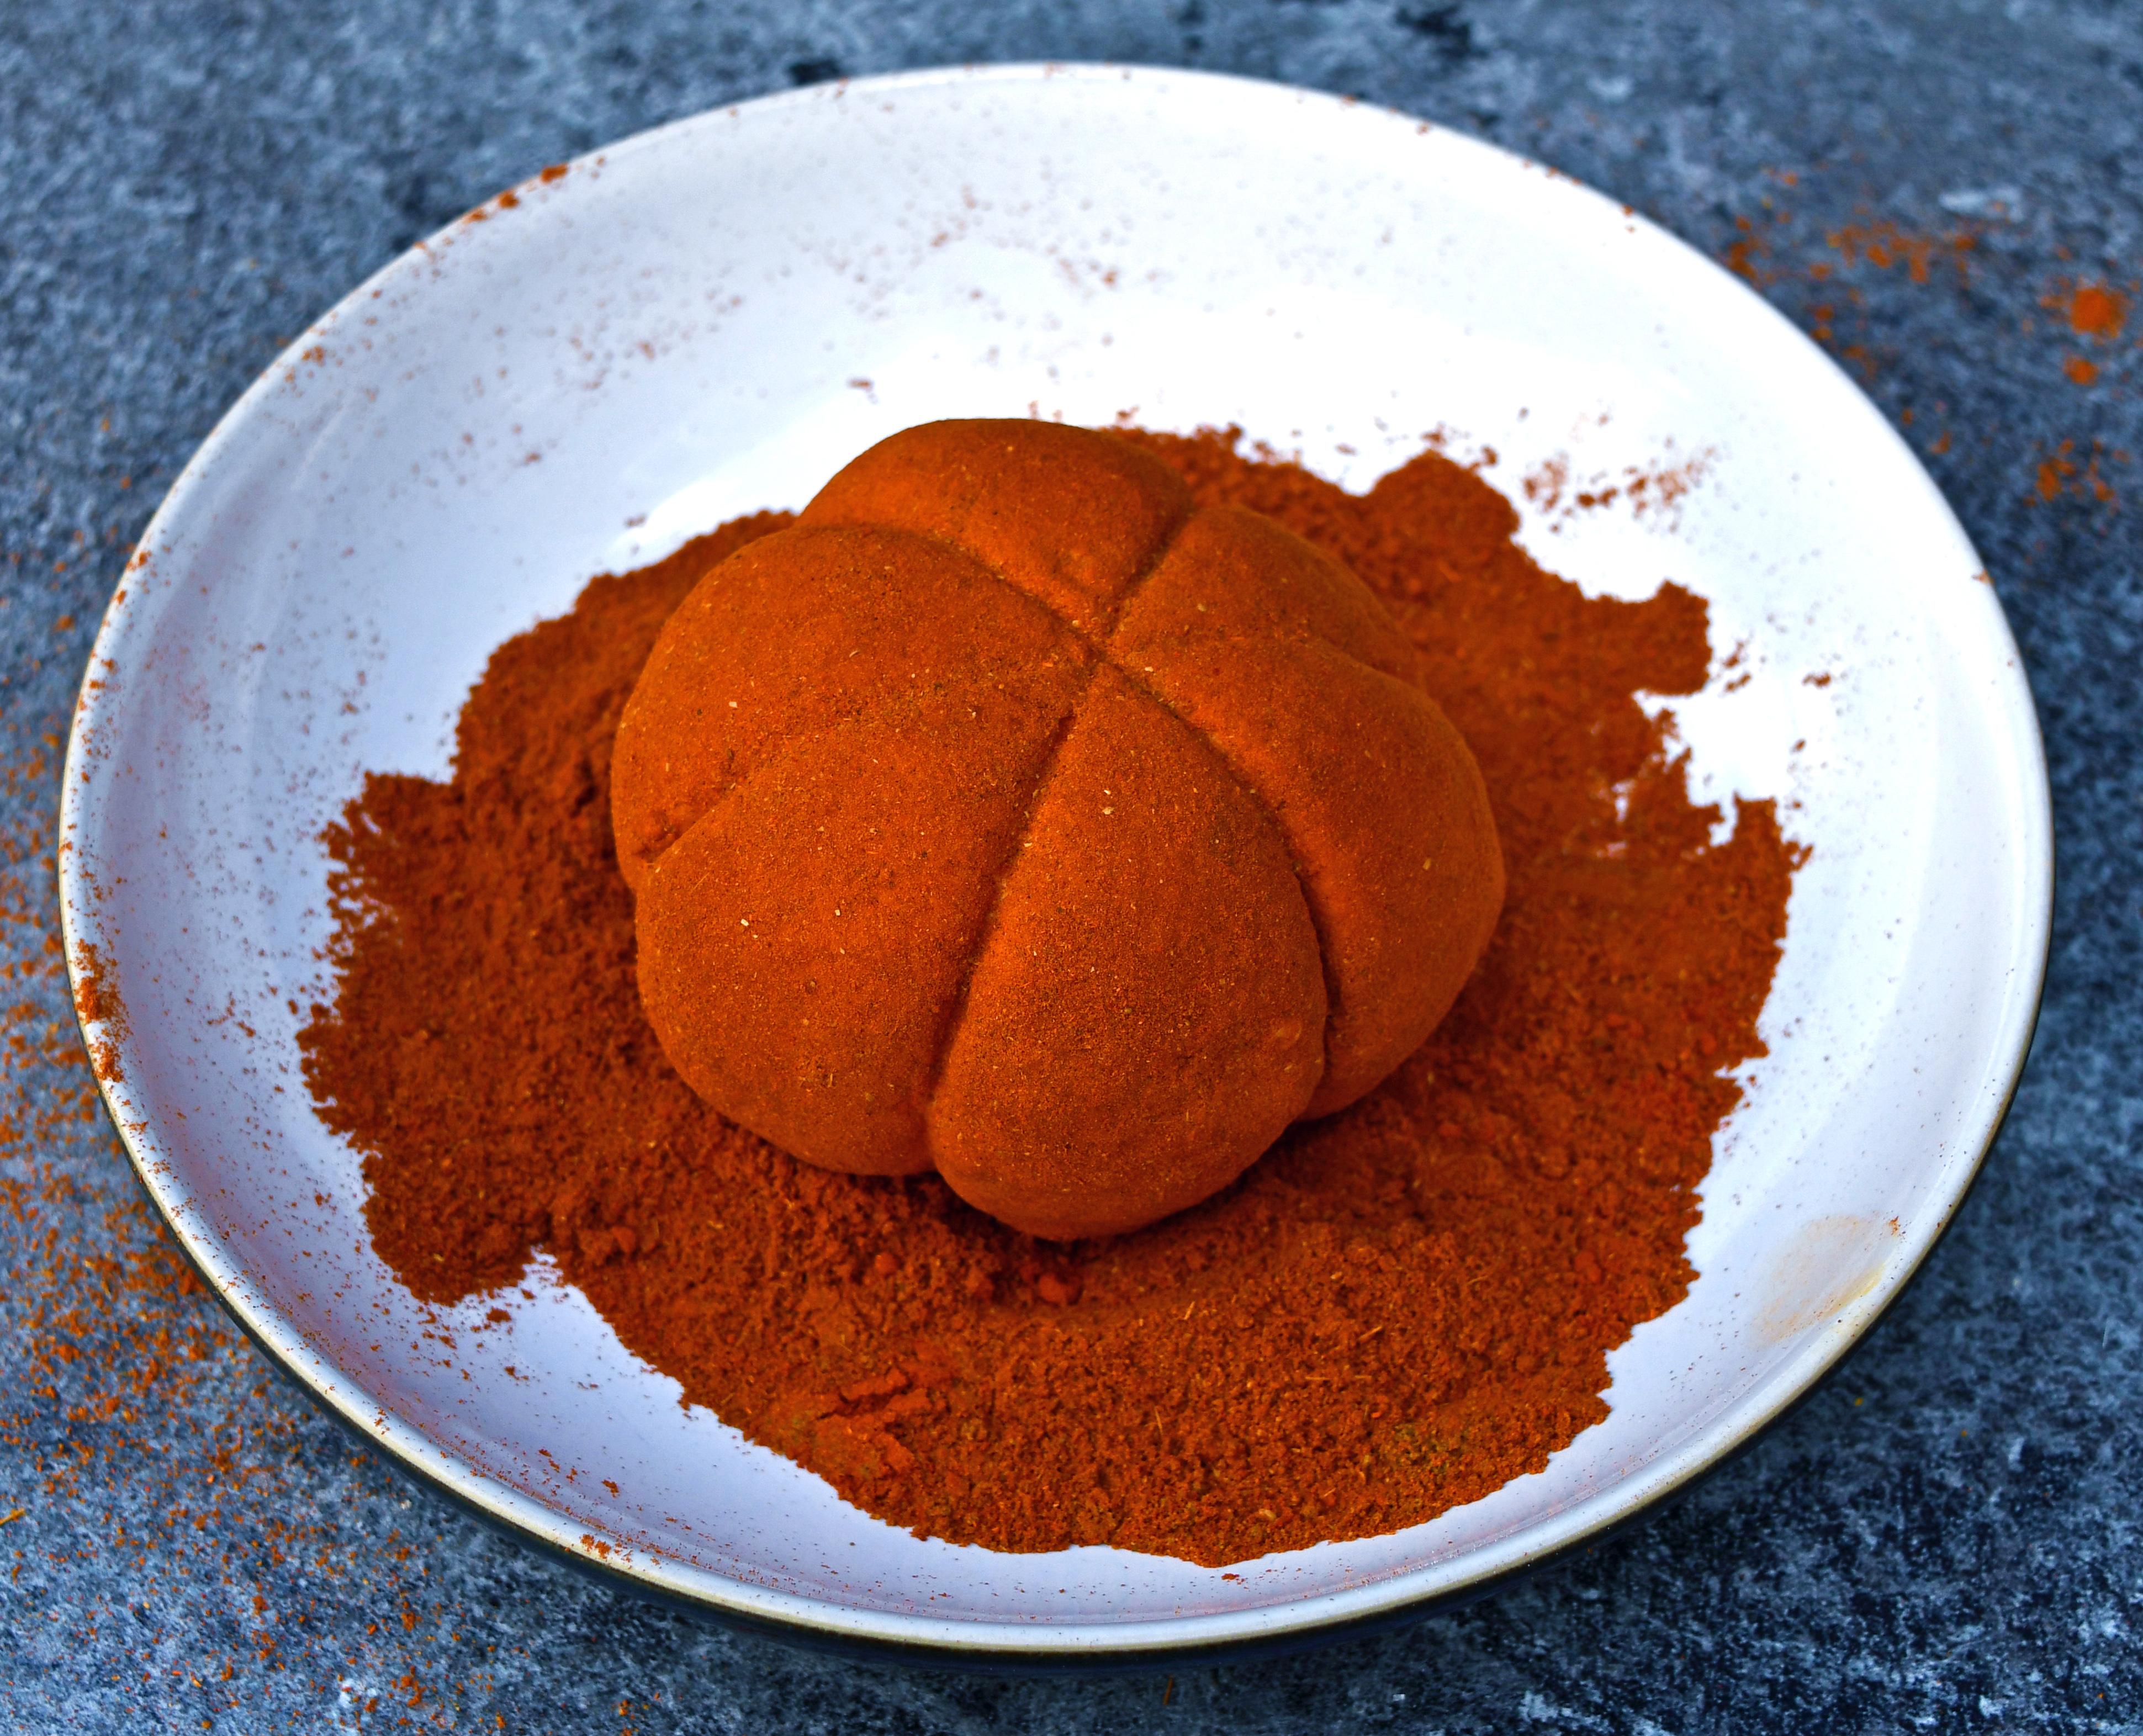
Unwrap the chilled cheese ball and place onto the spices, before dusting with the coating all around and brushing off any excess using a dry pastry brush. The pumpkin is now ready for its stalk – use the stalk from the pepper you grilled earlier (if you don’t happen to have a hoard or faux pumpkin stems!)
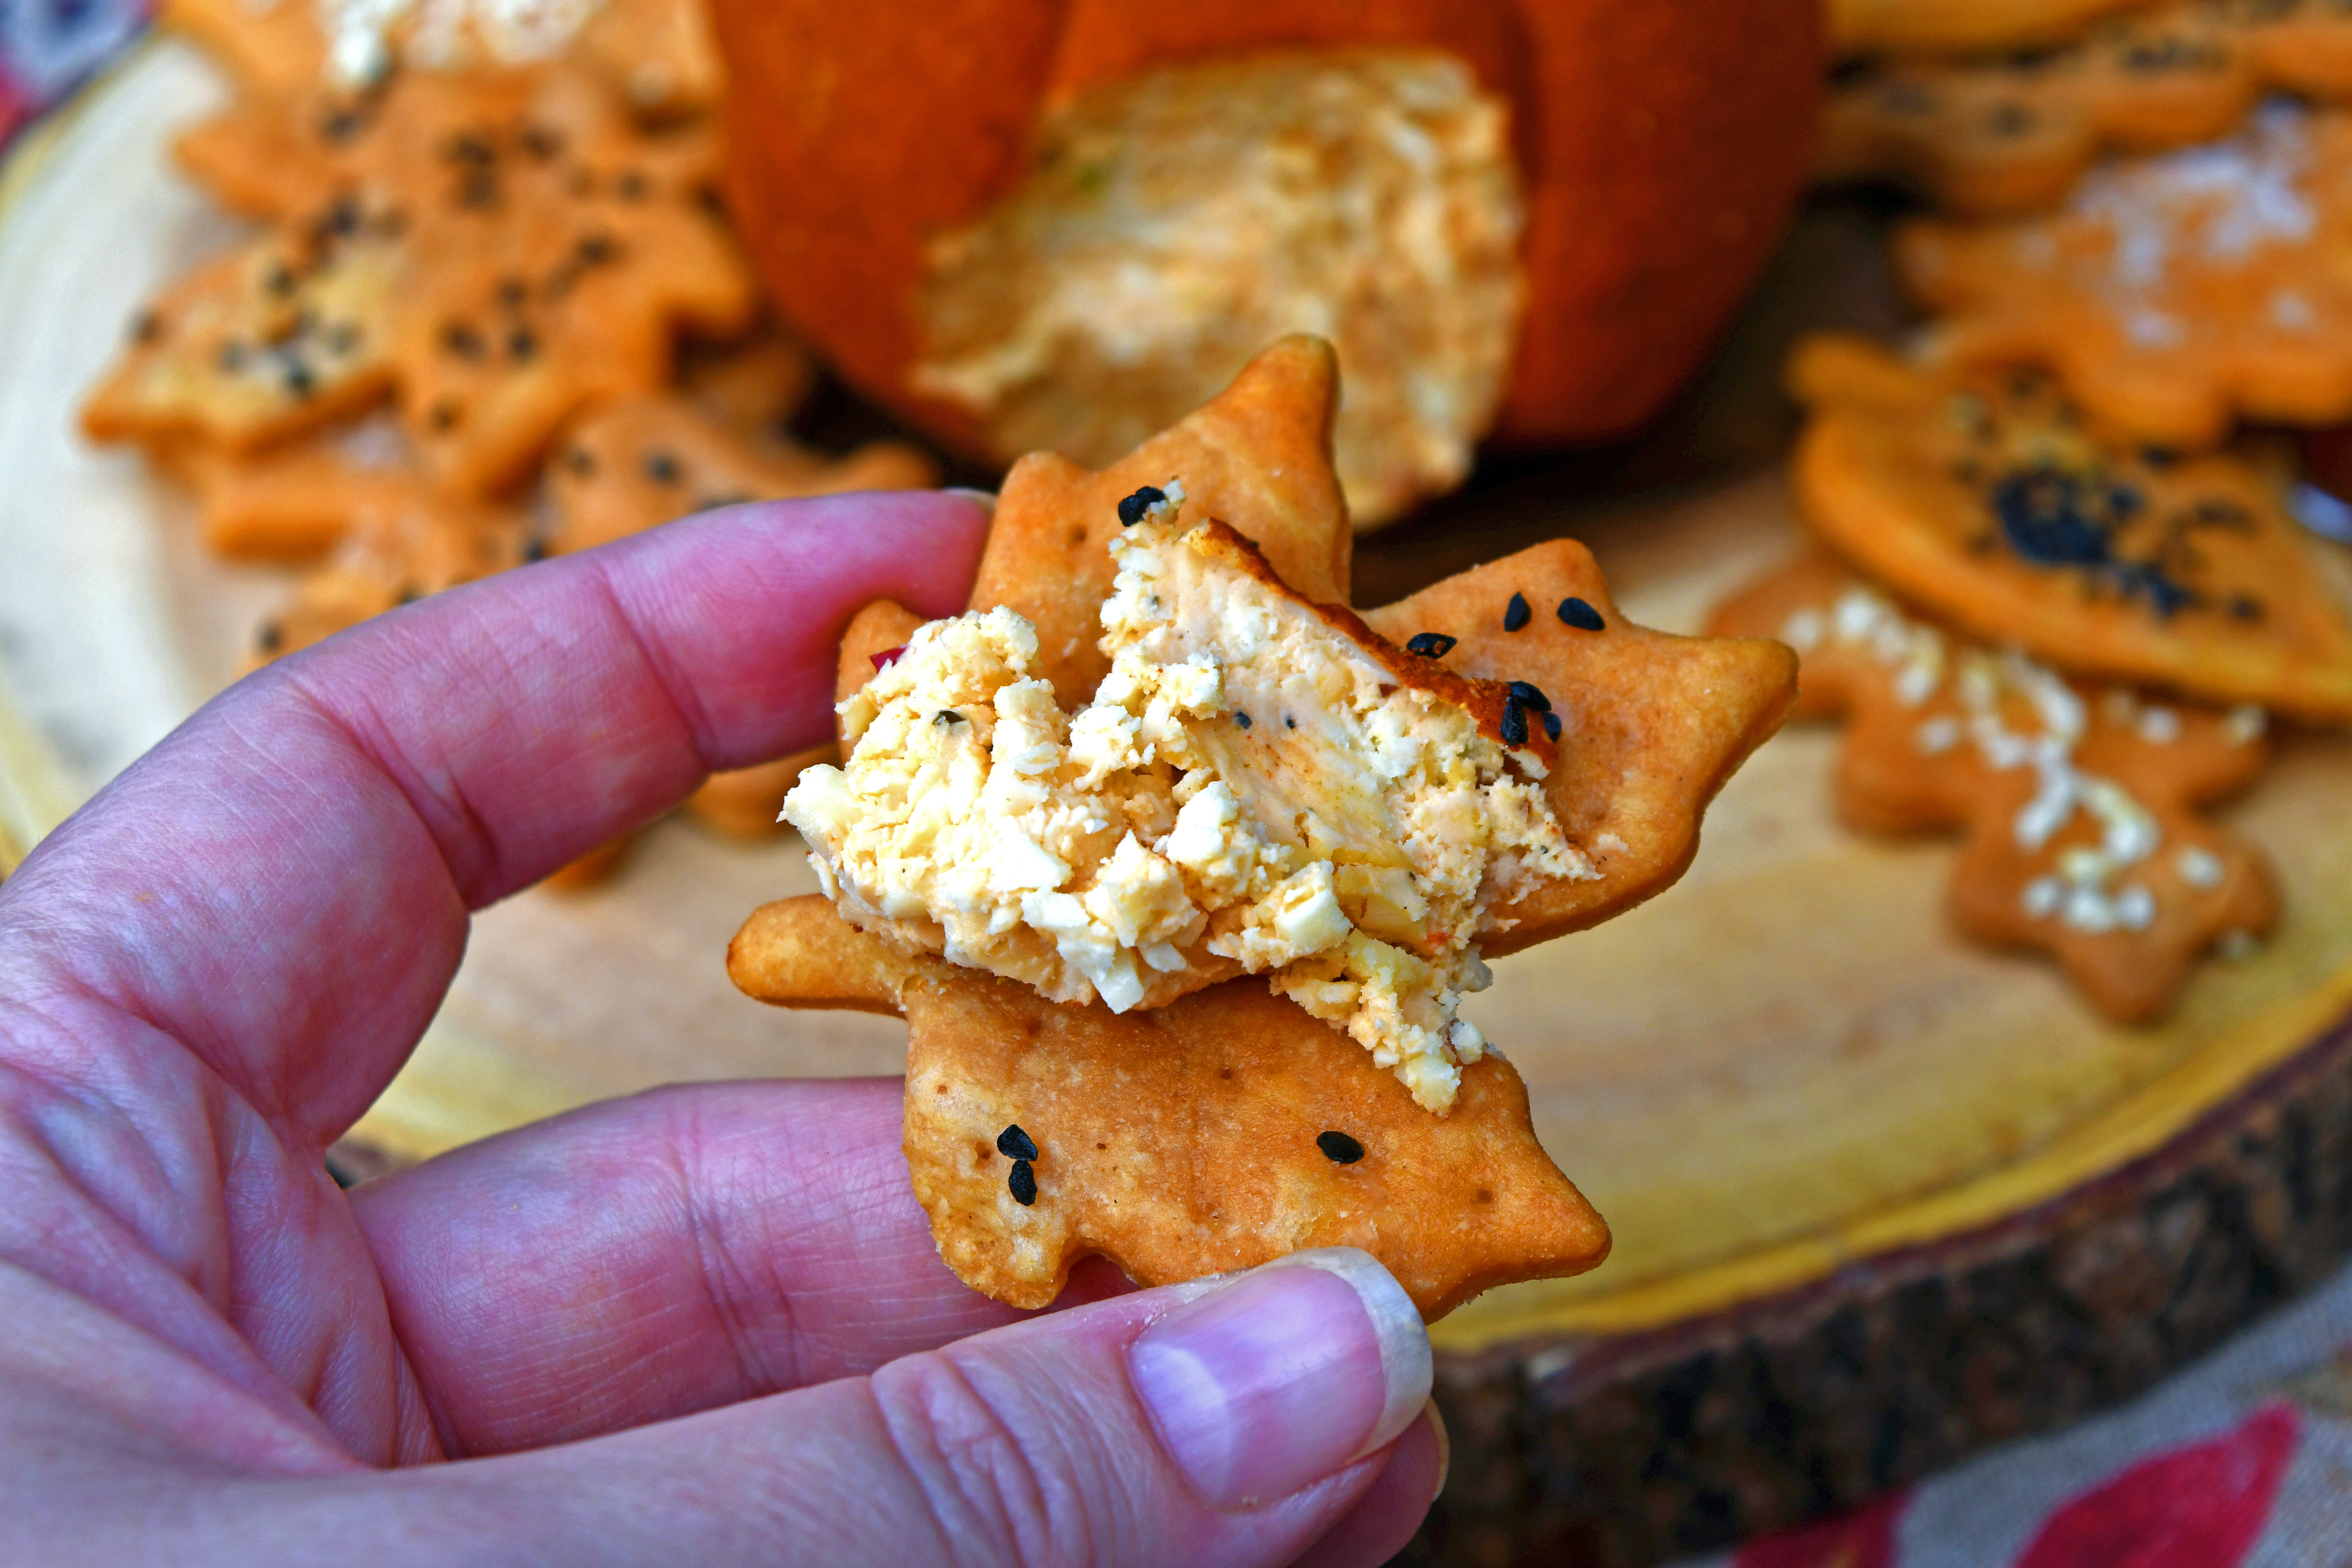
Serve with crudites or crackers, I used my leaf shaped paprika crackers here
I love a nice, fresh Christmas wreath, but they are so very expensive to buy (the good ones anyway), so its a great idea and a nice seasonal activity to make your own.
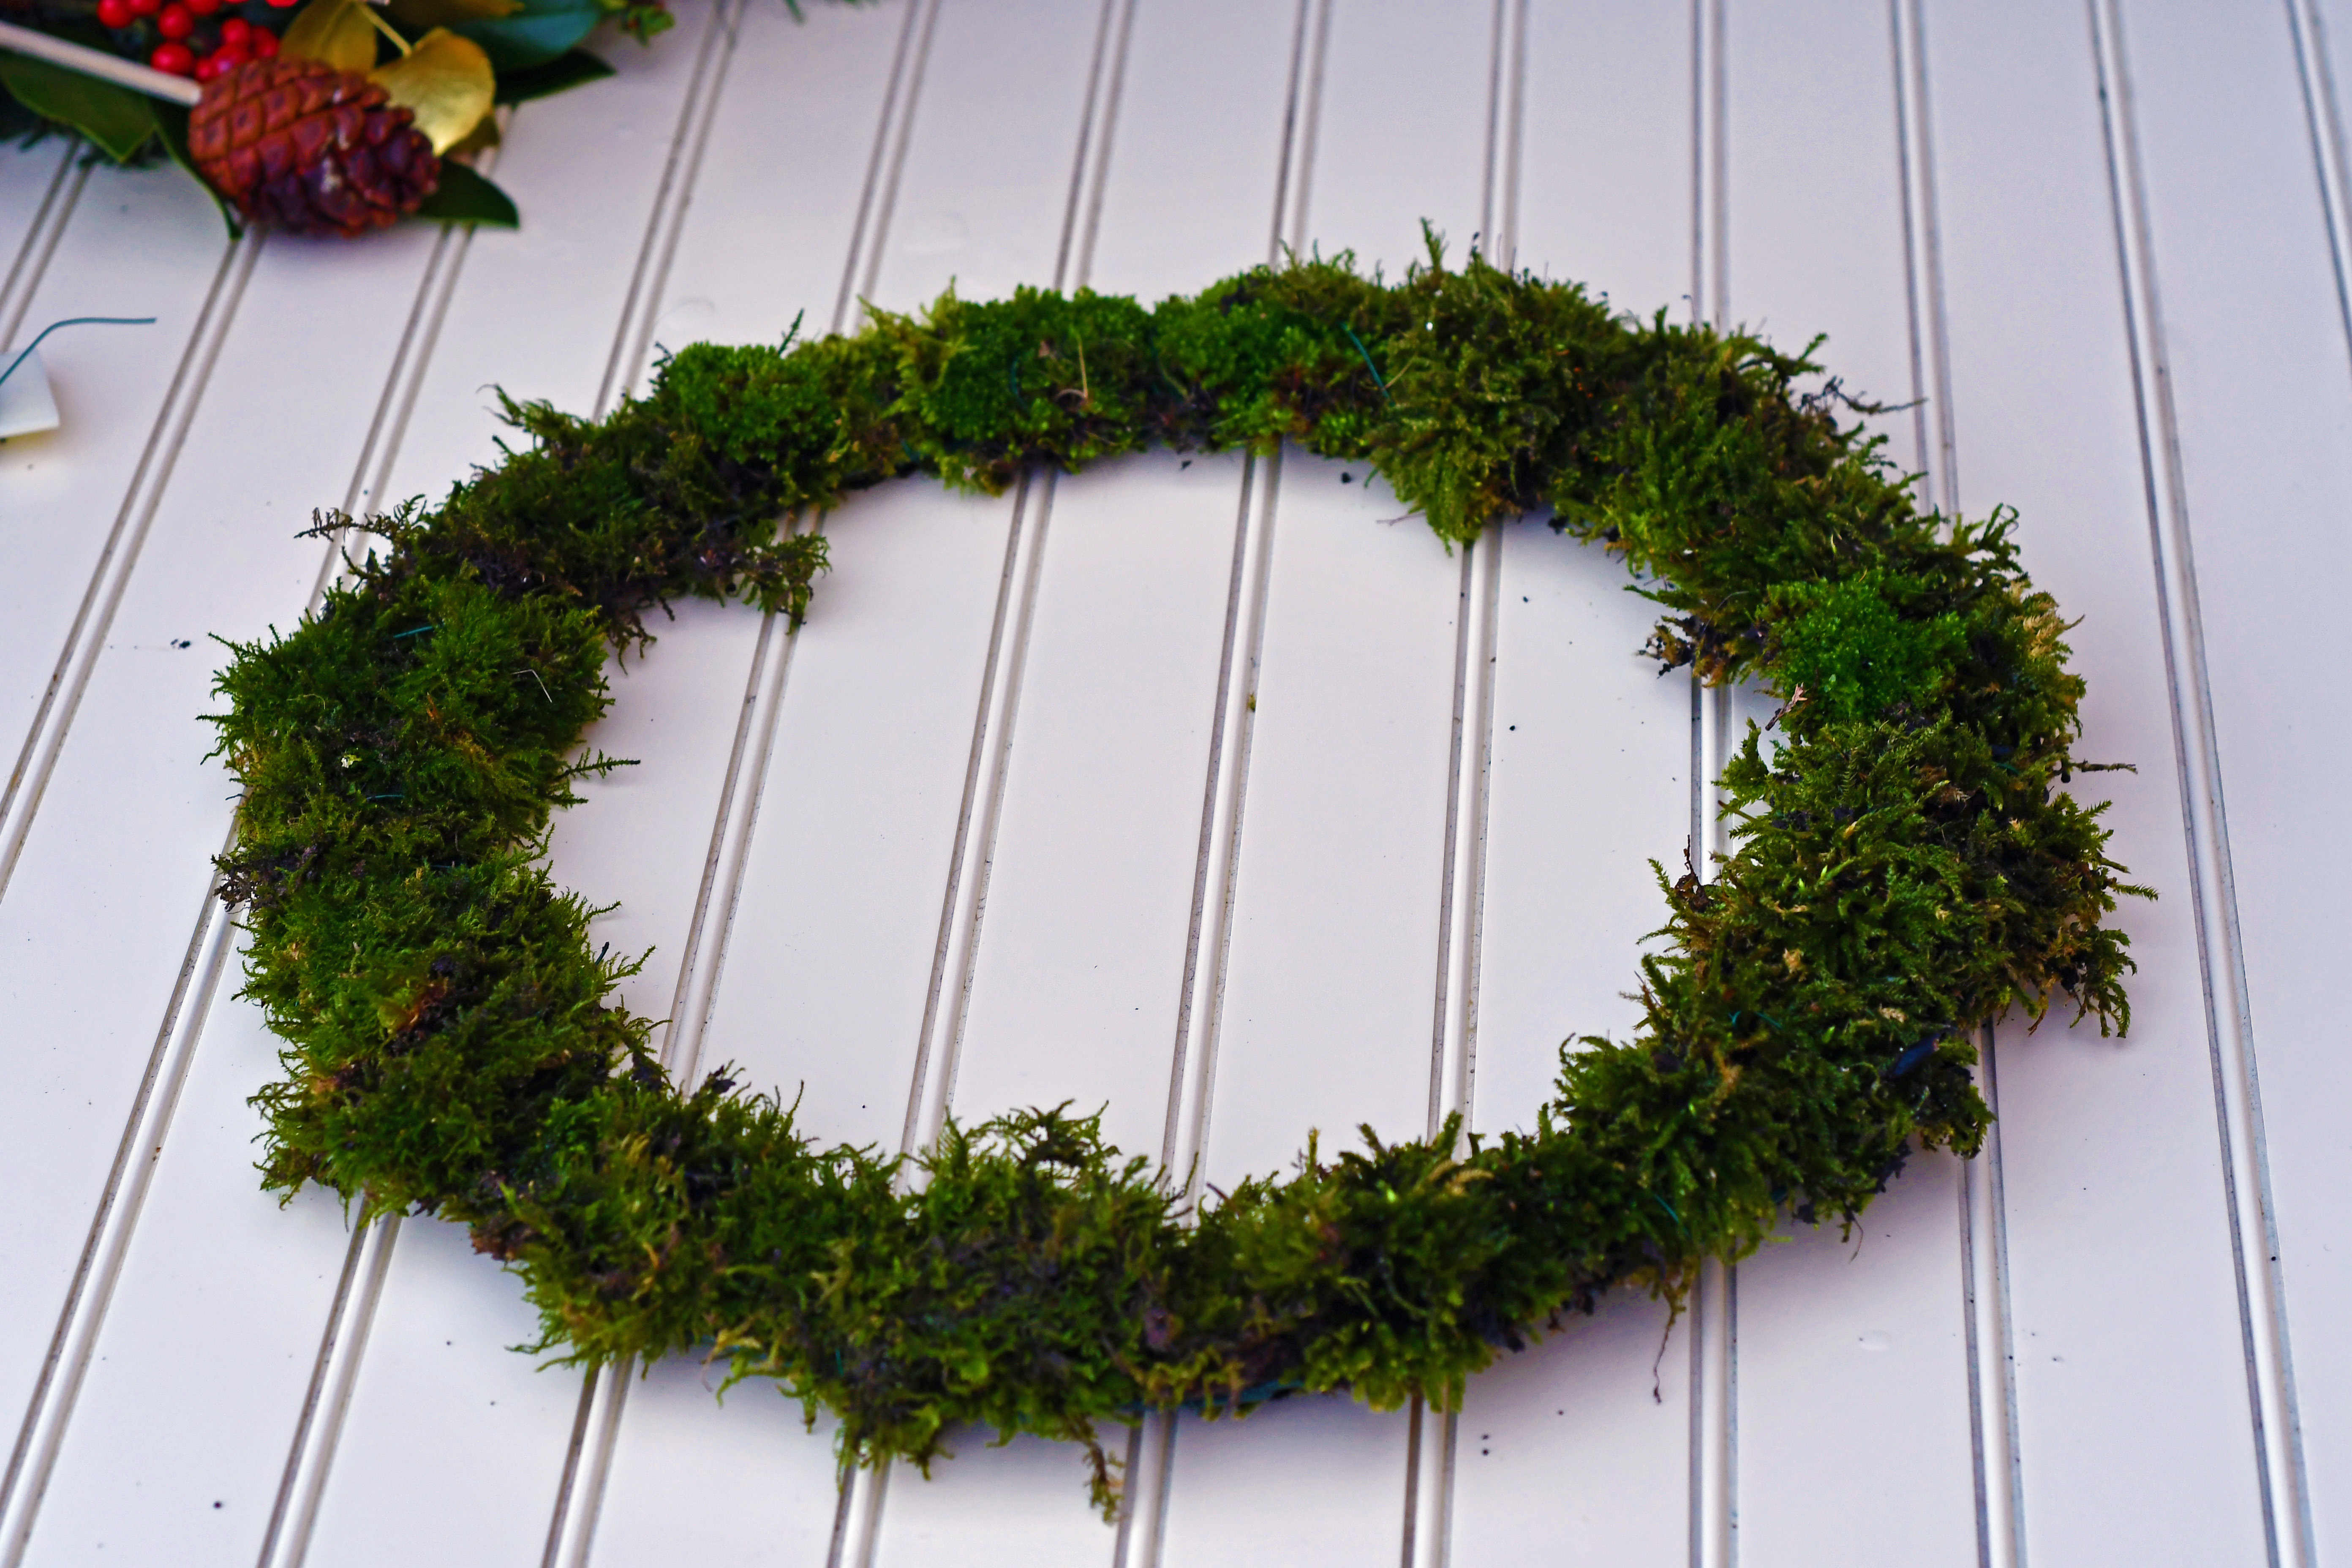
The first thing you need to decide upon is what kind of base to use, I’ve used a wire ring and covered it in moss, but you can also get a foam one that you soak first to keep the foliage fresh. Both are fairly inexpensive, but a wire one is reusable.
The only other equipment you need is some florist wire, some wire cutters and a hook for the door if you don’t already have one – I used a Command hook that is temporary as I didn’t want to screw a hook into my front door!
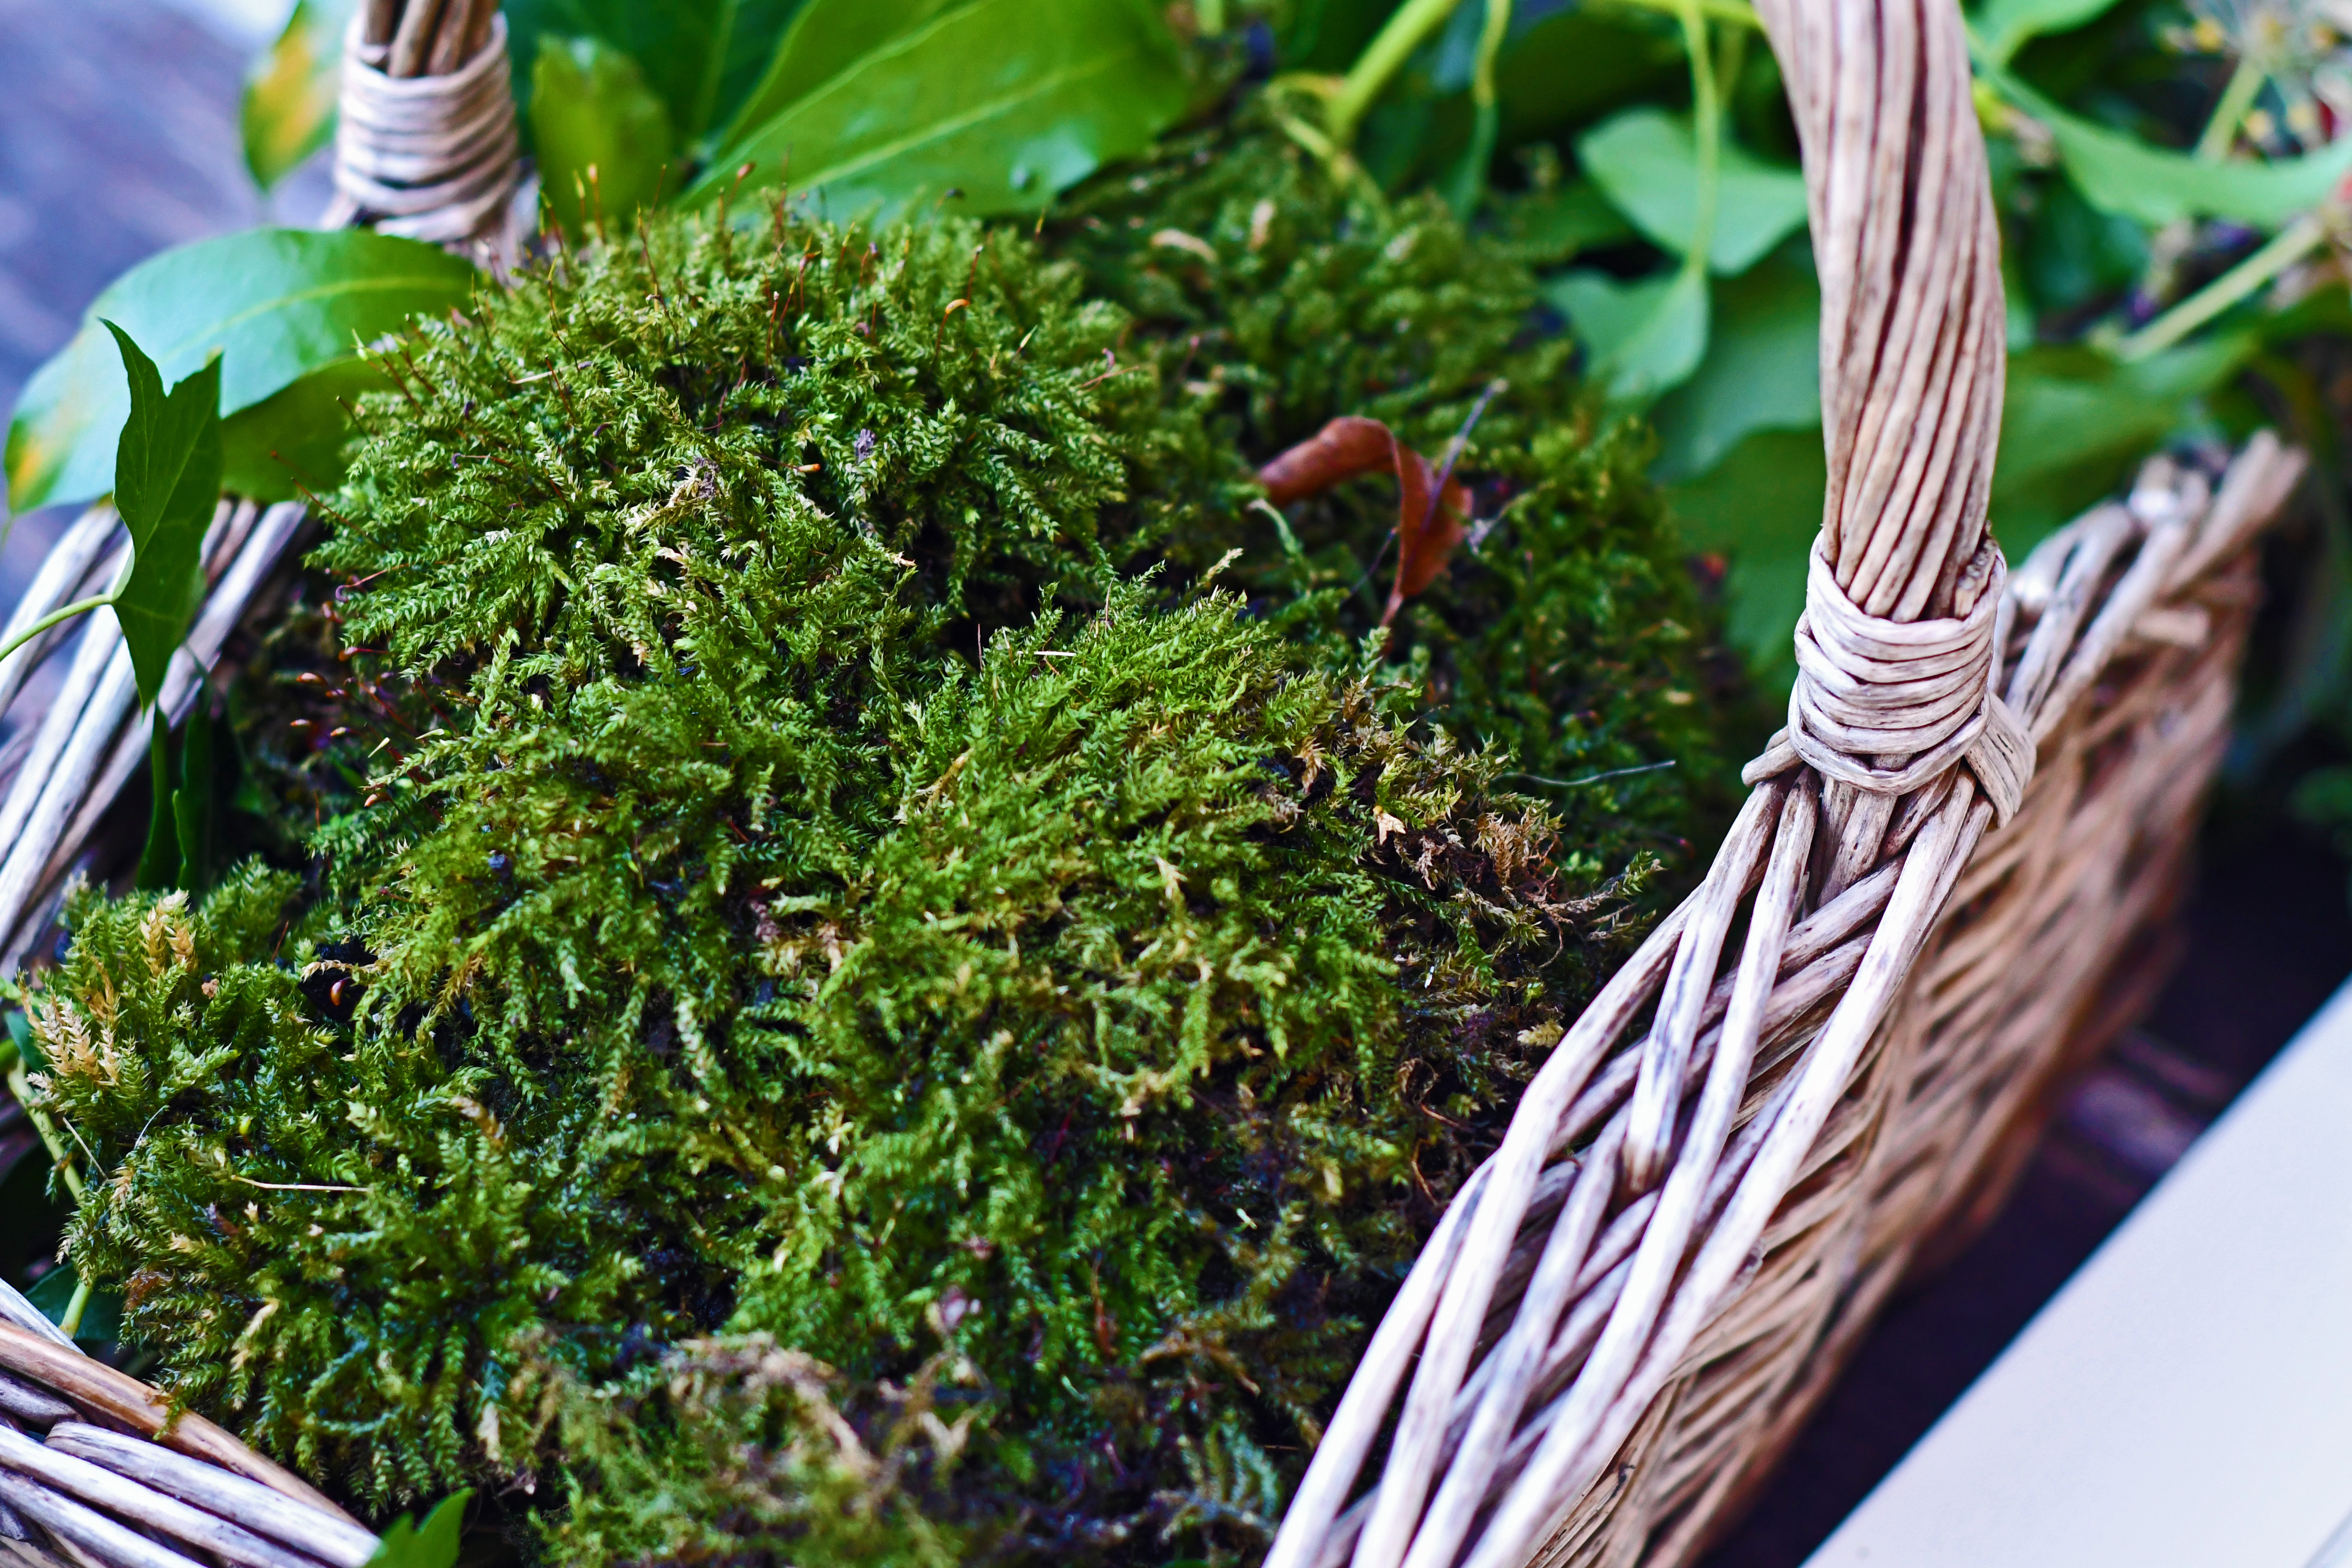
If using a wire ring, it’s a good idea to cover it in nice fresh moss that will keep the base moist and help your foliage last longer. You can buy moss from a florist, or you can take a basket and go foraging. The best time to go is after the rain. I found some in my garden, but for the majority, I went to the local woods and found plenty at the base of the trees. Just take care not to take too much from the same place.
Using the wire, wind it around the moss to cover the ring completely. Covering the ring with moss can be a messy business, so its a good idea to do it outside!
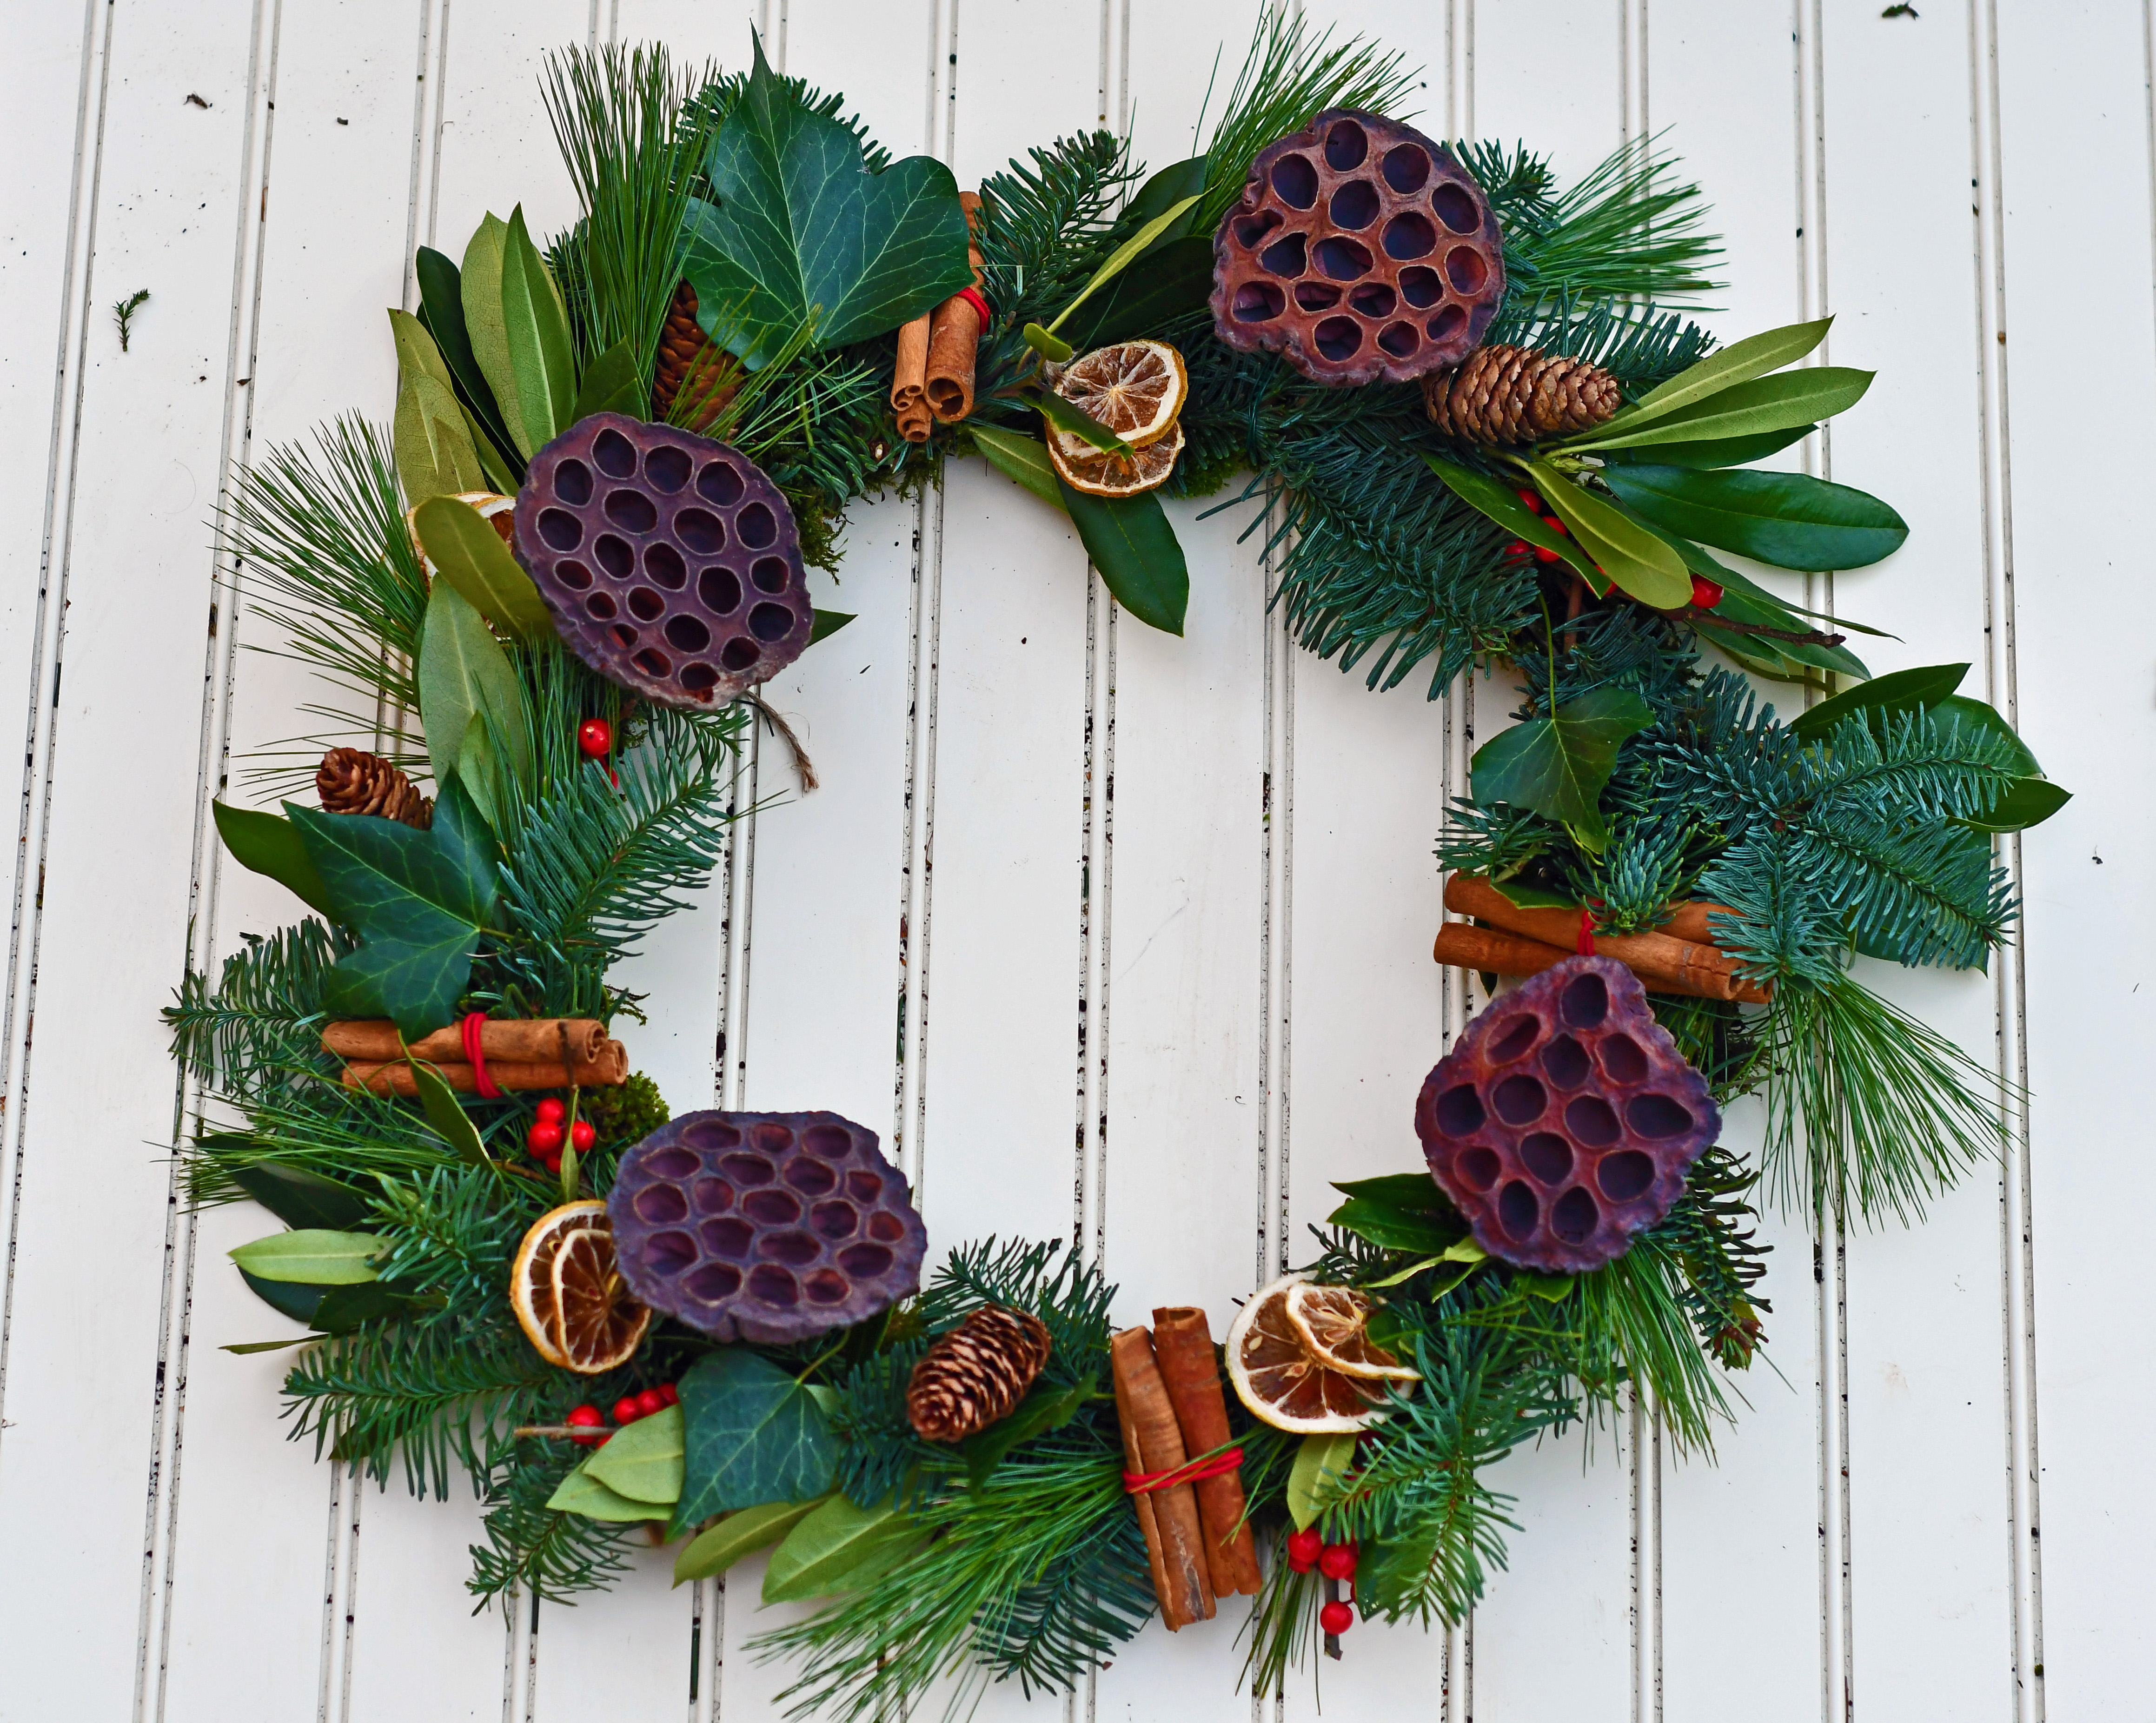
Once you have covered the ring in moss, its time to attach your foliage of choice. I foraged some, but also bought some nice Christmas stems too. I also used cinnamon sticks, dried lotus heads, pine cones and dried orange slices tied on with twine. I couldn’t find any crab apples, or else I would have used some of those too.
I’ve gone for a simple, traditional wreath, but the designs are unlimited. Just be sure there are no wires sticking out of the back that might scratch the door.
Once a week, spray with water, or if you have a foam ring, you can soak it to help stop the foliage drying out
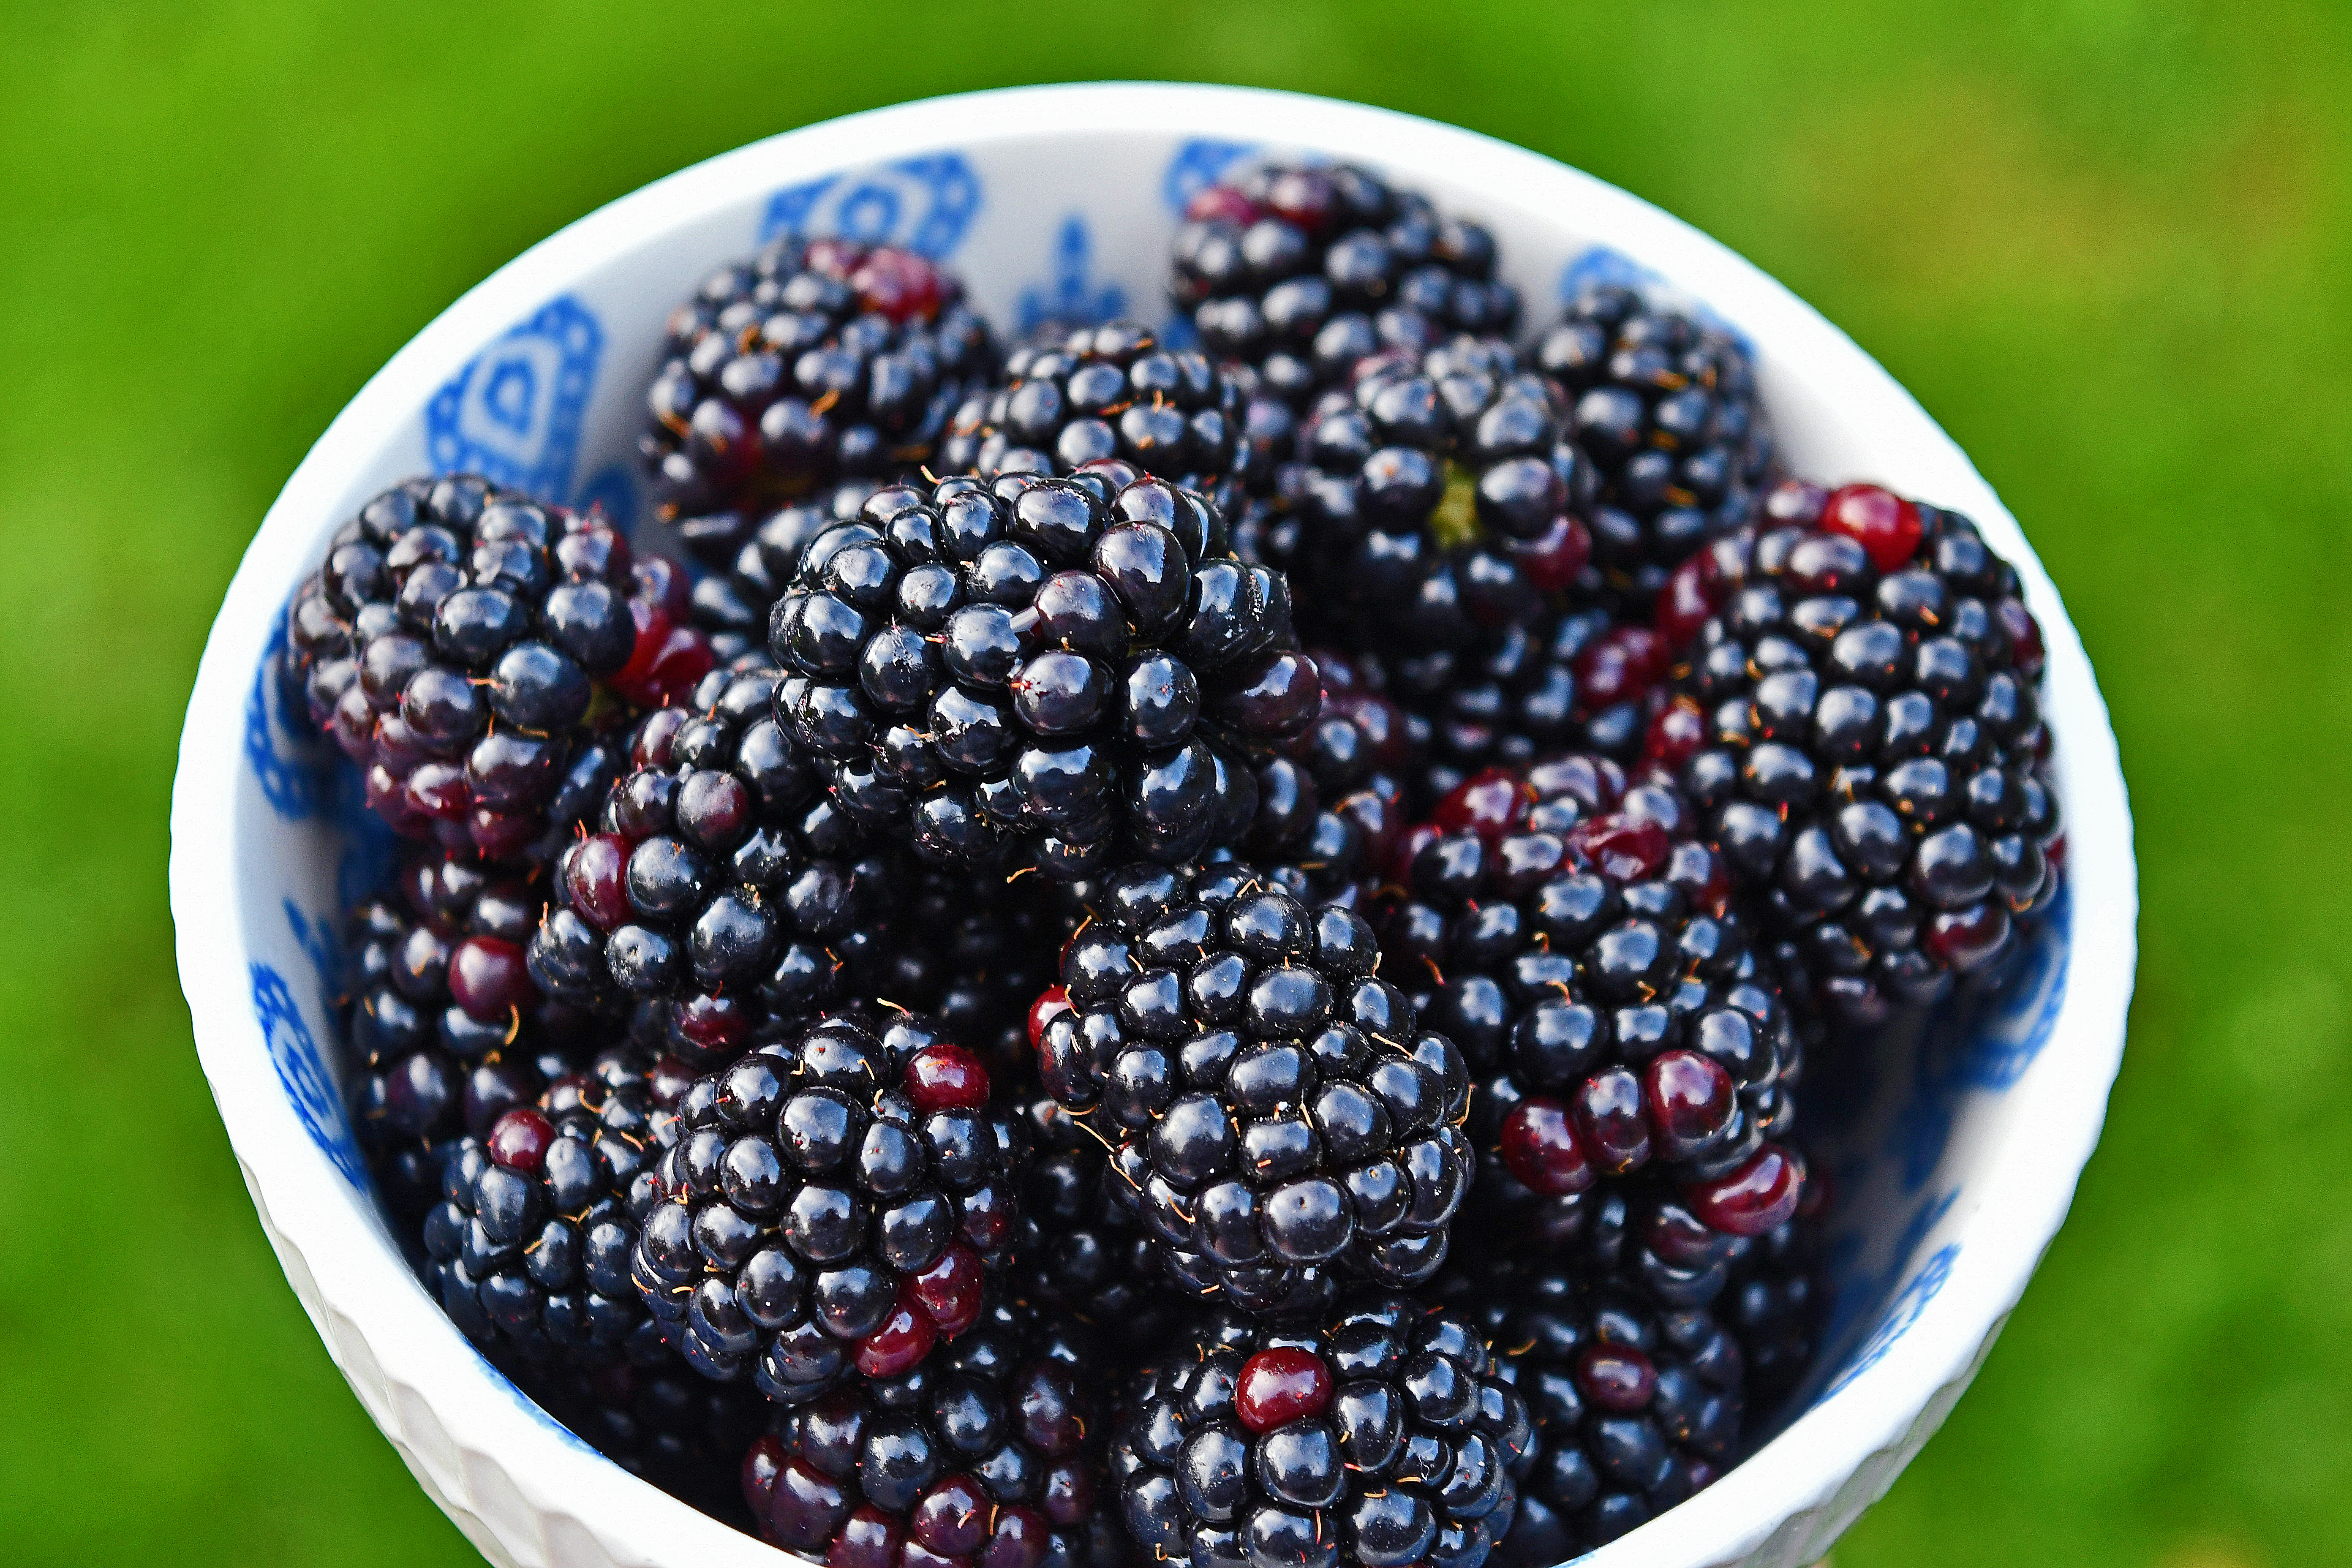
August is when the blackberries are ready and there are some epic ones this year – probably because of all the rain!
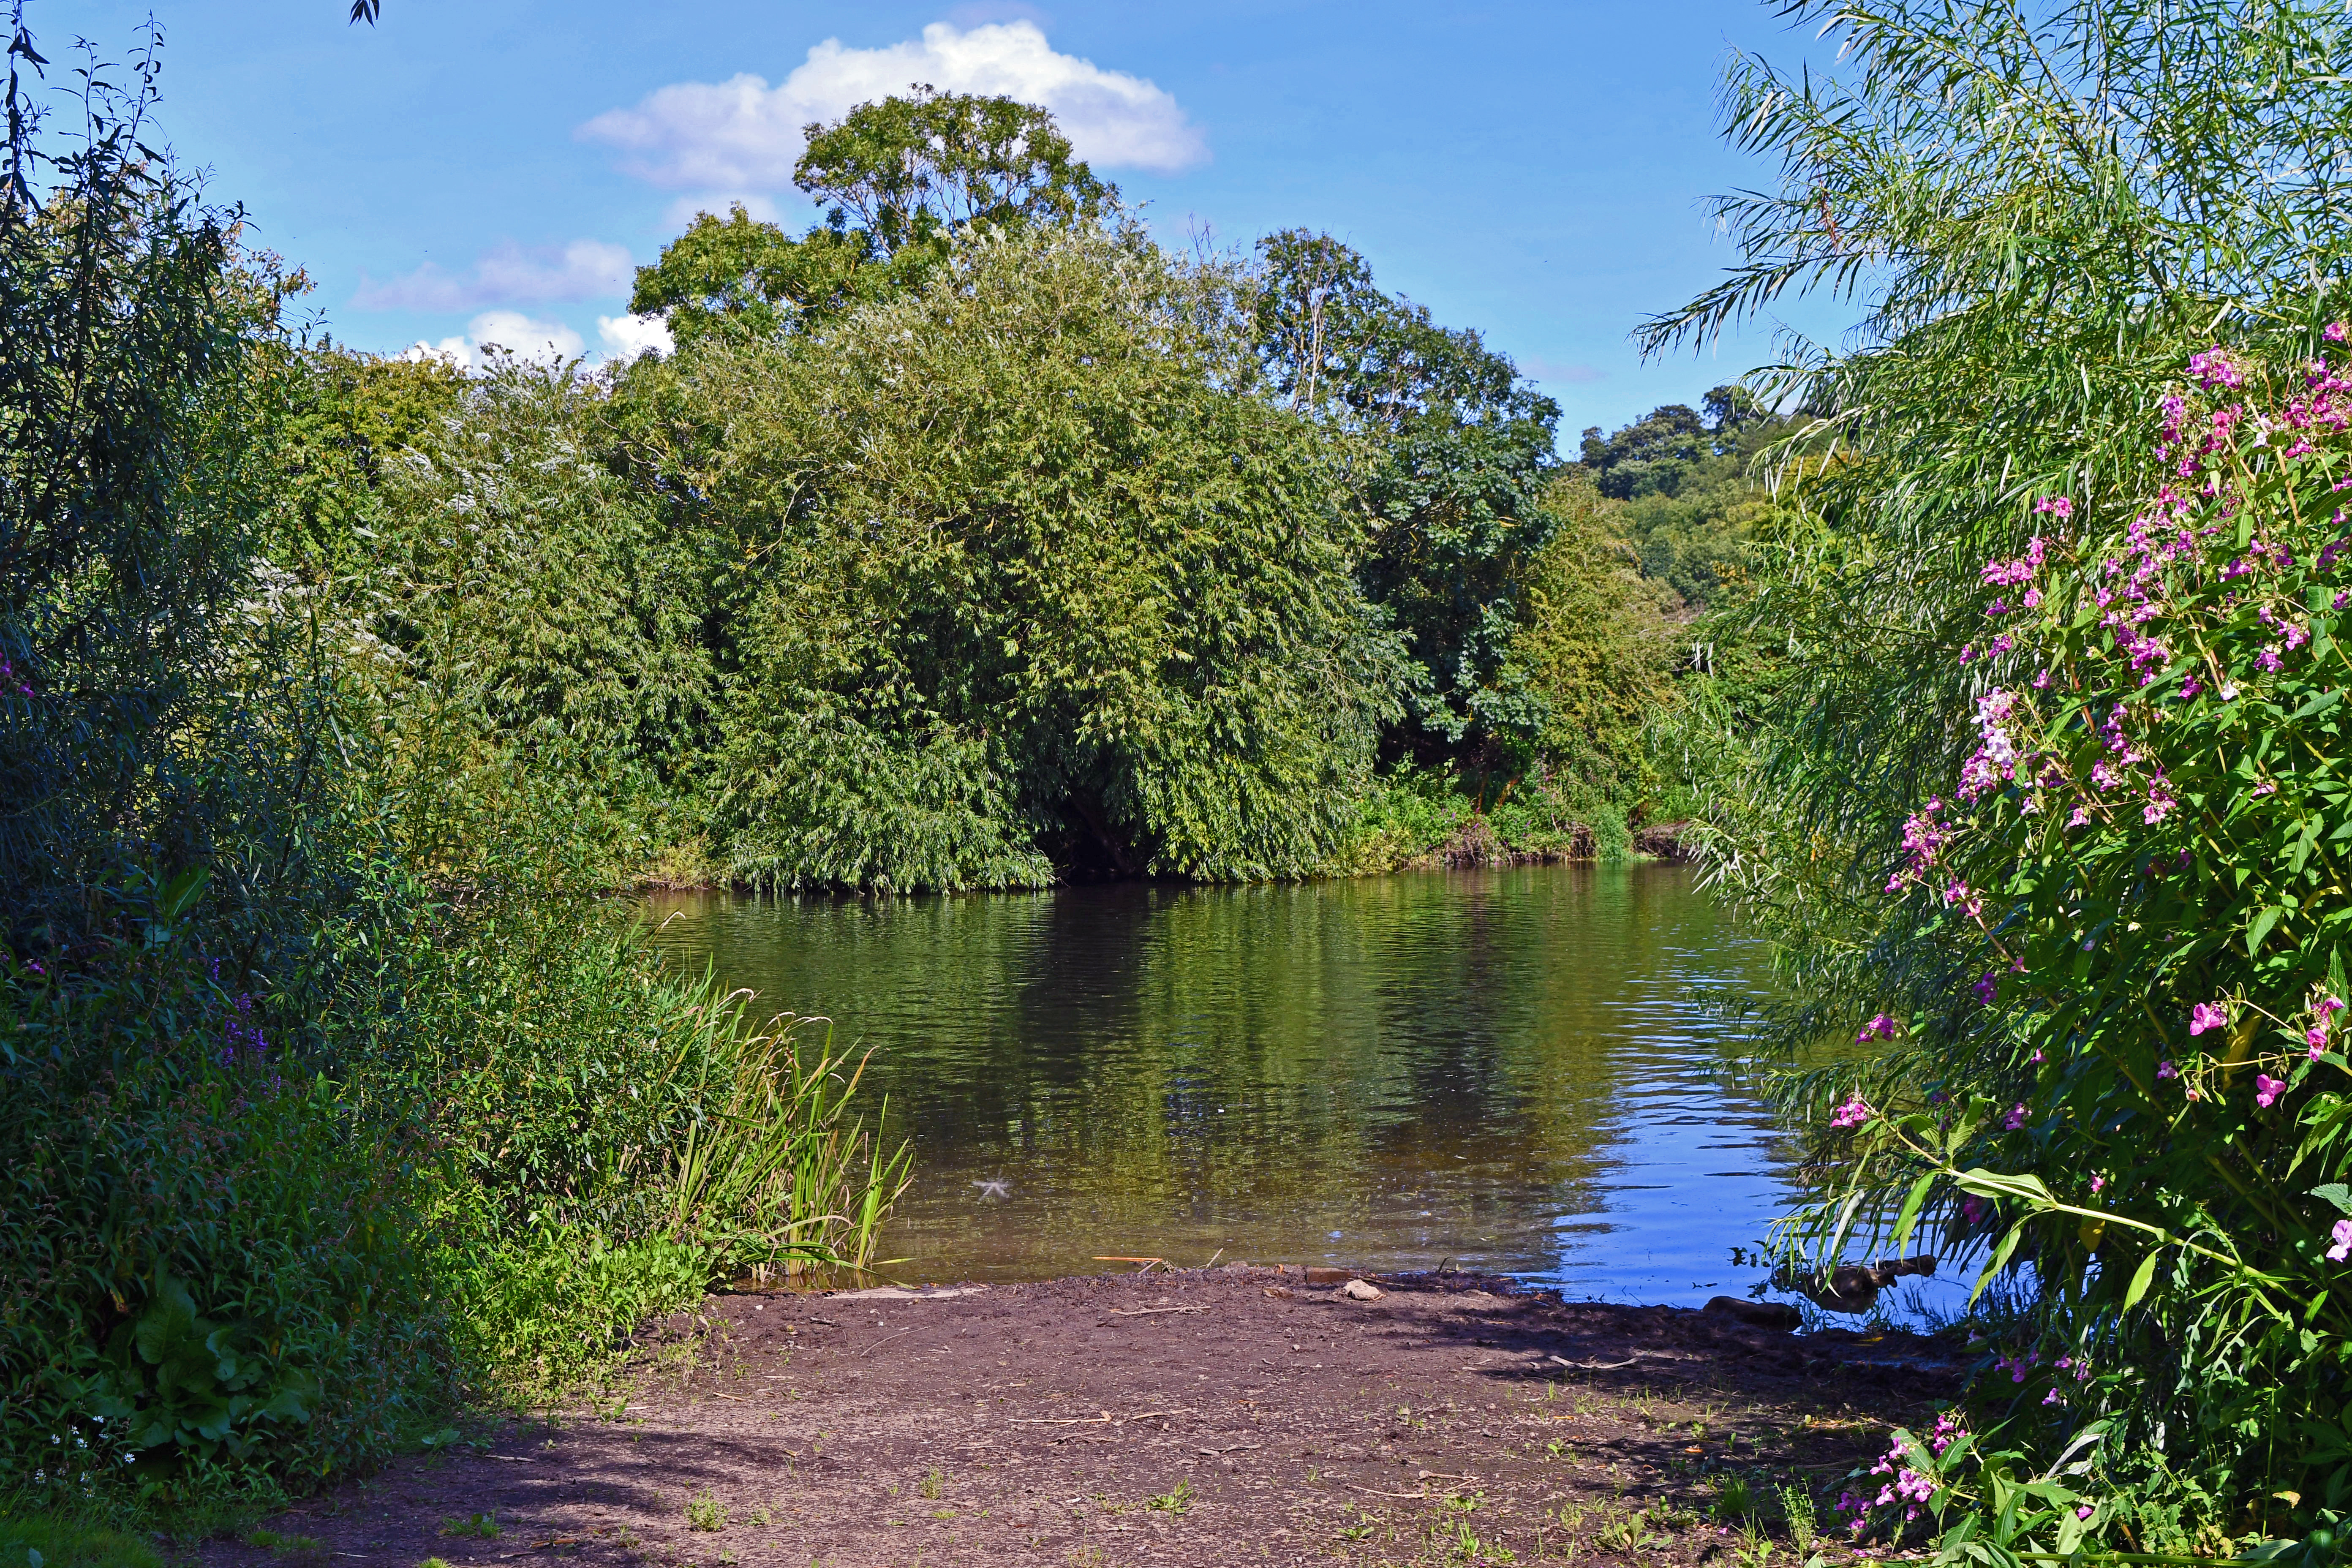
I love to go blackberry picking and I’m very happy its not been as hot as last year. I love blue skies, warm breezes, but NOT all the bugs that come with it!
I’m lucky to live very close to the river Trent where its quite rural and there are lots of hedgerows, full this year, of lovely, big blackberries.
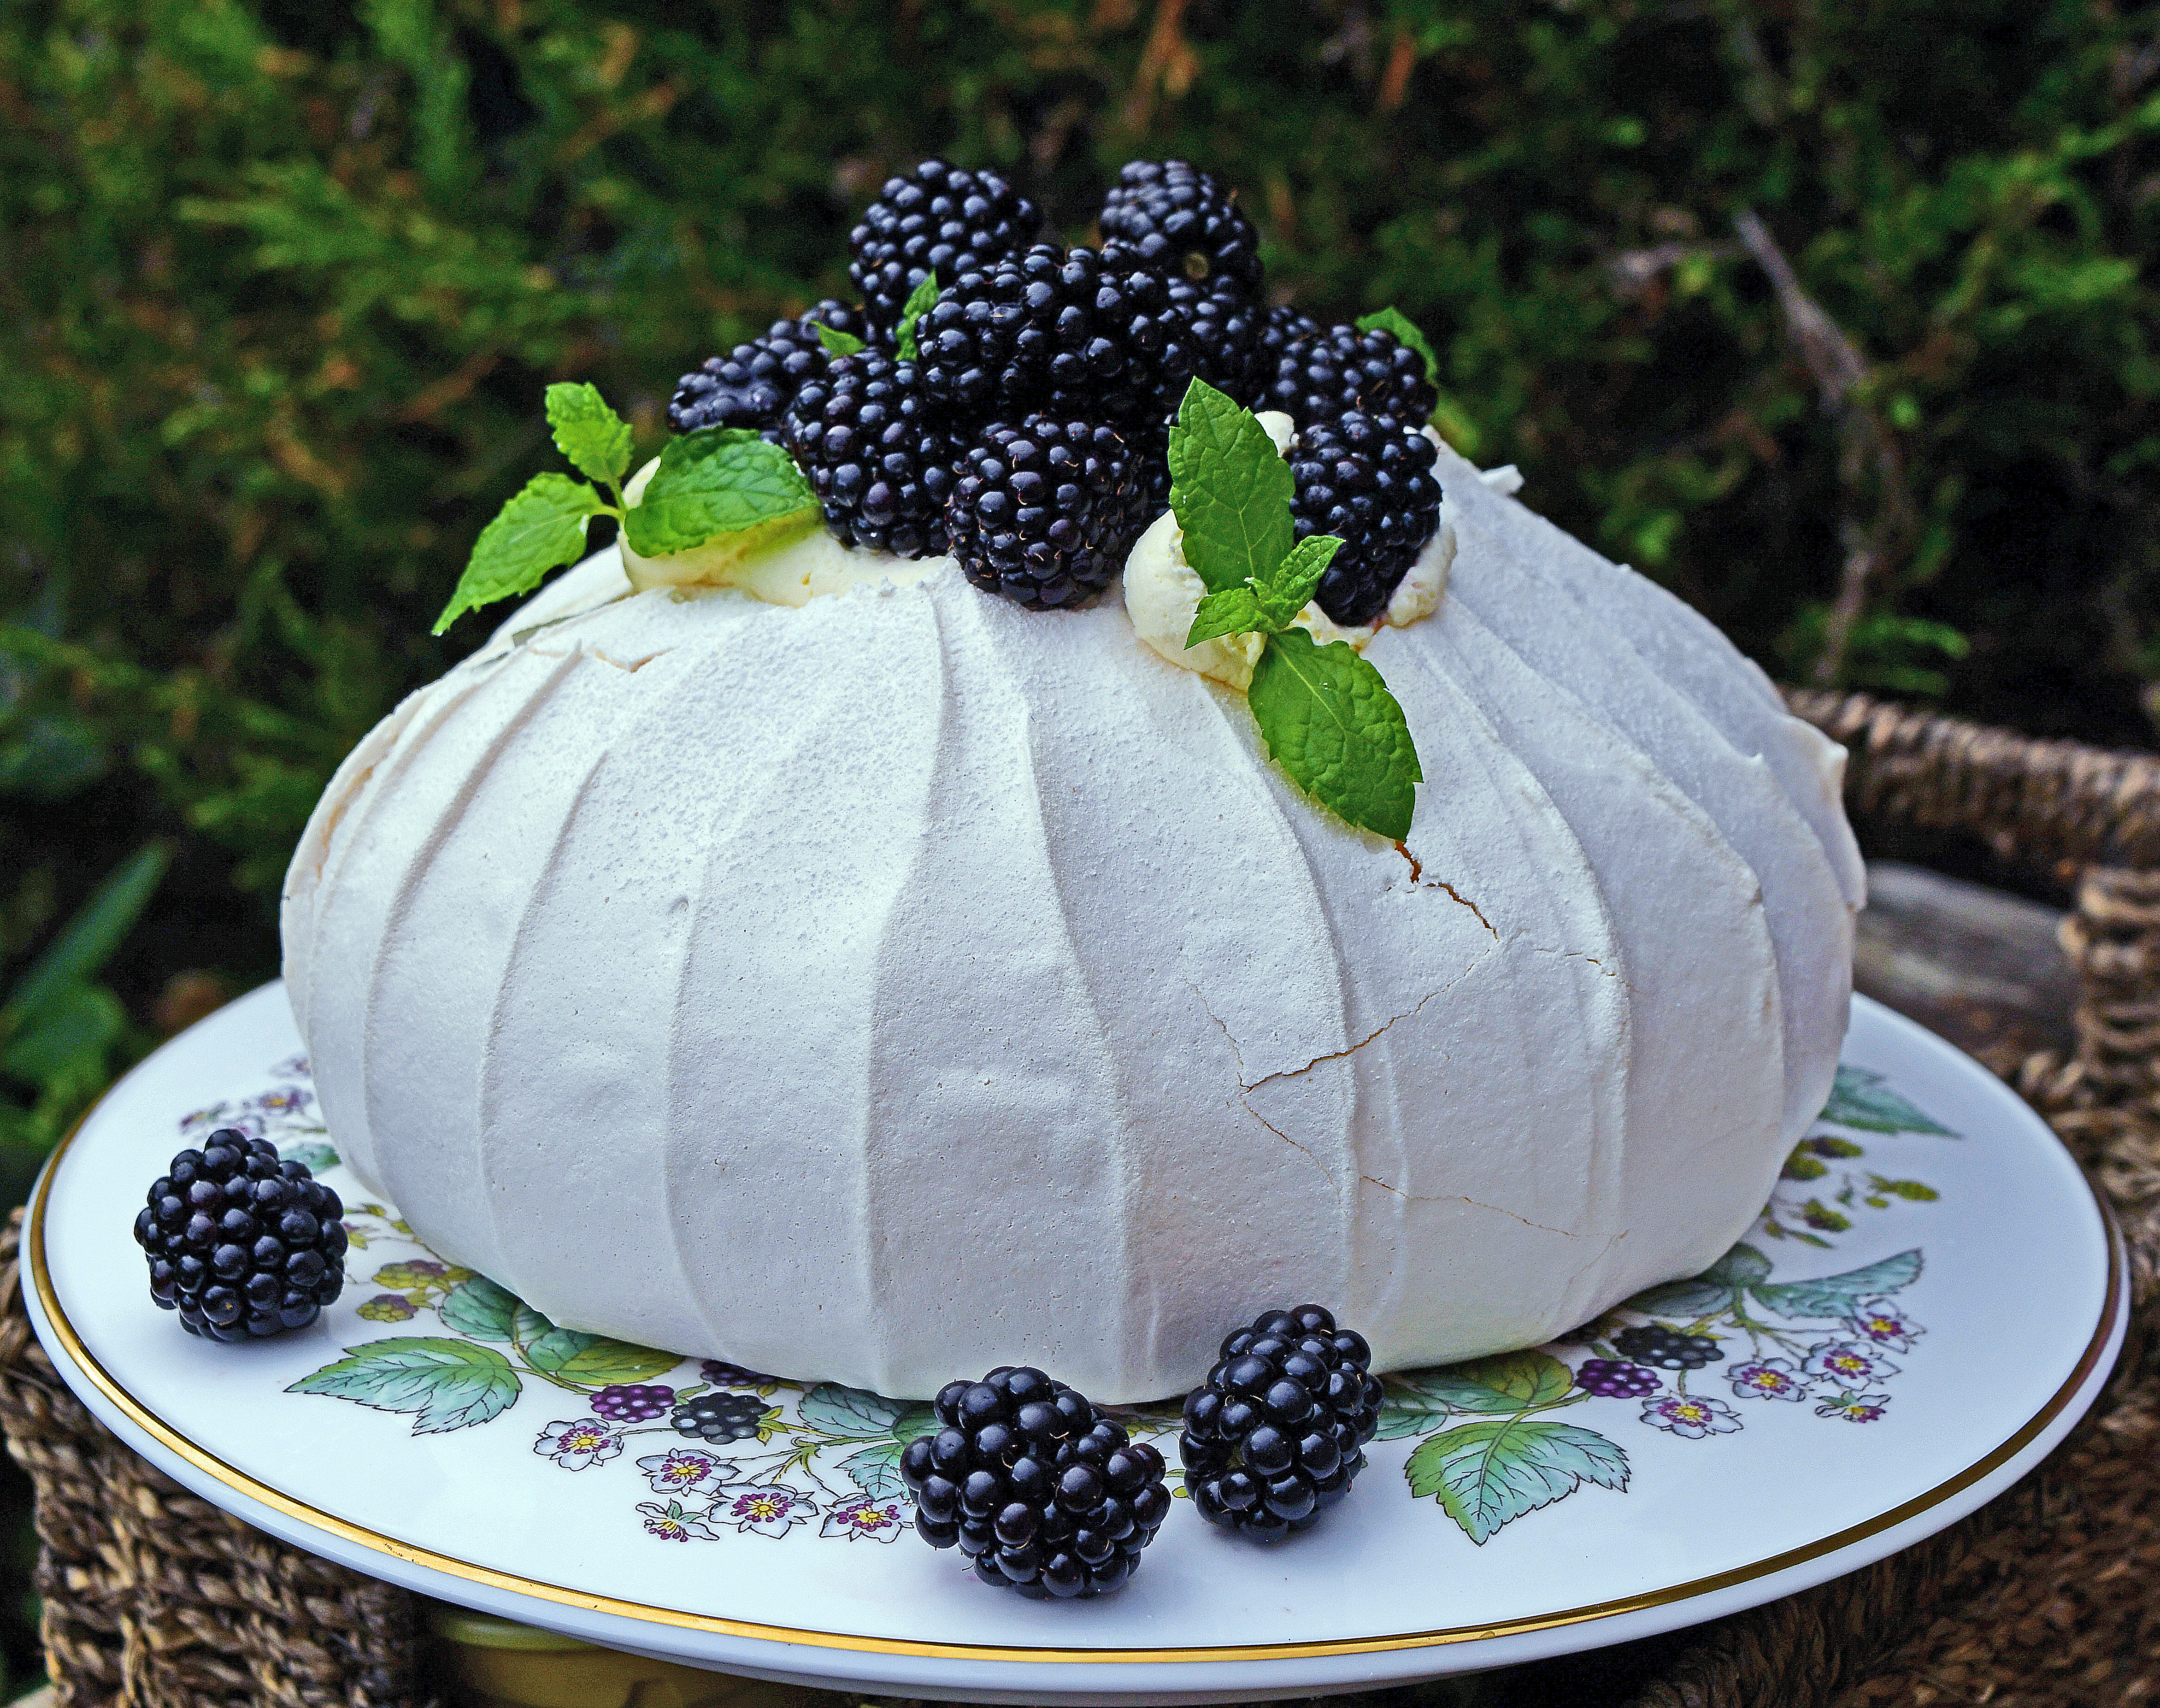
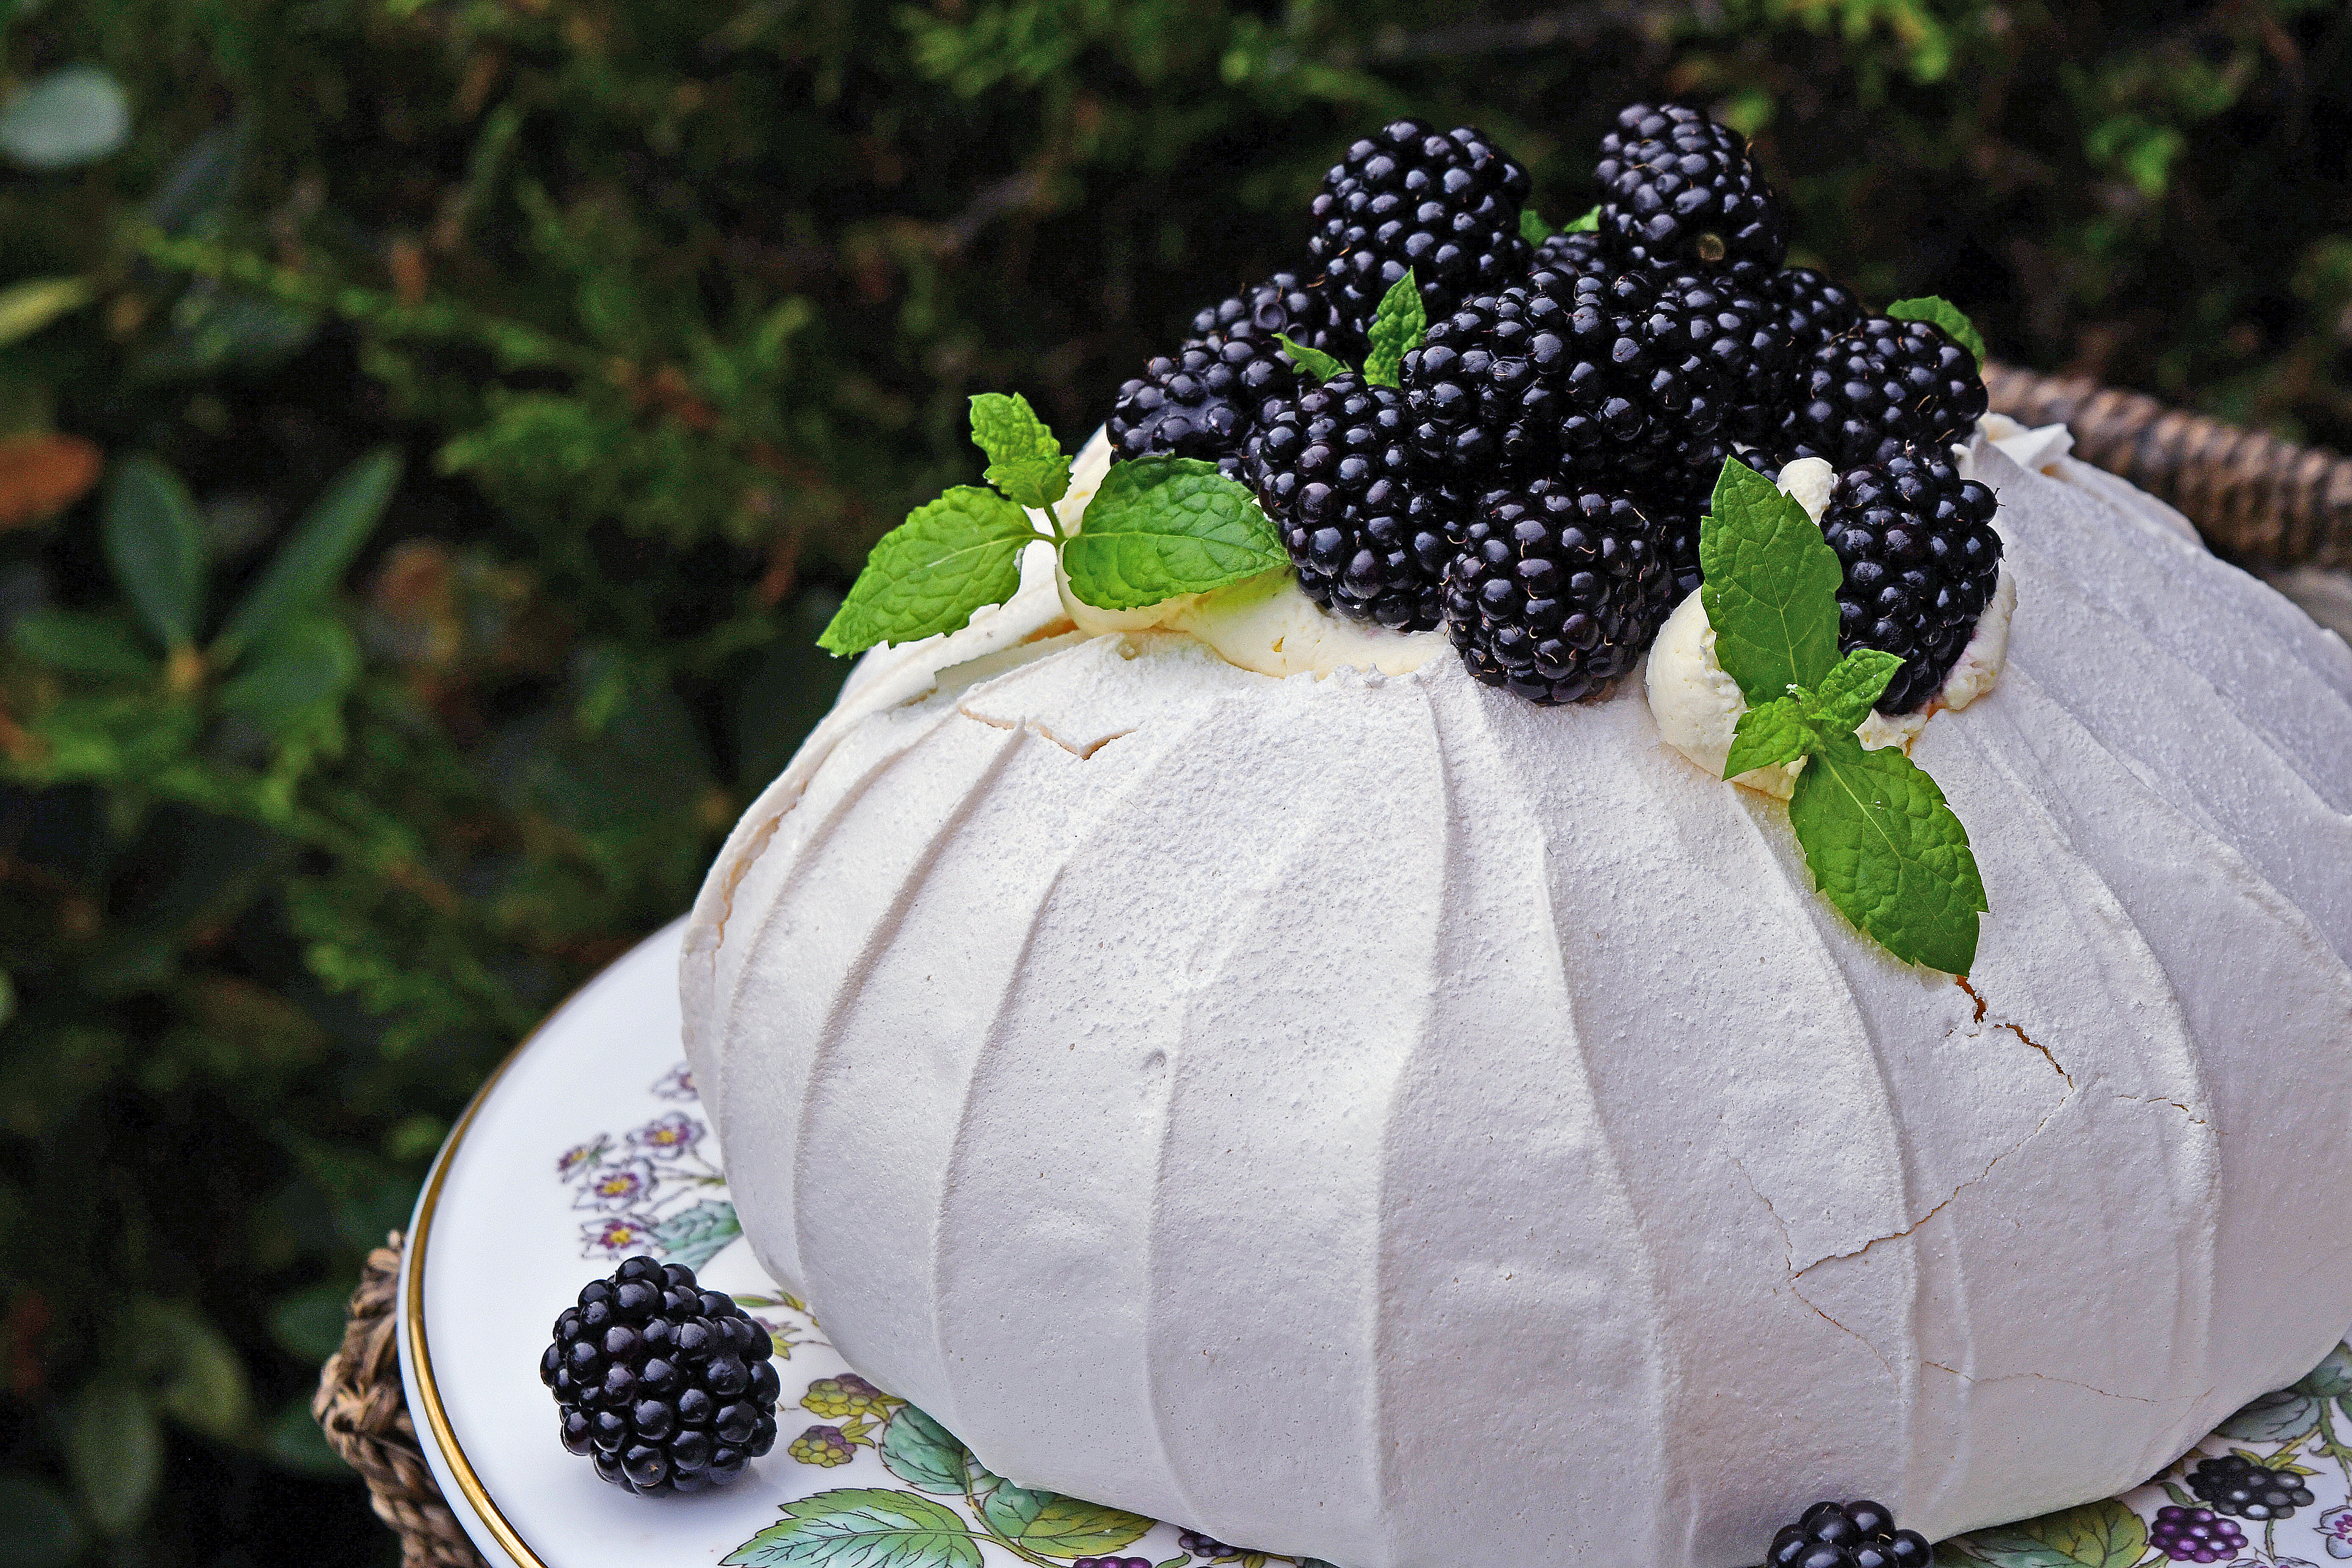
I decided to have a go at making a pavlova with my harvest and fill it with whipped cream, lemon curd and the big juicy (washed!) blackberries. I soak my berries briefly in salt water and then rinse with lots more water to get rid of anything lurking in them…
Ingredients
5 egg whites – I use room temperature eggs 250g caster sugar Pinch of salt 1/4 tsp cream of tartar 1tsp of vanilla extract Lemon – you can use vinegar too 1tbs corn flour Filling: 500ml double/heavy cream vanilla extract Lemon curd 1-3 tbs sieved icing sugar Blackberries Mint and icing sugar to garnish
Method
Make sure the bowl and whisk are really clean and there are no bits of yolk in the egg whites. I rubbed the bowl and whisk attachment with half a lemon to make sure there was no grease residue and the acid helps stabilise the egg whites too.
Draw a circle on some baking parchment – I used a bowl that was around 6/7 inches and then turn it over so the pencil won’t end up on the pavlova. Pre heat the oven to 150°C fan/130°F
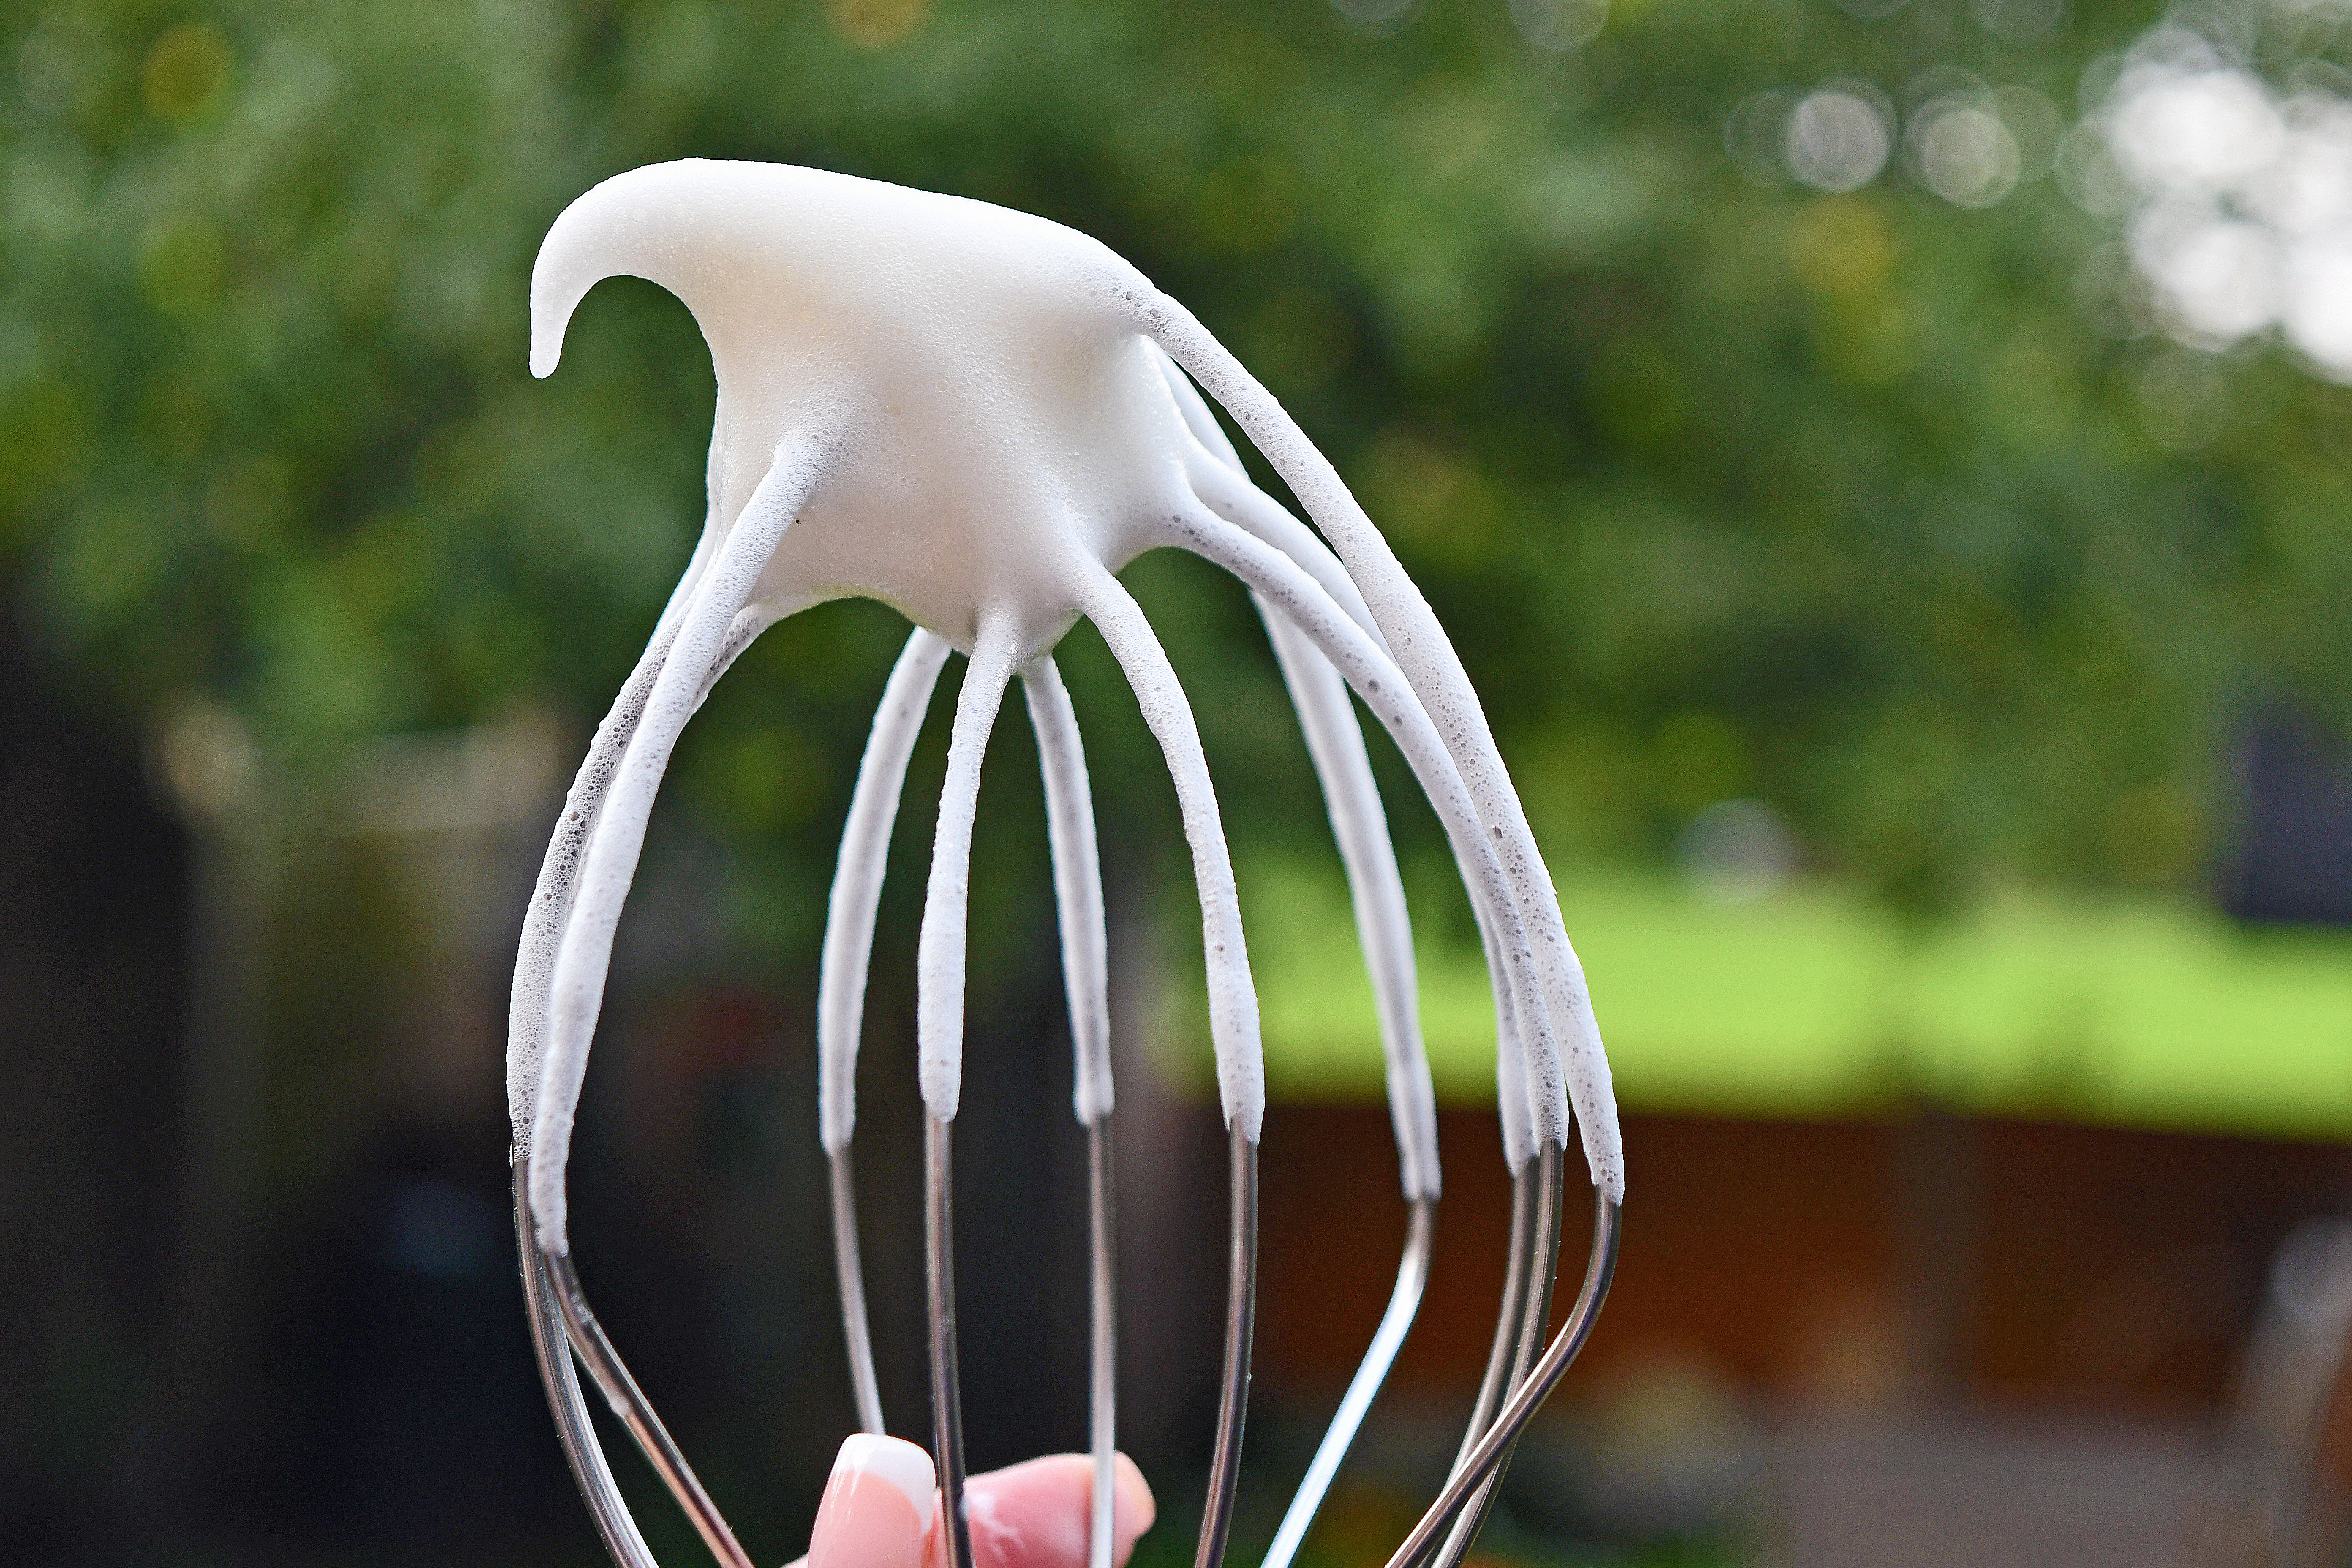
Place the egg whites, salt and cream of tartar in the bowl and whisk until soft peaks
Then gradually add the sugar a spoonful at a time, giving it plenty of time to whisk into the egg whites.
Once the sugar is all in, the mixture will be full of volume and really glossy. Stop whisking and fold in the vanilla a teaspoon of lemon juice and corn flour – this will make the inside chewy and marshmallowy.
Use a little of the mixture to stick the paper to a baking sheet, this will not only stop it moving around when you shape the meringue, but also stop it blowing around in the oven and sticking to the pavlova
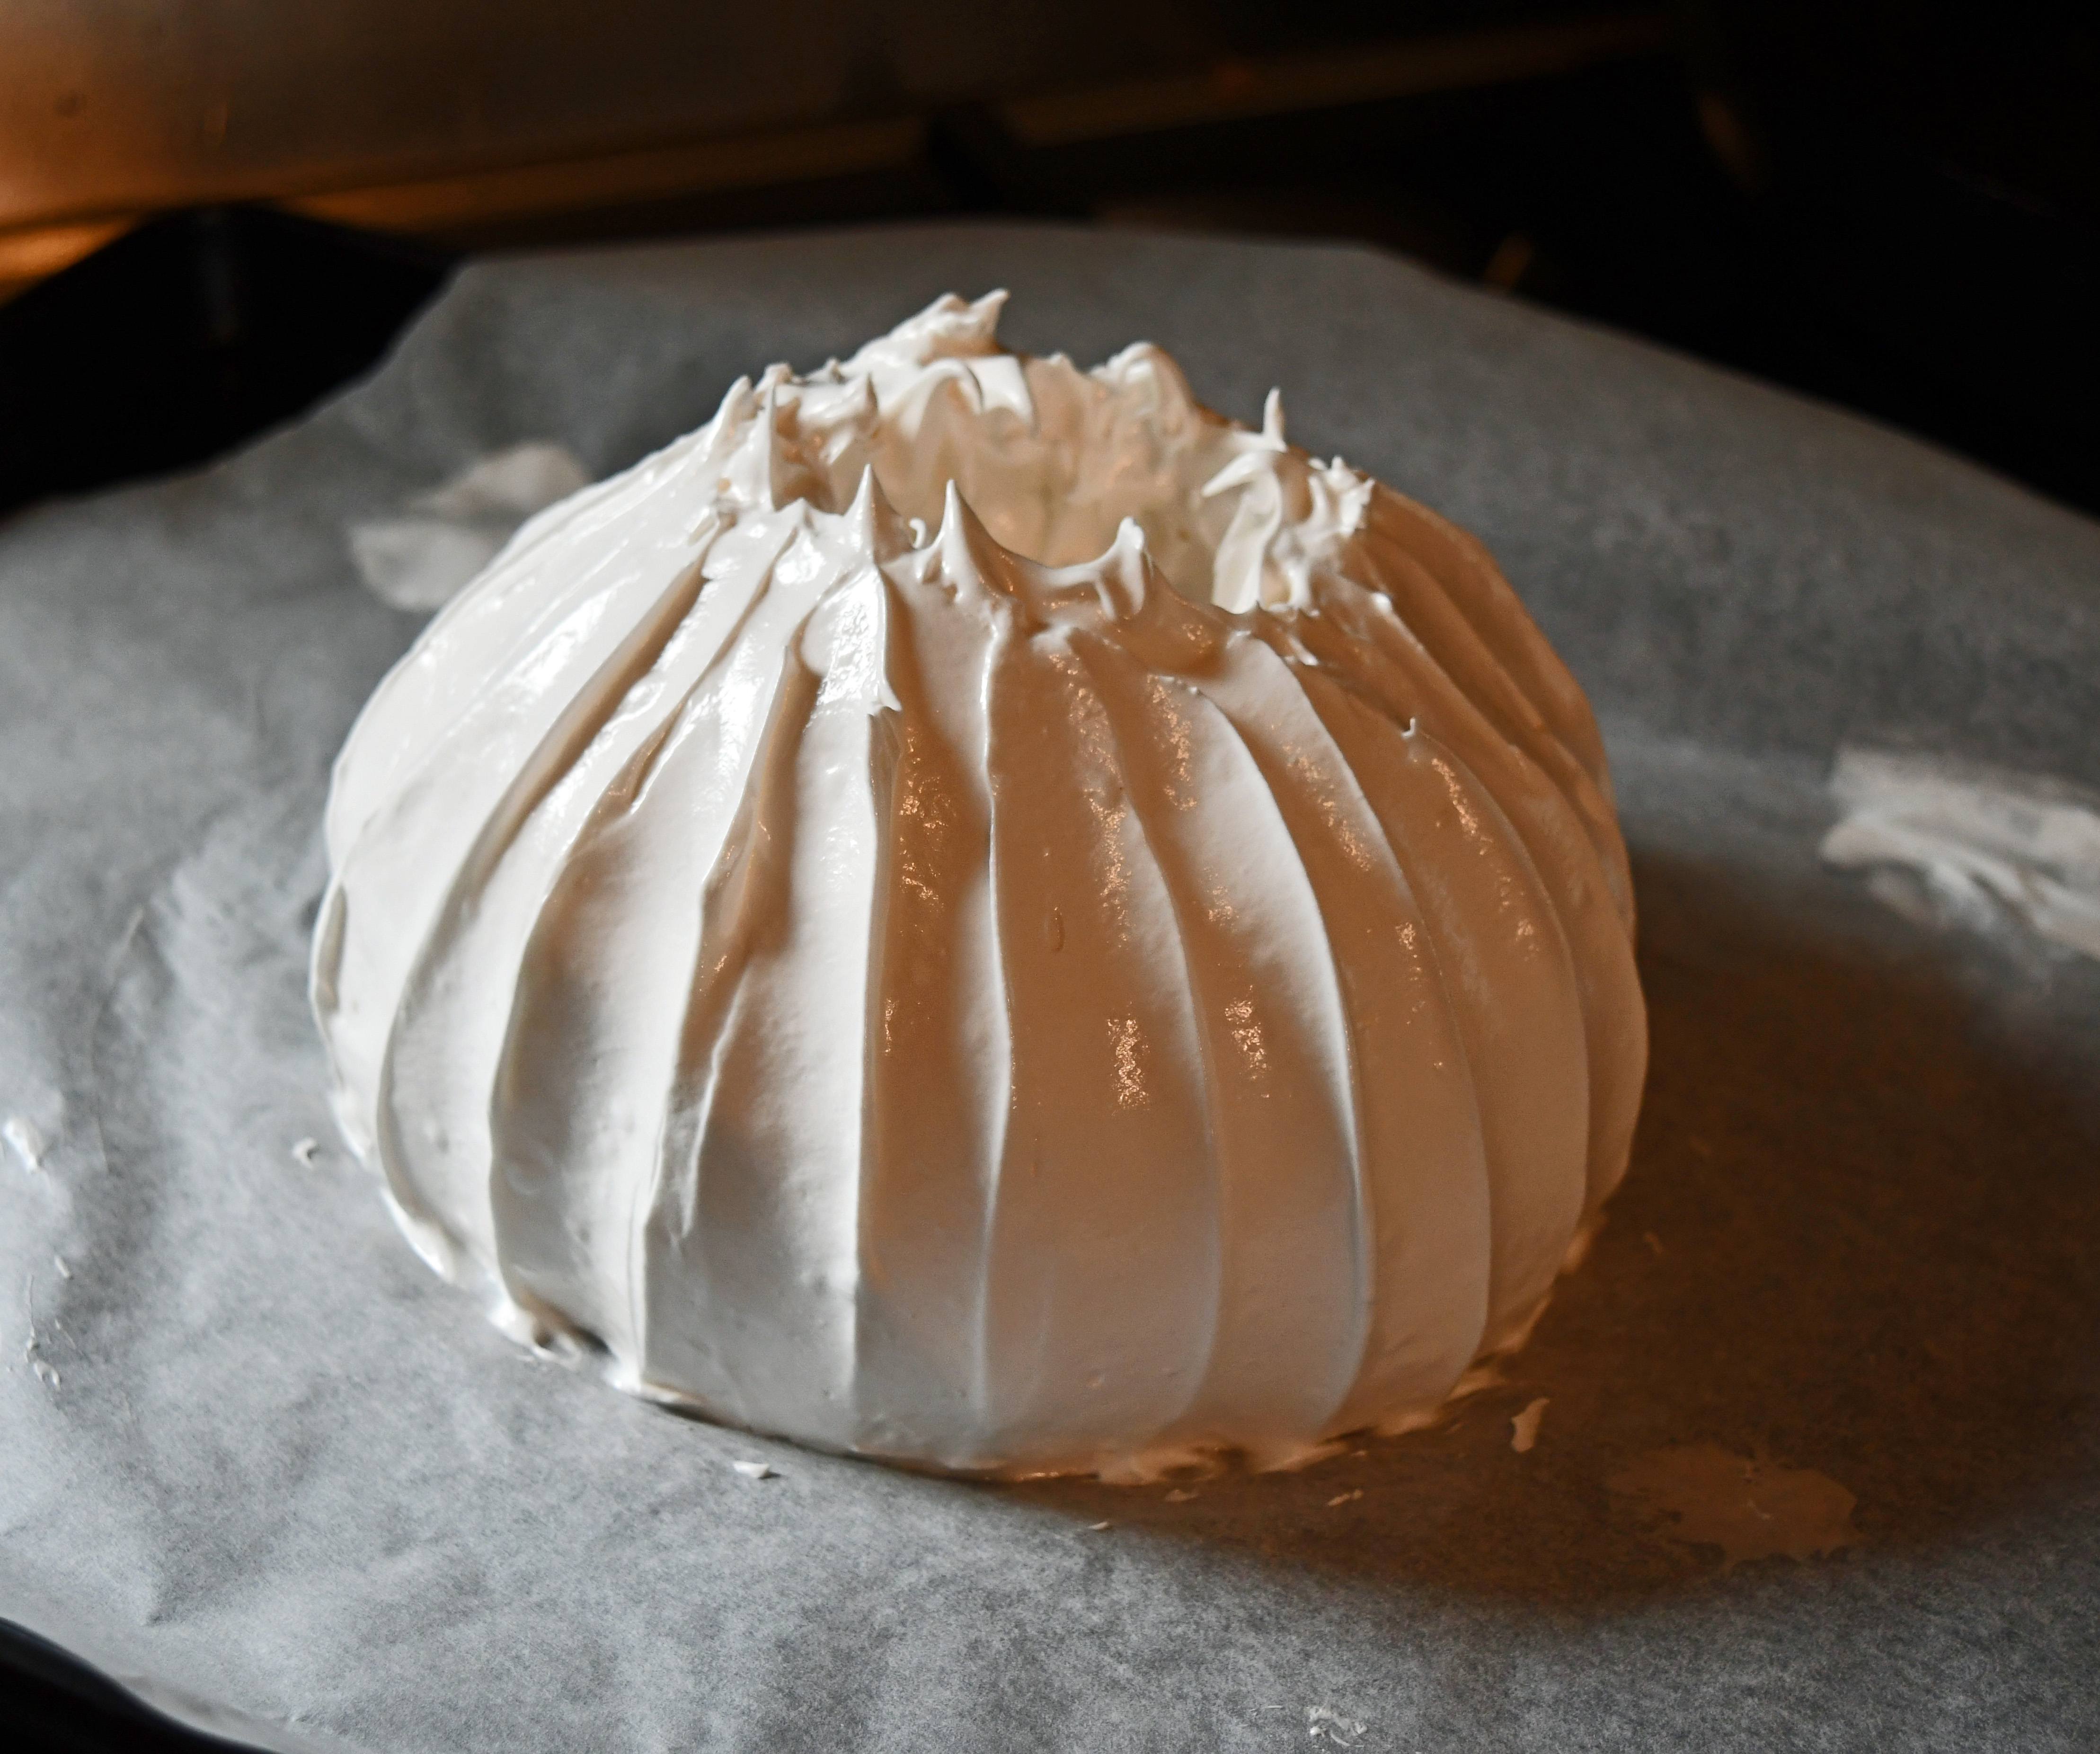
Spoon the meringue onto the baking parchment and using a palette knife or offset spatula, mould into whatever shape you like, leaving a dent in the middle for the filling to go into.
Bake for around an hour and don’t open the oven door. The surface will look dry and become crisp. After an hour, reduce the temperature to 120°C/250°F and leave it for another hour. Once this time is up, turn off the oven but leave the fan on, still not opening the door and leave again for another hour. Turn the fan off and leave it to fully cool, you can leave it overnight at this point.
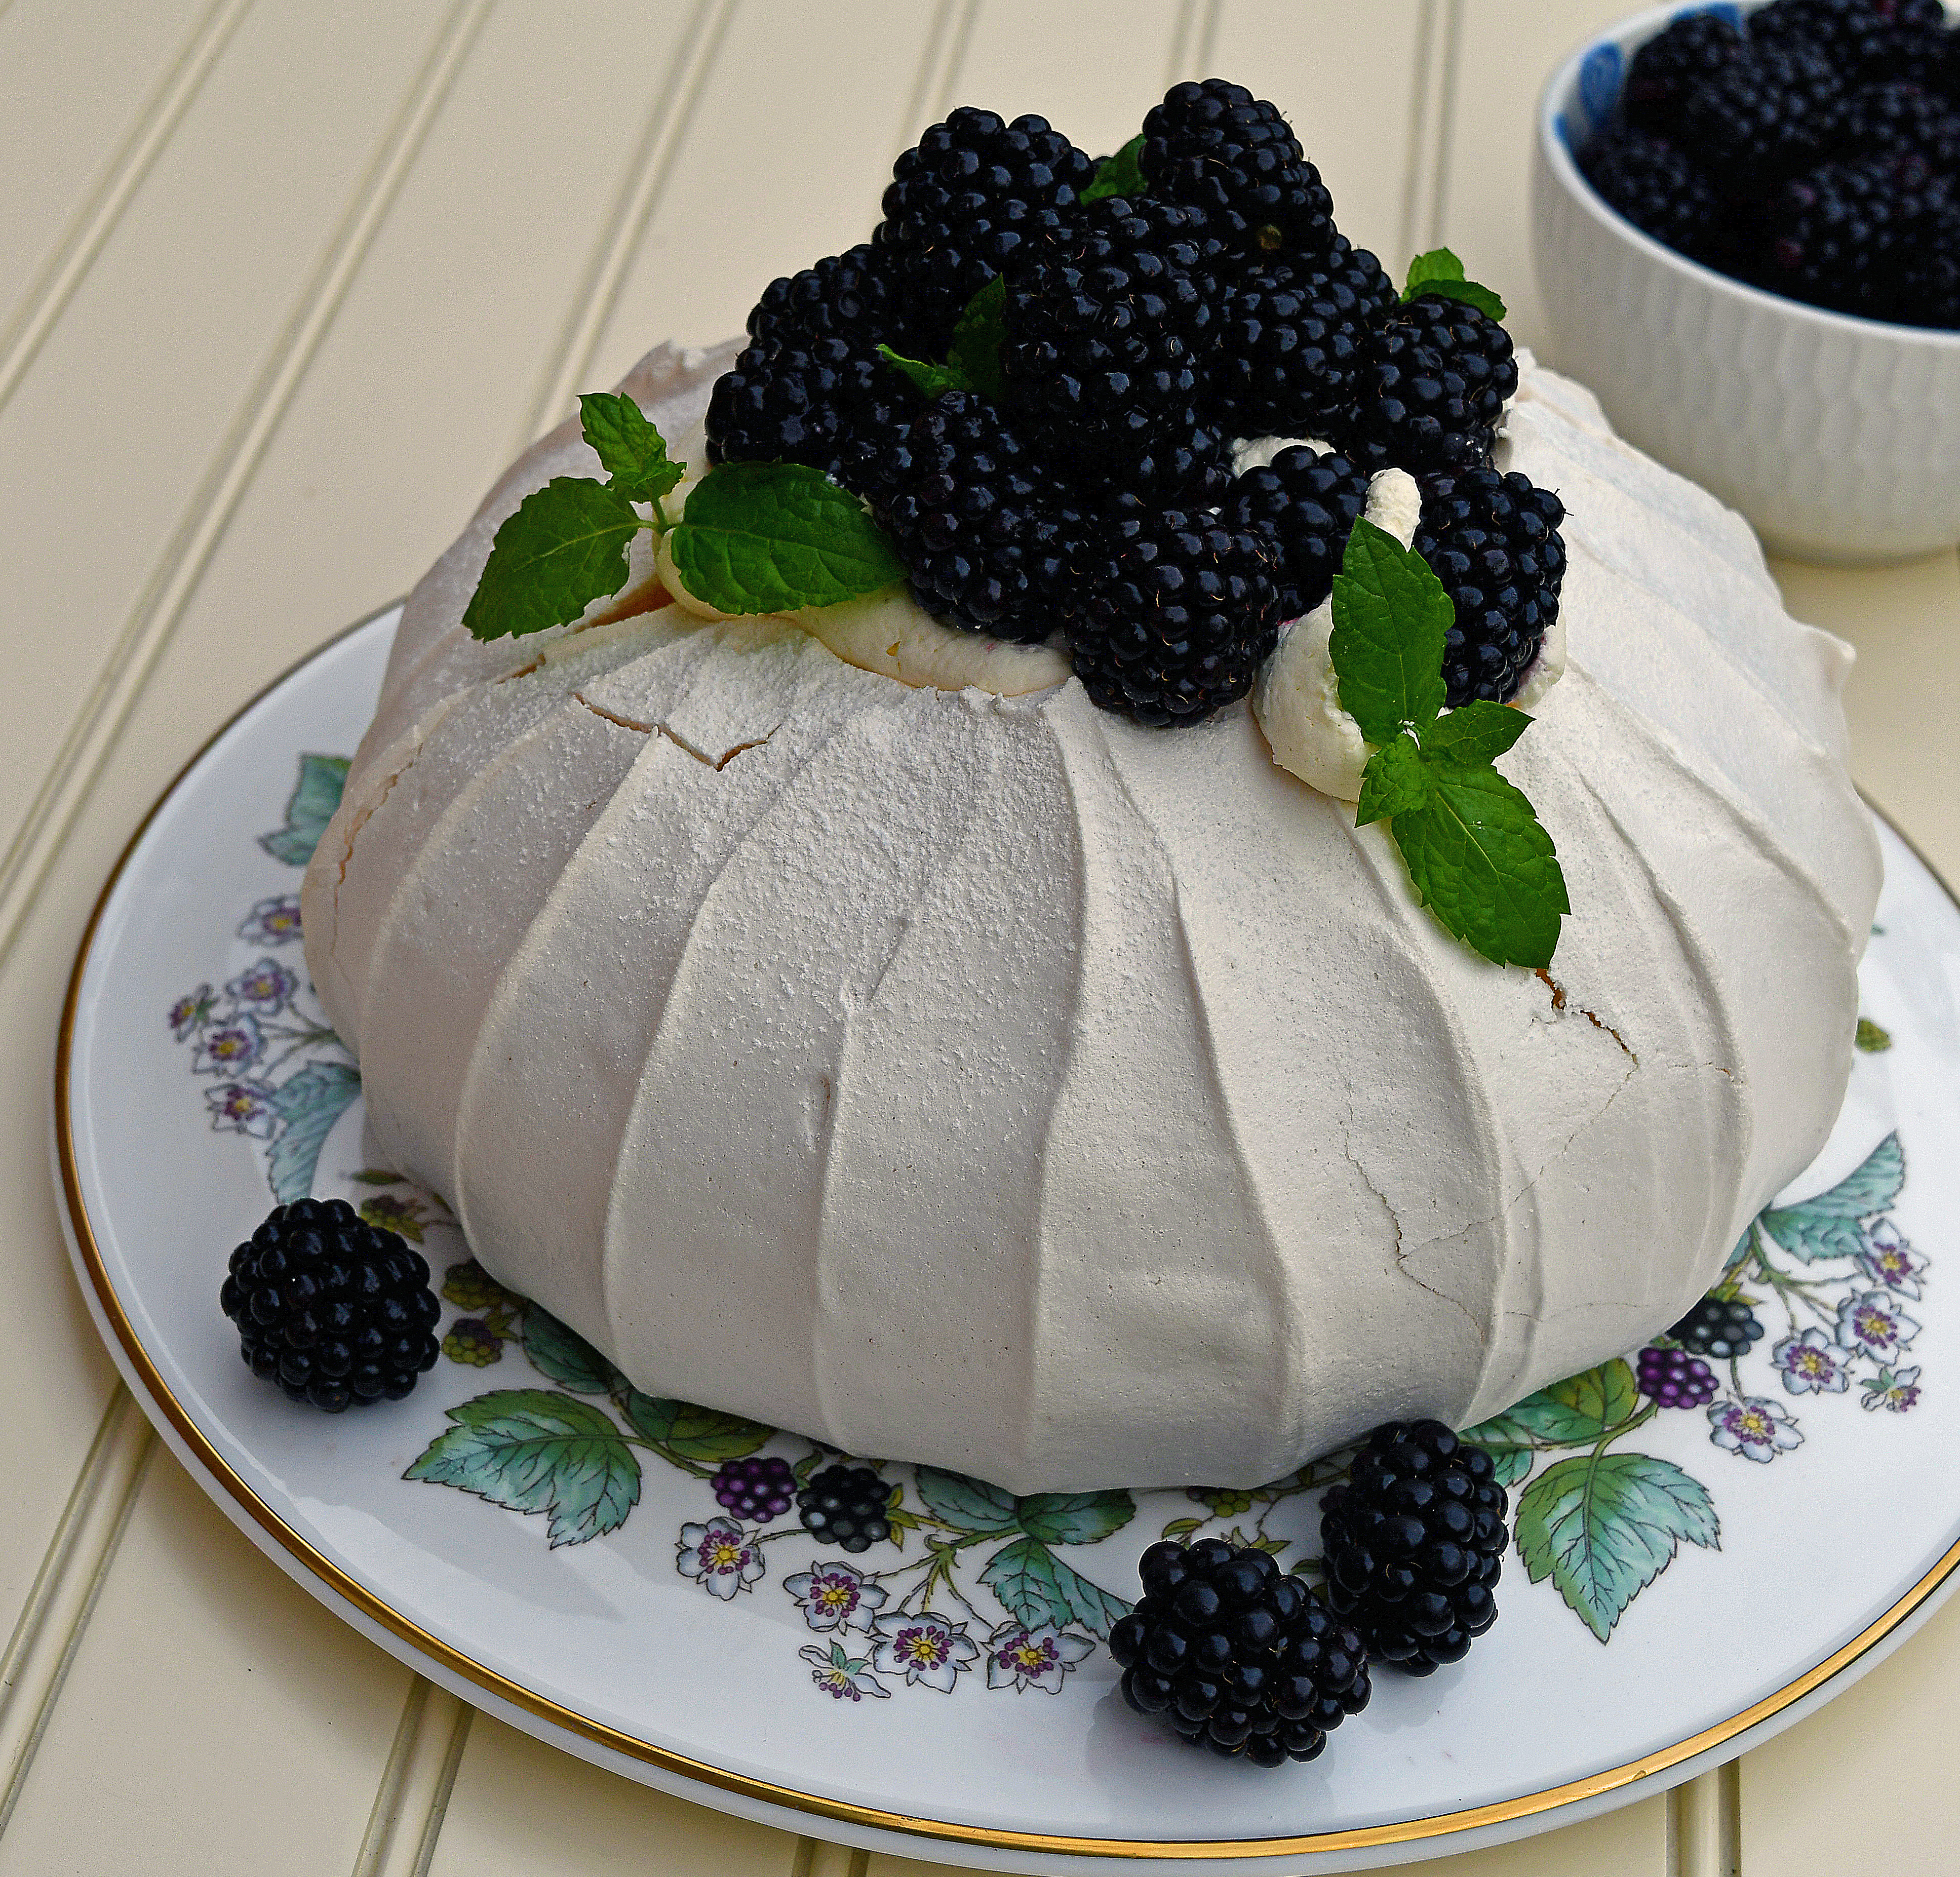
It should be soft and a little chewy in the middle, but not wet and eggy! The centre will collapse a little which creates a pocket for all the berries and cream. Leave it on the parchment until you are ready to decorate as its quite fragile, mine has a few cracks.
To make the filling, whisk the cream, a tsp of vanilla and 1-2 tbs of icing sugar until it thickens into very soft peaks. Taste for sweetness and take care not to overwhip.
Take a couple of tablespoons of lemon curd and loosely fold into the cream so you have a marbled effect and gently pipe into the centre of the pavlova, along with a layer of berries, top with more cream and lots of blackberries, sprigs of mint and a light dusting of icing sugar.
I don’t make crackers all that often, but its nice to serve something made from scratch and the children like to get involved in anything that involves a cute cutter!
These are buttery, crunchy and just the thing to serve with a cheese ball!
The only thing to remember is that crackers need to be rolled out super thin and pricked with a cocktail stick or they might not be very crunchy. You can leave them plain, or brush with melted butter when they come out of the oven and sprinkle with sea salt, seeds or crushed chillies.
I served these with my pumpkin shaped cheese ball here
Ingredients: 250g plain/all purpose flour 1tbs paprika 1tsp baking powder ½ tsp salt 60g very cold butter, cut into dice 1tbs olive oil Chilled water, around 180ml – enough to form a dough
Toppings: A little melted butter Sea salt Nigella seeds Sesame seeds
Method: Place the flour, paprika, baking powder, salt and butter into the food processor and pulse until the butter is the size of peas. Pulse in the olive oil and then adding the water, pulse until a rough dough is formed.
Halve the mixture and flatten into two discs and chill for around 30 minutes.
You want to roll out the dough as thin as possible, so I actually roll it out on the lightly floured liner before transporting it to the baking sheet.
When the dough is rolled out, stamp out the leaves (or whatever shape you are using) and prick with a cocktail stick. You need to do this step or the crackers will puff up.
Put the remaining dough back in the plastic and back into the fridge and bake the crackers for around 10 minutes until golden.
When they are taken out of the oven, place on a cooling rack, brush with melted butter and sprinkle with your chosen topping.
Continue until all the dough is used up, or you can freeze and use at a later date