Pumpkin Whoopie Pies with Spiced Maple Frosting

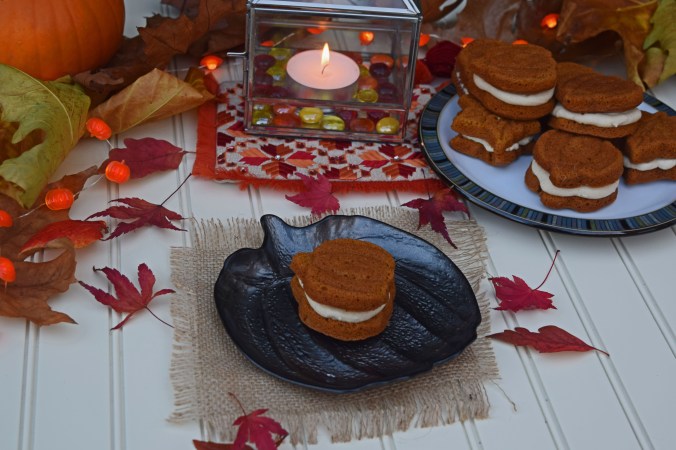
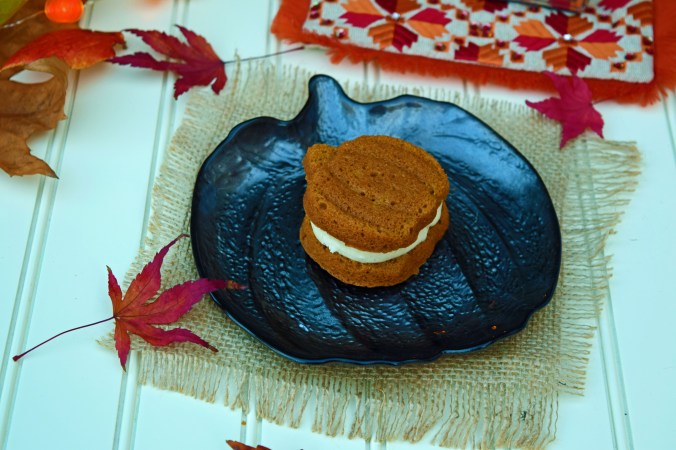
Who doesn’t love a whoopie pie?  These yummy treats are made with pumpkin, spices and sandwiched together with a decadent, spiced, maple cream cheese frosting.  All the flavours of autumn in one small (if indulgent) little cake.

Pumpkin Whoopie Pie

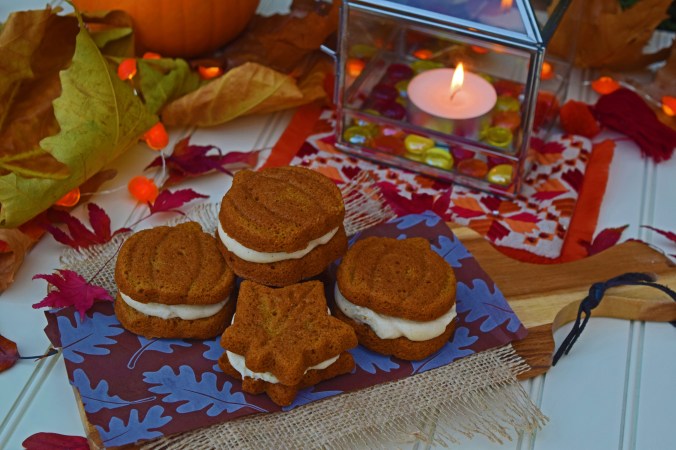
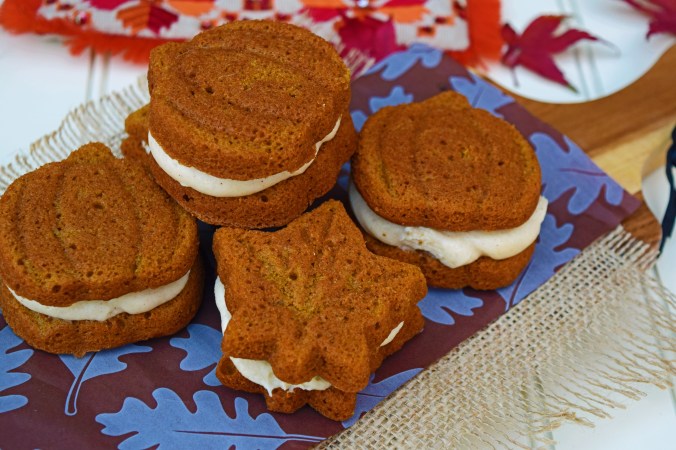
I made mine in a couple of Wilton 12 hole, Harvest whoopie pie pans, but they work just as well baked on a baking sheet with a non-stick liner, or parchment paper.  If you do use one pan, just be aware that you will need to keep washing and re-greasing it between baking the batches.  This can be a little time consuming, but if you want the cute shapes, totally worth it of course!

I’ve used a mixture of dark and light brown sugar and lots of spice for a dark and spicy mixture. There is more spice in the frosting too, along with maple extract.  All the flavours work so well together and create a perfect autumnal treat.

This recipe makes around 24 whoopie pies, depending on how big you make them

Pumpkin Whoopie Pie1

Ingredients:
200g dark brown soft sugar
200g light brown soft sugar
200ml vegetable oil
2 extra large eggs
1 can of pure pumpkin puree
380g plain flour
1 teaspoon salt
1 teaspoon baking powder
1 teaspoon baking soda
1 teaspoon vanilla extract
1 1/2 tablespoons ground cinnamon
1/2 tablespoon ground ginger
1/2 tablespoon ground cloves
A little extra butter, melted for brushing the whoopie pie pan

Frosting:
280g full fat cream cheese at room temperature
115g butter at room temperature
450g icing sugar
2tsp maple extract/or use 2tbs maple syrup
2tsp cinnamon
1/2tsp ground cloves
Pinch of ground allspice

Method:
Prepare the fosting first by seiving together the icing sugar and spices into a bowl.

In another bowl, beat the cream cheese, butter and maple extract together until light and fluffy. I do this in my stand mixer, fitted with the paddle attachment, but you could easily do this with a wooden spoon.

Beat in the spiced icing sugar until smooth and fluffy.  I wrap a towel around the mixer at this point to avoid huge clouds of icing sugar coating my entire kitchen!  You don’t get that problem with a wooden spoon!

Pumpkin Whoopie Pies2

When the frosting is prepared, I pile it into a piping bag and chill until I’m ready to sandwich the cakes together.  This helps to firm up the frosting a little and make it easier to handle.  You could just leave it in a covered bowl in the fridge if not using a piping bag.

To make the whoopie pies:

Preheat the oven to 180ºC/350ºF and brush the baking pan with melted butter or line a baking sheet with a non-stick liner or parchment.

Sieve the flour, spices, salt, baking powder and soda together in a large bowl.

Place the oil, sugars and vanilla in a bowl and whisk together.  I used a stand mixer, fitted with the paddle attachment, but this could easily be done with a hand whisk.

Beat in the pumpkin and eggs until smooth, then add the dry ingredients and mix until just incorporated.

If using a whoopie pie pan, I find it easiest to use a piping bag.  I pipe the mixture around the outside first to ensure the batter gets into all the corners and then work into the centre in a spiral.  You only need to half fill the little holes as the mixture will rise.  Give the pan a tap to help any air escape and settle the mixture.

Pumpkin Whoopie Pies3

If not using a pan, drop heaped teaspoons of the mixture onto the lined baking sheet, leaving room for the cakes to expand a little.

Bake for around 7 – 10 minutes, but keep an eye on them, they are ready when the cakes spring back to the touch and a cocktail stick comes out clean.

Leave them to cool in the tin for 5 minutes, before turning out onto a cooling rack and baking the next batch.  Let cakes cool completely.

When all the cakes are baked and cooled, either pipe or spread a little of the frosting onto one side and sandwich the two cakes together.  You can leave them plain, or add a few sprinkles around the edge.  I’ve used some bronze sprinkles here, which I think work well, but some people have been known to add crispy bacon bits too!

Pumpkin Whoopie Pies1

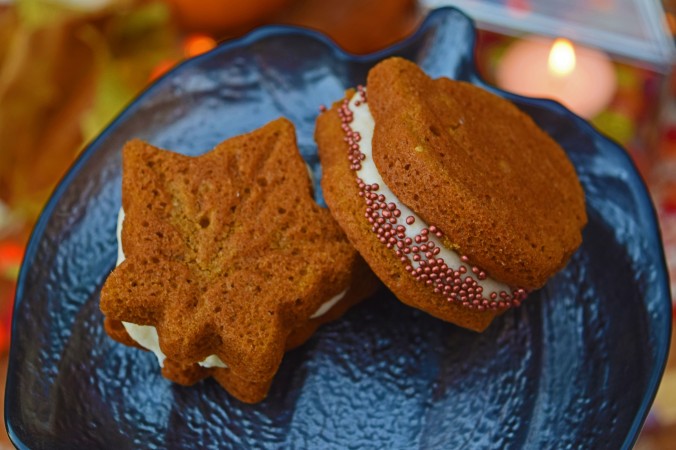
These are great for a party, an after-school snack, or just with a cup of coffee.

Bonfire Cupcakes

I have seen lots of people make a version of these on Pinterest and always wanted to have a go myself as they are really fun, but also delicious to eat.

Bonfire Cupcakes3

Keeping with the bonfire theme, I have used dark brown sugar in the moist chocolate cakes and a little cinnamon too, giving a toasty, warm flavour.

To make these extra decadent, I have used a rich cream cheese frosting which is really delicious with the chocolate cakes.  It will crust a little once piped onto the cakes, so they shouldn’t be too messy to eat!

Bonfire Cupcakes2

The firewood sticks are made from Mikado and the flames leaping into the air are melted boiled sweets.  To make these extra kitsch, I have added a toasted marshmallow on a stick too.

These were very popular with the children and very simple to make – a perfect Bonfire Night treat.

Ingredients:
160g unsalted butter, at room temperature
150g light brown sugar
110g dark brown sugar
2 extra large eggs
1tsp vanilla extract
1tsp coffee extract
375ml sour cream
250g plain/all-purpose flour
90g cocoa powder
2tsp cinnamon
1.5tsp baking soda
1/2tsp salt

Cream cheese frosting:
1 x 280g pack of room temperature cream cheese – I used Philadelphia
125g room temperature butter
2tsp vanilla extract
425g sieved icing sugar
red, orange and yellow food colouring – I used blossom dust

Flames, firewood and toasted marshmallows:
Red, orange and yellow boiled sweets – I used Fox’s Glacier Fruits
1 -2 70g boxes of Mikado biscuits – I used the ones with Daim
12 cocktail sticks and mini marshmallows
Autumn leaf sprinkles – optional

Bonfire Cupcakes

Method:
Pre-heat the oven to 180°C/356°F and line a 12 hole muffin tin with paper cases

In a large bowl, sieve together the flour, cocoa, cinnamon, salt and baking soda and set aside.

In a stand mixer fitted with the paddle attachment, or using an electric whisk – cream the butter and sugars together until light and fluffy, stopping to scrape down the sides from time to time.

While still mixing, add the eggs one at a time, making sure they are fully incorporating before adding the next one.  Beat in the vanilla and coffee extracts.

With the mixer on low speed, add one third of the flour, followed by one third of the sour cream and so on until just combined.  If you add the sour cream all at once, the mixture will curdle.  It will come back when you add the flour, but you will lose some of the lightness.

Using an ice cream scoop to ensure all the cakes are the same size, plop the mixture into the cases and bake for 20-25 minutes or until a cocktail stick comes out clean.  Leave to cool completely.

Bonfire Cupcake2

To make the frosting, beat the cream cheese, vanilla and sieved icing sugar together until smooth.  Split the frosting into three and add the food colouring to colour each third yellow, red and orange.  Just add a little at a time until you get the colour you want,  I used edible blossom dust, but the gel colours you can get work well too.

Pile the frosting into a piping bag, keeping the colours as separate as you can.  You are wanting a marbled effect, so a little mixing of the colours is fine.  You can use a special piping bag with chambers if you wish.  Leave the piping bag in the fridge for at least 30 minutes to firm up.

To make the flames, put the oven on at around 200°C/400°F

Place the different coloured sweets into plastic bags and bash them into crumbs with a mallet or rolling pin.  Place little piles of them onto a lined baking sheet – red at the bottom, then orange and yellow at the top – see below:

Candy flames

Place in a hot oven for around 5 minutes, or until the pieces melt – just keep an eye on them.  When they have melted, take them out and using a cocktail stick, swirl the colours up to create flames.  Work quickly as they cool down in minutes.

To assemble, pipe a swirl of the orange, red and yellow frosting onto each cake, break up the Mikado sticks for firewood and stud each cake with flames, breaking them for different heights.

Bonfire Cupcake

Finally, skewer cocktail sticks with one or two mini marshmallows and using a firelighter or lighted match, scorch the marshmallows to toast them, before placing onto each cake.  I also added a few autumn leaf sprinkles too.

Bonfire Cupcake1

Just the thing for a bonfire party.

Parkin

The nights are long, the air is cold and thoughts turn to spiced, baked treats!  Yorkshire Parkin is a dark, sticky, oaty, gingerbread type of cake traditionally eaten around Bonfire Night.  Made ahead and stored in a cake tin, it will be at it’s sticky best for your bonfire party.Parkin2

I like to whizz up the oats in the food processor for a finer texture, but they can be left whole if preferred.

Ingredients:
220g butter
120g dark brown soft sugar
100g black treacle/molasses
150g golden syrup
120g oats – ground up on the food processor
200g self raising flour
1tsp baking powder
A pinch of salt
1tbs ground ginger
2tsp cinnamon
1tsp freshly ground nutmeg
1/2tsp ground cloves
2 extra large eggs, beaten
50ml milk

Method:
Pre heat the oven to 140°C/275°F and generously butter a 22cm² baking tin

Place the butter, sugar, treacle and syrup in a heavy based pan and gently heat until everything is melted together, stirring with a wooden spoon.  Take care not to boil.  When all the ingredients are nicely melted and molten, set aside to cool a little.

In a large bowl, sieve together the flour, baking powder salt and spices and mix in the ground oats.

Baked Parkin

Pour in the sugar and treacle mixture and mix to combine.  Everything should be well mixed and coated.  Mix in the beaten eggs and then add the milk.  The mixture should be wet and pourable, so once the eggs are added, you might not need all of the milk to get to a nice pouring consistency.

Parkin1

Pour the mixture into the tin and bake for at least an hour and a half.  Check the cake after this time, it should be firm and spring back when gently pressed.

Leave to cool in the tin for around 30 minutes.  You can serve it warm or keep for a few days and it will increase in stickiness and be at its very best.
Parkin3

Cut into squares and enjoy with hot coffee, tea, or mulled cider!