Rustic Nectarine and Blueberry Crostata

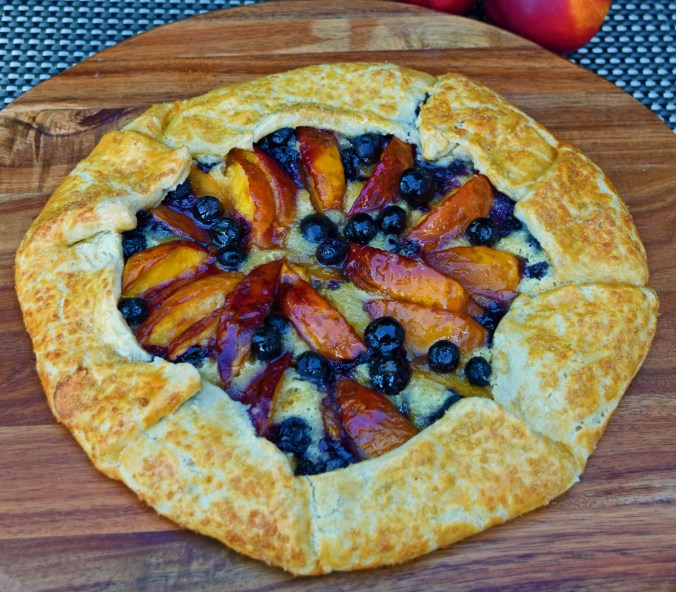
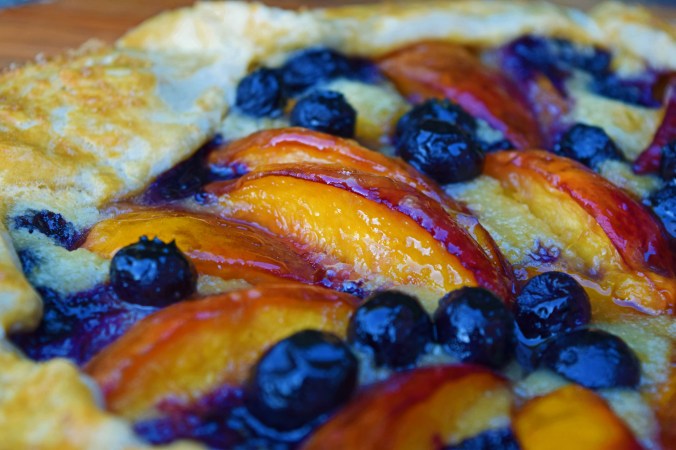
This is the ultimate summer tart really. A tender, flaky crust, filled with frangipane, fresh nectarines and blueberries.

Nectarine blueberry crostata5

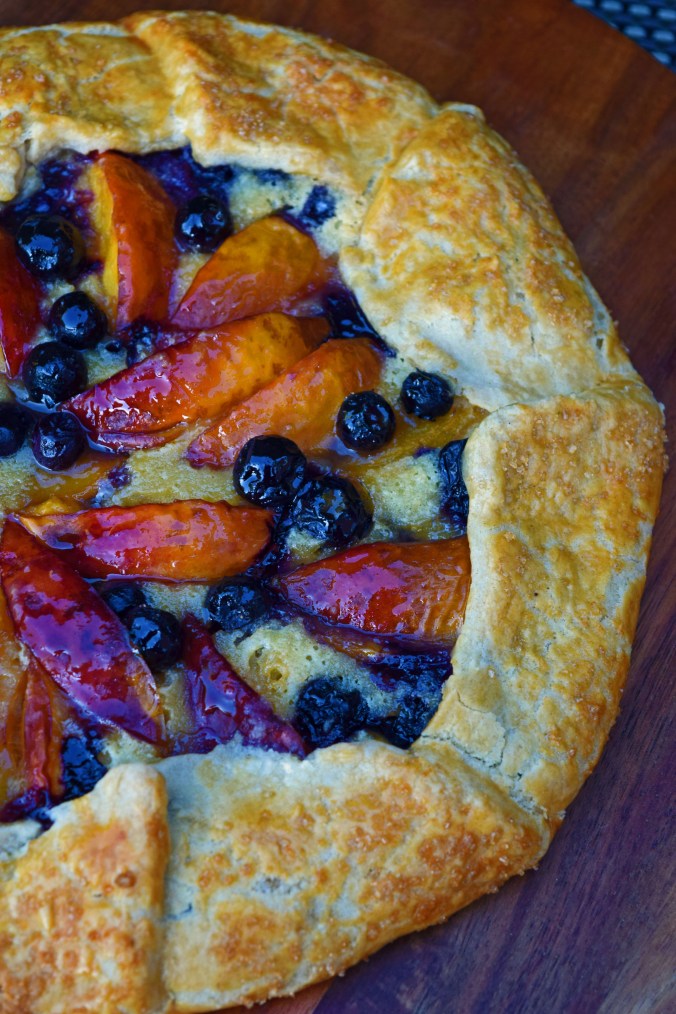
These nectarines were so fresh, sweet and juicy, they were almost too good to use in this tart – almost! Any stone fruit and berries would work in this, but nectarines are my favourite summer fruit and work really well together with the blueberries.

The frangipane cream on the base of the fruit plumps up as it bakes in the oven, so as the tart expands, you can see little bits of the delicious almond mixture peeping up through all the juicy fruit.

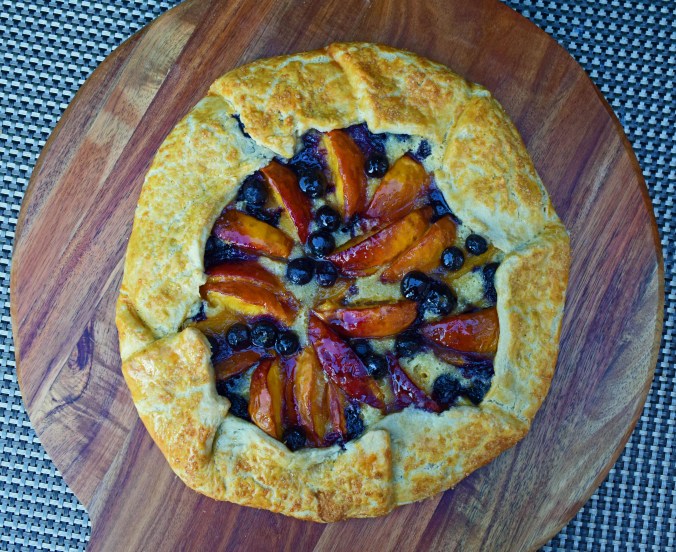
I love making free form pies like this as they are so easy and the crust is so forgiving! It doesn’t have to be perfect; this is a lovely rustic and home-made tart, the perfect dessert on a hot summer day.

Nectarine blueberry crostata1

Ingredients:
Crust:

240g of plain/all-purpose flour
2tbs soft brown sugar, packed
½ tsp salt
170g butter, cut into cubes and refrigerated
Iced water

Frangipane:
60g ground almonds
60g room temperature butter
½ tsp almond extract (optional)
Zest of half an orange
Pinch of salt
1 large egg
2 tbs plain/all-purpose four

Fruit filling:
50g soft brown sugar – you might want to use more if your fruit is not overly sweet
2 tbs plain/all-purpose flour
Pinch of salt
4 nectarines, each one cut into 8 wedges
1 small punnet of blueberries
1 tsp vanilla extract

Topping:
1 egg, beaten with a little milk to make a wash
Demerara/Turbinado sugar for sprinkling – about 2tbs

Nectarine blueberry crostata4

Method:
Place the flour, sugar, salt and butter into a food processor and pulse until the butter is the size of peas. Add the iced water 1tbs at a time, while pulsing, until it just comes together. Turn out the dough, form into a circle, wrap in cling film and leave to chill for 30 minutes.

For the frangipane, use a hand mixer or stand mixer fitted with the paddle attachment and beat the almonds, butter, zest and salt together until light and fluffy. Then beat in the egg, almond extract and flour until smooth. Chill this until completely firm. I cheated and stuck it in the freezer while I prepared the fruit.

Nectarine blueberry crostata

For the fruit filling, my nectarines were super sweet, so they didn’t need too much sugar, but if you find yourself with rather tart fruit, then you can add a little more sugar.

I placed the nectarines, blueberries, four, salt and vanilla into a bowl and tossed gently until everything was coated. Everything was very juicy, so I didn’t need any extra liquid, but a squeeze of orange could be added at this stage too.

To assemble the tart, roll out the dough into a large circle on a lightly floured piece of parchment, or non-stick liner to a thickness of around a £1 coin.

Scrape the frangipane into the centre of the dough and smooth out with the back of the spoon, or an off-set spatula, leaving a good 2 inch border all the way around.

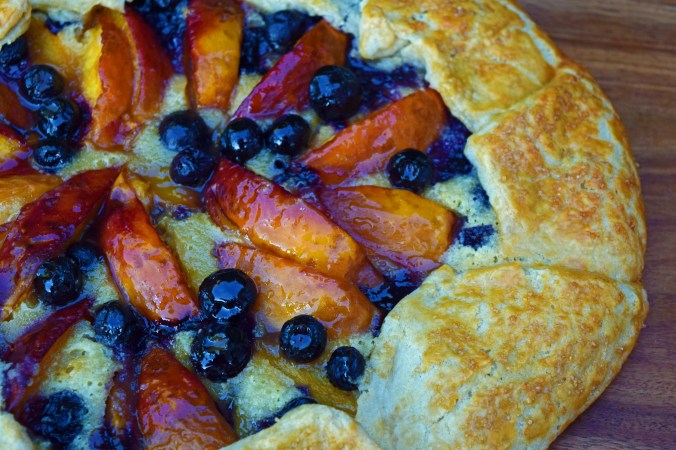
Leaving any extra juices behind in the bowl, pile the fruit (or very artistically arrange) on top of the frangipane, still leaving the border behind.

Brush the dough border with the egg wash and fold the crust up and over the filling, pleating and gently pressing down to seal the crust in place. The centre of the tart will remain exposed.

Brush the outside of the crust with the egg mixture and sprinkle the Demerara/turbinado sugar generously to coat. Then chill the tart until the whole thing has firmed up – around 30 minutes – 1 hour.

Nectarine blueberry crostata3

Pre-heat the oven to 190°C/375°F

Place the tart, still on the parchment or liner, onto a large baking sheet and bake in the oven for around 45 minutes, or until the crust is a deep golden colour and the frangipane filling is cooked through. The tart will expand and spread out a little as it bakes and the frangipane filling will puff up and around the fruit.

Nectarine blueberry crostata2

Transfer to a wire rack to cool for around 10 minutes if serving warm with vanilla ice cream, or leave to go completely cold. The tart will firm up as it cools, making it a perfect dessert to take on a picnic.

Prawn and Avocado Summer Rolls

Its been a long, hot summer so far with no signs of it ending anytime soon. For a summertime meal that is light, flavourful but substantial too, summer rolls are a good choice.

Summer roll ingredients

You do need to buy a specialist ingredient to make these, but the rice wrappers are quite readily available in the supermarket, along with the rice noodles and on Amazon too.

Once you have your ingredients ready, they are quick and easy to make and no deep frying required like with spring rolls.

My family really enjoyed them and you can leave out the fresh herbs, if you want to serve them plain. The juicy prawns and fresh, crunchy vegetables are a nice alternative to a salad and just the thing for yet another hot day.

Is anyone else ready for Autumn, or just me!?

Ingredients:
Vietnamese rice wrappers – available at most supermarkets or Amazon
Approx 100g vermicelli rice noodles
1 pack cold water prawns/shrimp
1 avocado
1 x red and yellow pepper
1 carrot
1 Romaine lettuce
Fresh coriander/cilantro and mint leaves
1 large lemon
Sweet chilli sauce to serve

Method:
This is mostly an assembly job and you need to have everything ready and to hand before you can make the rolls.  My ingredients made 8 rolls, but you can easily scale this up for more people.

Summer roll veggies

Start by preparing the rice noodles as per the packet and leaving to cool.

When they are ready, prep all the veggies by very thinly slicing the peppers and carrots into matchsticks. Thinly slice the avocado and toss in lemon juice so it doesn’t discolour. Tear the lettuce into large pieces.

Toss the prawns in lemon juice and freshly ground black pepper.

Summer rolls2

In order to soften the rice wrappers, they need to be submerged into warm water. I used a shallow pan and gently heated the water, but you could just use warm tap water in a large enough dish. Just be sure to follow the instructions on the packet.

When you have everything ready, you need to work quickly.

Submerge the wrapper into the warm water and leave for around 10 seconds, it will quickly soften and become very pliable.

Place onto a board and stuff with a little of everything, taking care not to overstuff.

Summer rolls4

As you can see the ingredients through the wrappers, you can place the herbs on first so they can be seen. Some people get very artistic!

I used coriander for some and mint for the others as my husband loves mint, but isn’t a big fan of coriander (like me!)

Summer rolls

I started with the herbs and lettuce then added the noodles, prawns, avocado, peppers and carrots. Place the sticks of vegetables all pointing the same way in the centre of the wrapper, fold over the sides and roll away from you like you would a burrito.  Roll fairly tightly, but gently, folding in the ends as you get to the end of the roll.  The ingredients will be fully enclosed in their see through parcel.

While assembling the rest, place the summer rolls seamside down onto your serving plate, keeping them separate as they will stick together if they are touching.

Carry on until you have used up all your ingredients, then cut in half diagonally and serve immediately.

Summer rolls zoom

Enjoy with a dipping sauce, either home made or a good one from the supermarket. I have used a sweet chilli one, but hoisin or a peanut sauce is really good too.

These make a really delicious and light summer lunch or supper and are really worth trying.

Southwestern Salad Bowls

With the lengthening days, blue skies and sunshine, thoughts turn to salads, barbecues and eating alfresco. That’s the fantasy anyway. My reality is as soon as the sun comes out and the trees have their beautiful blossom, my horrible hay fever with huge sneezes and itchy eyes kicks in!

Southwestern Salad1

This salad is particularly summery, full of flavour and good for you too. The chicken is coated in taco seasoning, so it’s a little spicy and the cool, creamy dressing is a perfect accompaniment.

I’ve made my own taco seasoning as it’s not so readily available in the UK, but I like to make my own spice blends anyway as they will always be fresher than anything you can buy in the shop and you can customise and add a little more chilli if you like it spicier. However, my taco seasoning isn’t too hot as I was making it for the family, but it does have a bit of a kick.

Taco seasoning also goes amazingly well on anything that is good grilled or roasted – prawns, fish, vegetables and steak kebabs!

Southwestern Salad5

You can serve the chicken on this salad warm or cold and I sometimes scatter hot crispy, smoked bacon over the top and a scattering of grated cheese for something extra!

I tried a few variations for the dressing and decided that I liked half greek yogurt and half sour cream, but it really could be all of either. I included a tiny squidge of honey too, just to balance out all the flavours.

This recipe is enough for 4 large chicken breasts, but can easily be halved to serve 2. I like to cook extra for leftovers, or to take to work for a packed lunch.

Taco seasoning :
4tbs chilli powder – I used hot chilli powder
2tbs cumin
1tbs paprika – I used smoked paprika
1tsp salt
2tsp dried onion flakes
1tsp garlic powder
1tsp dried oregano – you could use Italian seasoning if you don’t have any

Simply mix everything together and store in an air tight jar until you are ready to use.

Taco Seasoning

Dressing:
3tbs sour cream
3tbs Greek yogurt
1 medium sized bunch of coriander/cilantro including the stalks
Zest and juice of one small lime
Pinch of salt and pepper
1tsp (tiny squidge) of honey

Blend everything together until smooth, taste for the seasoning and refrigerate. I just used a hand blender as I didn’t want to get my main blender or food processor out!

Coriander dressing.jpg

Ingredients for the salad:
2tbs taco seasoning
Pinch of salt
1.5tbs olive oil
Juice and zest of one small lime
4 skinless chicken breasts
2 Romaine lettuces, roughly chopped or torn
2 avocados, skinned, sliced and tossed in lemon or lime juice
1 punnet of tomatoes – I used multi-coloured ones
1 can of sweetcorn, rinsed and drained
1 can of black beans, rinsed and drained
A few coriander leaves and lime wedges to garnish

Southwestern Salad2

Method:
Mix together the seasoning, salt, lime and oil together and thoroughly coat the chicken. You can do this in a plastic bag, or in a dish covered with cling film. Refrigerate and leave to marinate for at least 30 minutes, but overnight is even better.

Grill the chicken on a griddle pan or frying pan until cooked through – 4-6 minutes on each side depending on how big the pieces are. You might need to add a little more oil and then leave to rest if using it warm, or leave to go completely cold, before slicing and preparing the rest of the salad.

Southwestern Salad3

When ready to serve, place a bed of lettuce into each bowl, top with the sliced chicken and then arrange the tomatoes, avocado, beans and corn around the chicken. You can also toss everything together before placing the chicken on the top.

Garnish with a few coriander leaves, before pouring over a little of the dressing. Serve the salad with extra dressing and my husband likes the addition of crispy bacon and cheese too.

Southwestern Salad2

I always like to make enough so I can take a lunchbox to work the next day with the dressing in a little screw top pot. Just remember to toss the avocado in juice or it will discolour.

Southwestern Salad lunchbox