Apple Hand Pies

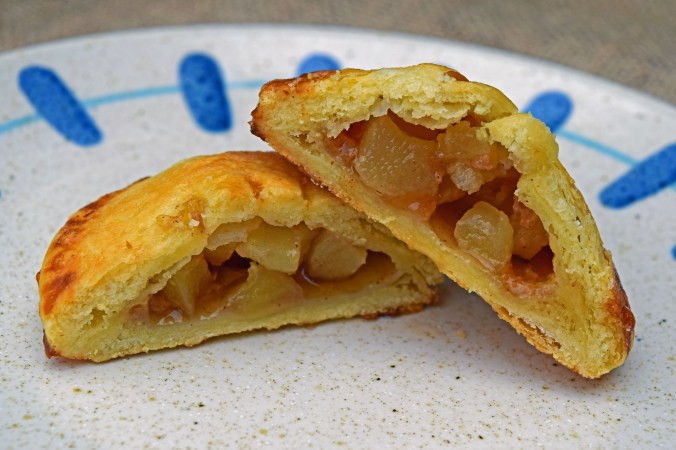
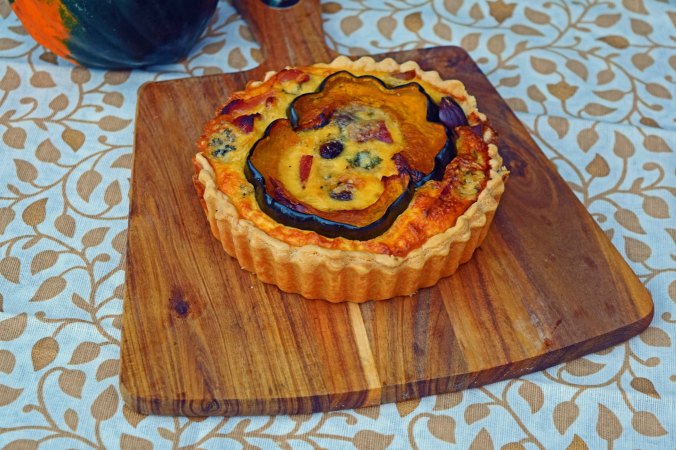
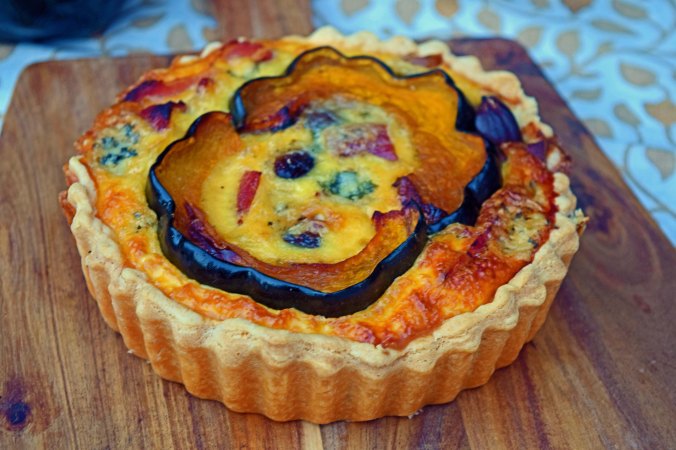
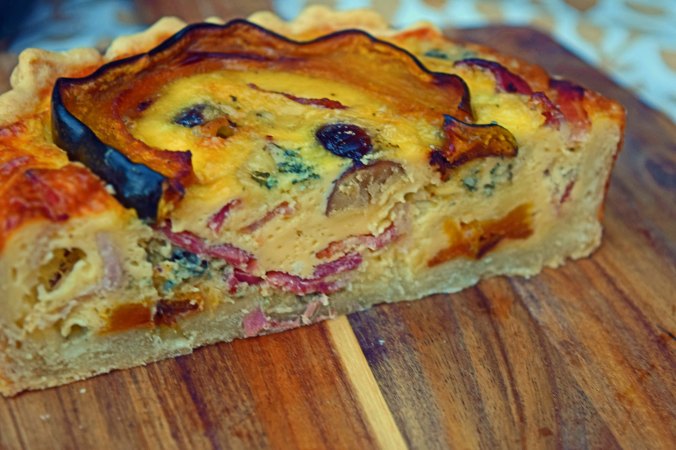
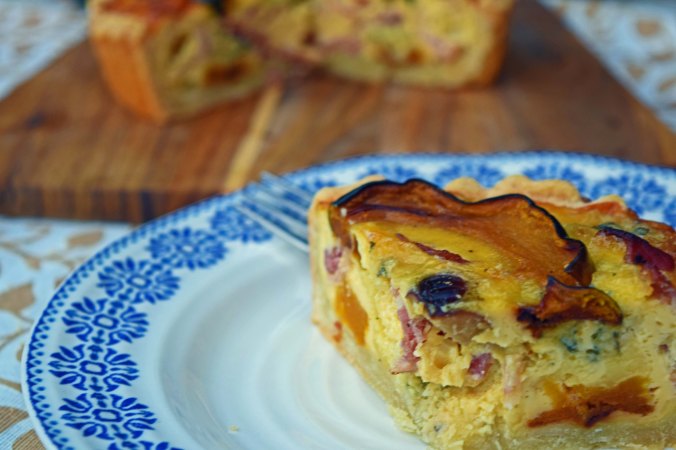
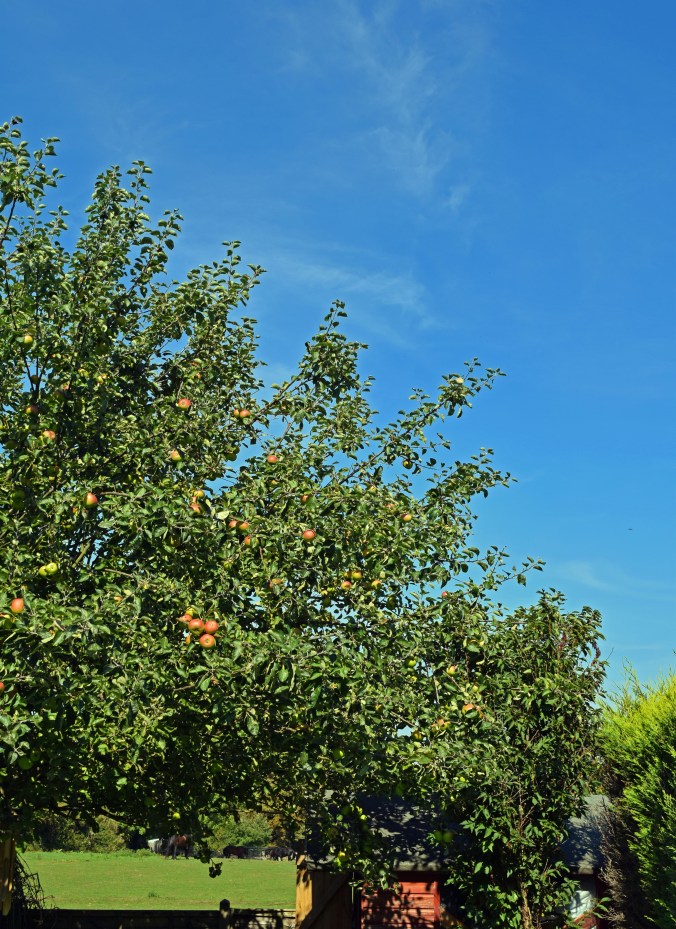
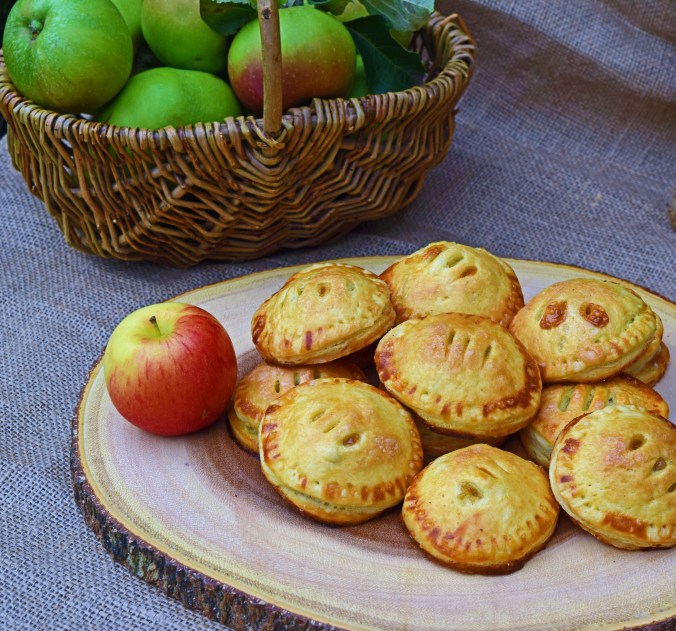
The welcome arrival of September (and my very favourite season) also means the arrival of apple season.  We have a tree full of apples to use in the garden and one of my family’s favourite things is apple pie.

Apple Tree.jpg

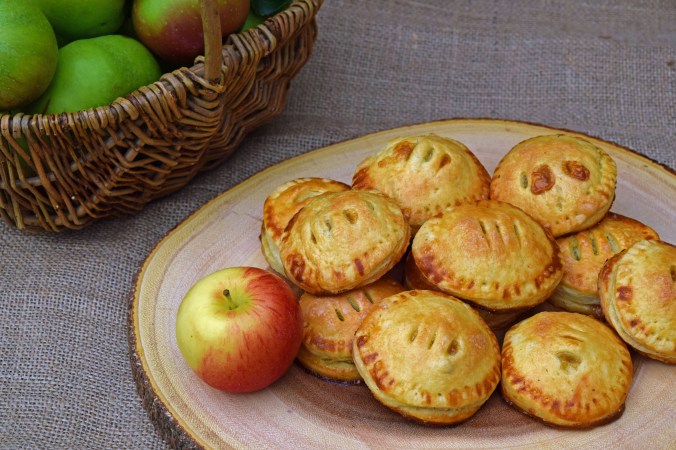
These are little hand pies and they are just the thing to have on hand for hungry children.  They are portable too, so great to take with you on a trip to the park or to work.

Apples are available all year round, but it’s really worth looking out for the new seasonal arrivals that have been grown locally, to enjoy apple season to the full.

Caramel apple hand pies2

Crust:
375g plain/all-purpose flour
165g butter, cut into cubes and refrigerated
2tbs sugar
1tsp salt
Iced water
1 egg and a little milk to make a wash

Filling:
2 crisp dessert apples, peeled, cored and chopped into small pieces
Juice from half a lemon
3tbs sugar
2tsp cornflour
1tsp cinnamon
Pinch of ground cloves
1/2tsp salt
10 soft caramels (like Werther’s) cut into tiny pieces (optional)

Caramel apple hand pies4

Method:
Place the flour, butter, sugar and salt into a food processor, fitted with the steel blade and pulse until crumbly, with pieces of butter still visible.

Then add one tablespoon of the iced water at a time, pulsing until the dough just comes together – around 4-5 should be enough.

Turn the dough out onto a lightly floured board, cut in half and pat each half into a disc.  Wrap in cling film and chill for 30 minutes.

Caramel apple hand pies5

For the filling, place the apples into a large bowl and toss them with the juice from the lemon so they don’t turn brown. Then add the sugar, salt, spices and cornflour and turn to coat.

Leaving one batch of dough in the fridge, roll out the first batch evenly on a lightly floured board and cut out circles for the bases (using a cutter measuring approximately 7.5cm/3 inches).  Place them onto a lined baking sheet, re-rolling until most of the dough is used up.  Refrigerate any scraps.

Then place a small, heaping amount of the apple mixture into the centre of each one and top with a few caramel pieces if using.  Take care to leave a gap around the edge.

Caramel apple hand pies

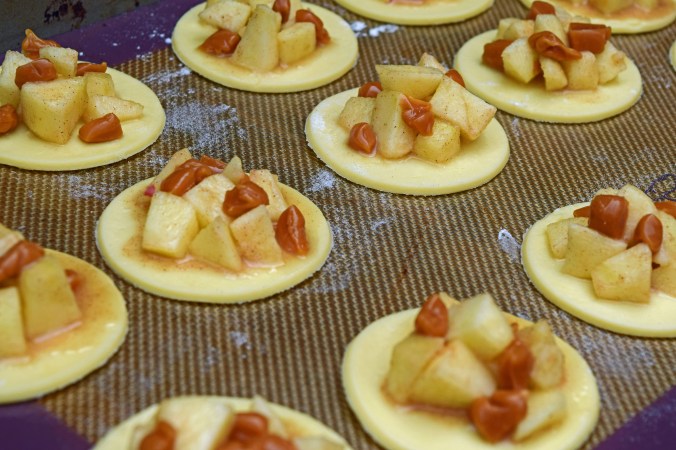
Roll out the rest of the dough and cut out the same number of circles, but use a slightly larger cutter.  Use up the scraps of the first batch if needed.

Brush the pastry bases around the apples with the egg wash and place the remaining pastry circles over the filling.  Crimp and seal the edges together using a fork, dipped in flour to stop it sticking.

When they all have their lids, it is important to chill the pies before baking.  Leave them in the fridge for 30 minutes to an hour.  This helps stop the pastry shrinking and bursting open in the oven.  They can also be frozen at this point too.

Caramel apple hand pies1

Pre-heat the oven to 200°C/400°F

When you are ready to bake, brush the tops with the egg wash and cut little vents in the lids to allow steam to escape.  You can also sprinkle with a little extra sugar too.

Bake for around 20 minutes or until the pies are golden and cooked through.

Caramel apple hand pies6

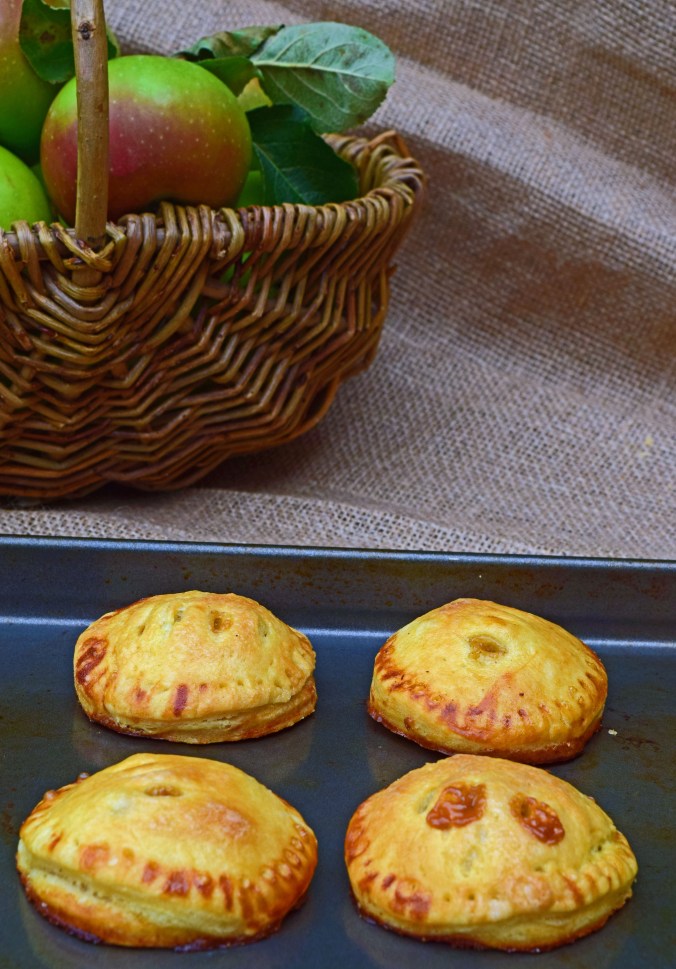
These are the perfect after school treat, but a personal pie is good at any time and these can be taken on a picnic, or placed into a lunchbox too.

Caramel apple hand pies3

Bonfire Toffee

This is old fashioned and traditional treacle toffee that is seasonal for this time of year. As loved by children and adults alike, this is perfect for bonfire night parties!

Bonfire Toffee2

I use a candy thermometer to make this, but it is possible to make using a bowl of water to test when the toffee is ready. Just drop a small ball into the water and if it separates into firm threads (not brittle), it’s ready.

I make sure the children are well out of the way when making this as the toffee gets phenomenally hot!

Ingredients:
300g light brown sugar
150g golden syrup
150g black treacle
150g butter
¼ tsp cream of tartar
Vegetable oil for greasing

Method:
Prepare your tin by lining with non-stick baking parchment and oiling, or you could use foil and oil that. An oiled silicone mould would work well too. I used one that was 15cm square.

Place the ingredients into a deep, heavy based pan and heat on medium, stirring occasionally until everything is completely melted.

Place a candy thermometer in the pan and turn up the heat. You need to boil this until it reaches 140°C/284°F. Then, very carefully, pour the molten toffee into your prepared tin and leave to cool at room temperature.

Bonfire Toffee

If you want to cut the toffee into individual pieces, wait until the toffee has cooled enough to handle but is still soft and pliable – around 15 minutes. Use an oiled knife to cut into pieces and wrap in small squares of parchment paper, twisting up the sides. Alternatively, use a toffee hammer and break into irregular shards once it has cooled completely.

This must be stored in an airtight container and separated with layers of baking parchment. Once it has cooled and exposed to the air, it will become really sticky and all the pieces will get stuck together.

Bonfire toffee closeup

As a child, I remember buying this in little paper bags and you had to make a decision whether to eat the paper stuck to it or not. Don’t let that happen!

Roasted Acorn Squash Quiche with Chestnuts, Bacon and Stilton

There are so many lovely pumpkins and squashes around at the moment and I love trying as many as possible.

Squash, bacon & Stilton Quiche

I think my favourite way of cooking squash is to roast it in the oven. Either simply with olive oil, salt and pepper, or adding spices and chilli.

These quiches contain roasted Acorn squash and I have left the skins on as they are fairly thin and roast up really nicely. Sometimes the older and bigger squashes have very thick skins and I tend to peel those.

Along with the squash, these quiches have crispy, smoked bacon, chestnuts and plenty of Stilton cheese, so lots of big flavours going on. I don’t add any salt to the eggs and cream as I think the bacon and Stilton add enough salt of their own, but this is my preference.

This recipe makes four individual quiches. I used 12.5cm, deep fill tartlet tins with removable bases, but you can easily make one large one.

Squash, bacon & Stilton Quiche2

Crust:
400g all-purpose flour
1 pinch of salt
230g very cold butter cut into cubes and chilled again
95ml iced water

Ingredients:
2 Acorn squashes, topped, tailed, halved and seeds removed
5 extra-large eggs
¾ pint double/heavy cream
300g Blue Stilton cheese broken in to large crumbles
320g Good quality smoked streaky bacon
180g pack of prepared sweet chestnuts, roughly broken up
Salt and freshly ground black pepper
1 tbs olive oil

Method:
Add the flour, salt and butter to a food processor fitted with the steel blade. Pulse until the butter is the size of small peas, or rough breadcrumbs. Add the iced water a little a time while pulsing the food processor, just until the dough just comes together. You might not need all of the water.

Form the dough into a disc and wrap in plastic. Leave to chill for 30 minutes.

On a floured board, roll out the pastry and then, taking care not to stretch the dough, line the tins with the pastry, re-rolling until all the tins are done. Place the pastry cases in the fridge and chill for another 30 minutes.

Squash, bacon & Stilton Quiche3

Preheat the oven to 180°C/350°F

Line the pastry cases with parchment paper or foil, fill with baking beans and place in the oven to blind bake for 15-20 minutes. Take the pastry shells out of the oven, remove the paper and beans and then return to the oven for further 5 minutes or until the pastry feels dry. Leave to cool before adding the filling.

Squash, bacon & Stilton Quiche1

Pre-heat the oven to 220°C/430°F

Cut the halved squashes into slices, just over 1cm thick and rub them all over in 1tbs olive oil with 1tsp of salt and plenty of freshly ground black pepper. Roast them in the oven until the squash is tender and catching on the edges. This will take around 20-25 minutes, depending on how thick the slices are.

While the squash is roasting, fry the bacon until the fat renders out and it is crisp, set aside on kitchen paper to cool before chopping into small, bite-sized pieces.

Lower the oven to 180°C/360°F

Place the blind baked pastry shells on a baking tray to make transporting to the oven easier.

Place a couple of slices of squash in the bases of each quiche, then layer over the bacon, chestnuts and chunks of Stilton cheese. Divide the filling between the 4 cases and top each one with another couple of slices of the squash.

Whisk the eggs, cream together with more freshly ground black pepper and pour over the quiches until each one is full.

Taking care not to spill, place the tray with the quiches in the oven and bake for around 30 minutes or until just set in the middle. The quiche will be nicely puffed and golden brown and will smell very good indeed.

Squash, bacon & Stilton Quiche slice

This quiche is really good hot or cold and half of one of these makes for a really nice lunch with a little salad.

Squash, bacon & Stilton Quiche plate1

The big autumnal flavours of the quiche make it perfect for an autumn party, picnic, Thanksgiving or Christmas and just the thing for a lunchbox.