Peppermint Bark Bars

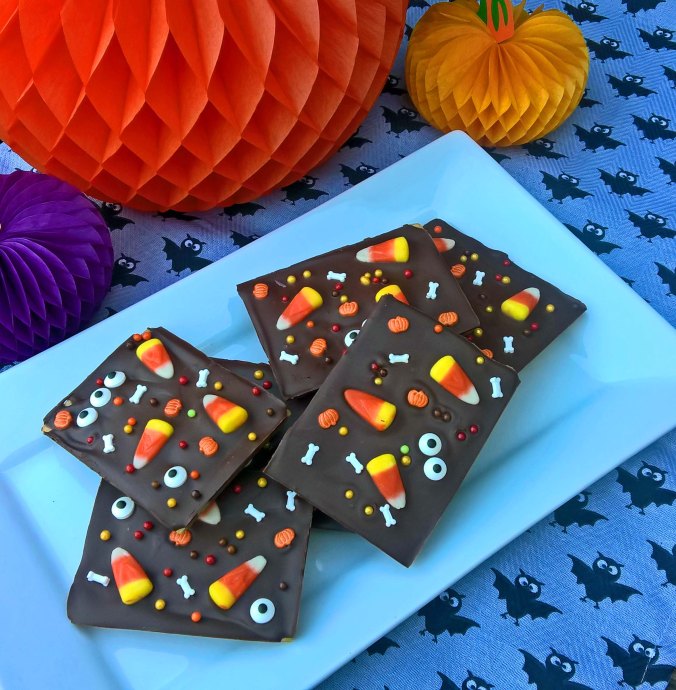
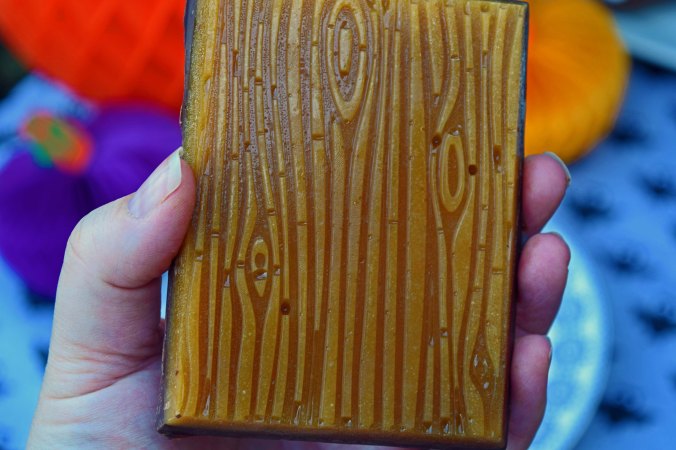
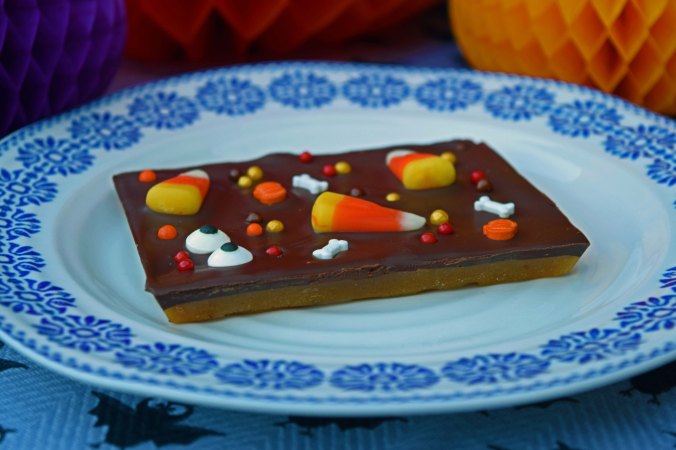
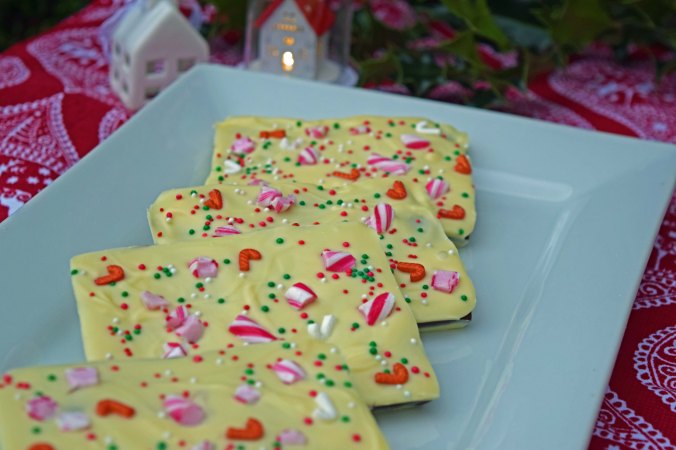
After the Halloween butterscotch bark bars here, I just had to use my bark moulds again! This is a pretty simple recipe, but still really good and perfect for a festive treat.

Peppermint bark5

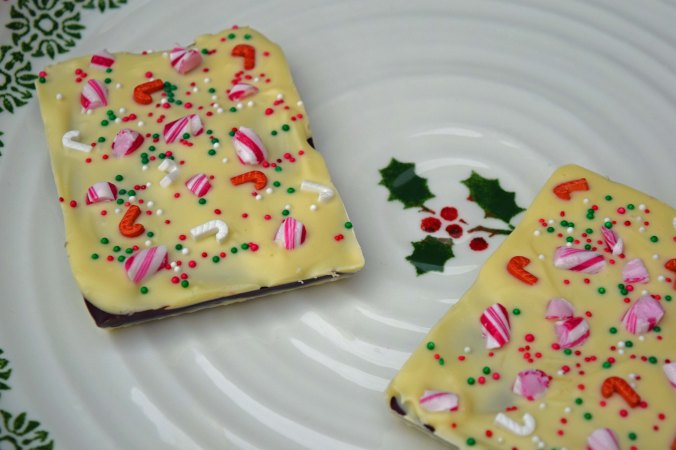
I’ve used crushed up peppermint candy canes for my bars, but peppermint boiled sweets would be just as good. I also picked up some little candy cane sprinkles (I love using themed sprinkles!) and have used a few of them here.

Peppermint bark

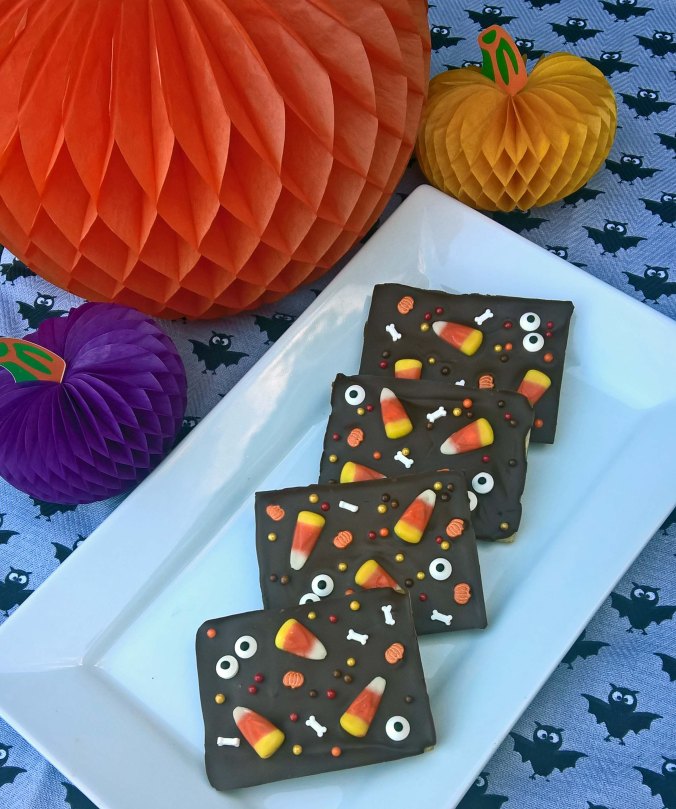
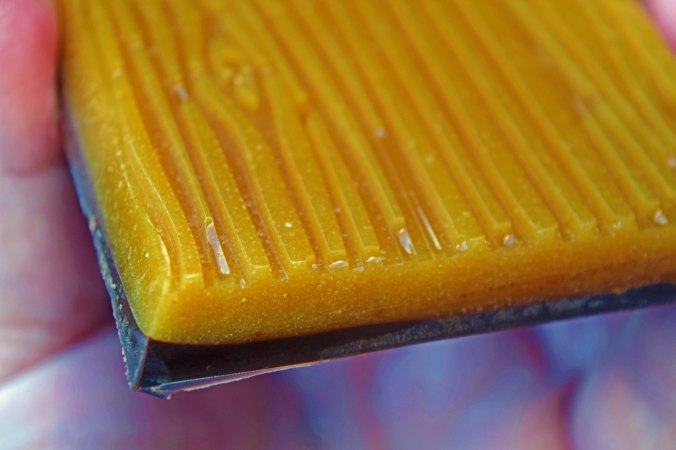
The bars are fairly substantial, so you could break them into two, or if not using moulds at all, the slab can be broken into shards.

Just one thing to note, you have to be fairly quick after adding the peppermint extract as the melted chocolate can seize.  Don’t be tempted to try and melt the chocolate and the peppermint extract together – no good will come of this!

Pepermint bark3

This recipe makes 6 large bars

Ingredients:

200g dark chocolate
100g milk chocolate
400g white chocolate
1 ½tsp peppermint extract – I used Nielsen-massey Pure Peppermint Extract
Crushed candy canes, sprinkles or crushed peppermint sweets to decorate

Method:
Melt half of the white chocolate in the microwave. You can do this in a bowl over simmering water, but I have much more success melting in the microwave. I have had many a recipe ruined by chocolate that has seized up over simmering water – especially white chocolate.

Just stop heating the chocolate when there are still lumps and the residual heat will melt the remainder. Leave to cool a little before pouring into the moulds.

When you are ready to pour, stir ½tsp of peppermint extract and stir well to incorporate.

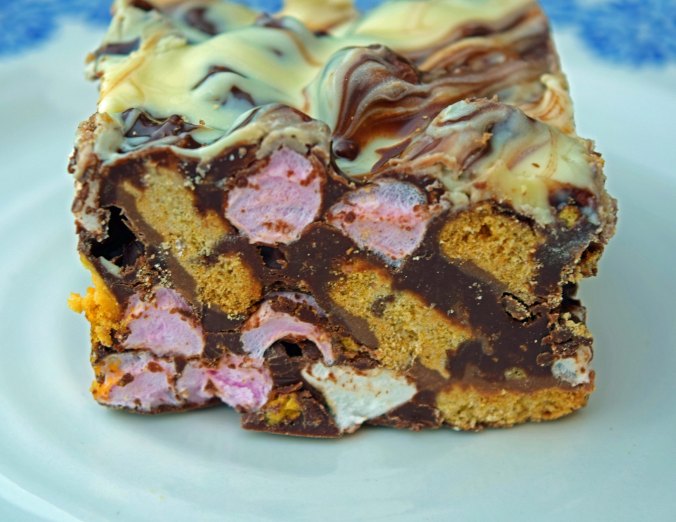
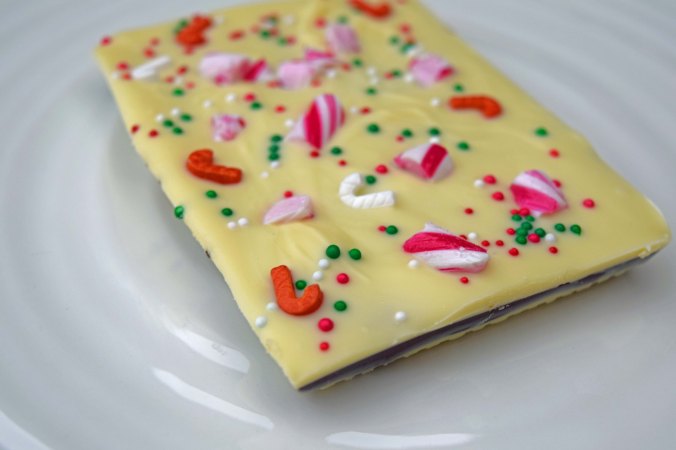
Divide the white chocolate equally and cover the base of each mould with a thin layer. Leave to cool, it will firm up quite quickly and you need it almost set before adding the milk and dark chocolate layer.

Peppermint bark4

Melt the dark and the milk chocolate together in the microwave in the same way as the white chocolate and leave to cool a little. The layers will not be defined if the chocolate is too warm and melts the base layer. As before, just before you are ready to pour, stir in ½tsp of the peppermint extract.

Divide the dark and milk chocolate combination between the moulds and leave to cool down.

When the middle layer is firm, but not hard, melt the remainder of the white chocolate, stirring in the final ½tsp of peppermint just before pouring.

When the bars all have their coating of white chocolate, sprinkle over the crushed candy canes and any other sprinkles you are using. Gently push them in to make sure they all stick into the chocolate.

Peppermint bark1

Leave to cool completely before turning out.

This can also be done in a square dish lined with oiled cling film or foil and broken into shards.

Peppermint bark6

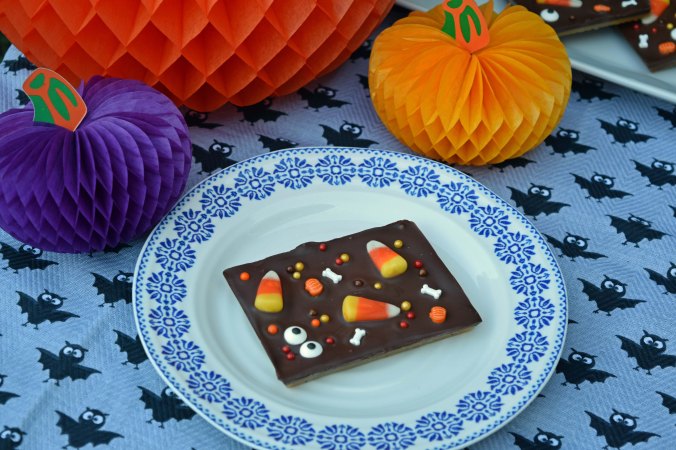
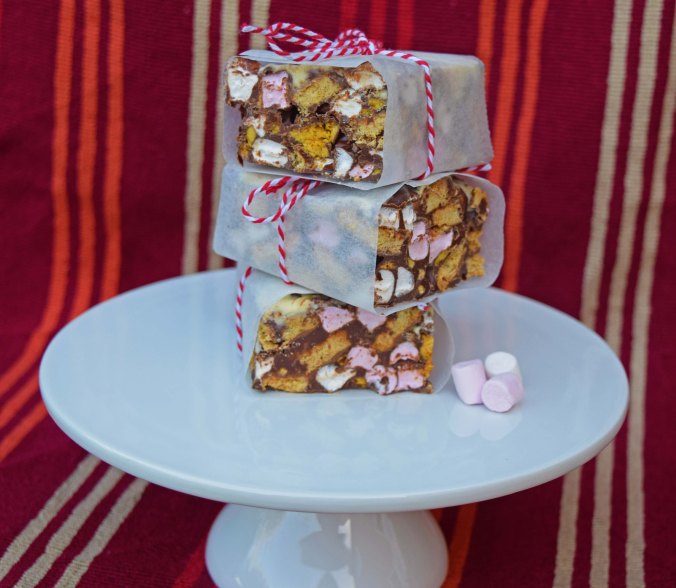
These would make great homemade gifts or part of a homemade Christmas hamper. Just chop into bite sized shards and pop into a cellophane bag, tied with Christmas ribbon.

Butterscotch Chocolate Bark Bars

These are Halloween butterscotch and chocolate bark bars. Most chocolate bark is just poured onto parchment and then studded with dried fruit, nuts and all kinds of candy, depending on the occasion.

Butterscoth bark pile

I found some great chocolate moulds with bark patterns in them on Amazon and they are just the right size for making individual chocolate bars. The moulds are made from silicone, so getting the bars out couldn’t be easier.

Halloween bark butterscotch

These bars are made with old fashioned butterscotch candy with a coating of chocolate and decorated for Halloween.

It really is best to use a candy thermometer for this recipe as the sugar needs to be heated to the soft and hard crack stage.

If you are not using moulds, line a tin with oiled foil. When the candy is poured into the tin, leave it to cool for 5 minutes before scoring into squares, or break with a toffee hammer when cold.

butterscotch bark1

Ingredients:
450g sugar
150ml water
85g golden syrup
1tsp lemon juice
¼tsp cream of tartar
130g butter
1tsp vanilla extract
100g dark chocolate
100g milk chocolate
Decorations – I have used candy corn, sugar eyes, bones and Halloween sprinkles

butterscotch bark1

Method:
Place the sugar, water, syrup and lemon juice in a heavy based pan over a medium heat until almost boiling.

Remove from the heat and stir in the cream of tartar.

Place back on the heat and take it up to the soft crack stage (132°C/270°F).

Remove from the heat and add the butter and vanilla, mixing in well.

Return to the heat and take it up to the hard crack stage (146°C-154°C/295°C/309°F)

Take off the heat and immediately pour into the moulds, or the prepared tin. Leave to cool completely.

butterscotch bark single

To decorate, melt the chocolate in the microwave until almost melted, stirring well so the residual heat melts it completely.

butterscotch bark closeup

Spoon over a coating of the chocolate, before decorating with your chosen edibles.

butterscotch bark closeup2

Fairground Rocky Road

Last Saturday night, we took the children to the 765th Ilkeston Charter Fair. It’s an annual tradition that we do every year. My parents used to take me when I was little and now I take my children.

Aside from the rides, thumping music and all the sounds and smells of the fair, we usually come back with an armful of fair goodies. This year was no different and one of our favourite things is honeycomb!

Rocky road single

Once they had munched half the bag, I decided to put the rest in a batch of rocky road. I’ve never actually made rocky road before, but Danielle at work is a big fan and I thought I would make a batch and save her a piece. When I say save a piece, what I mean is hide a piece before the boys got in there first!

There is no baking, it’s just a job of breaking up the biscuits and honeycomb, melting the chocolate and pressing into a lined tin. Everyone agreed that it was the best rocky road they had tasted, which is always a good sign!

Rocky Road stack

Prepare your dish or tin by lining with parchment. I used a lasagne dish measuring 30cm x 19.5cm

Ingredients:
Half a bag of honeycomb, chopped up Crunchy bars would also work
A 300g pack of milk chocolate biscuits (minus 2 or three that my son snaffled) I used McVities
A few handfuls of pink and white mini marshmallows
1 large squidge of golden syrup (approximately ½ cup)
300g good quality 70% dark chocolate
200g good quality milk chocolate
100g good quality white chocolate

Rocky Road closeup

Method:
In a large bowl, break up the honeycomb pieces, I used the end of a rolling pin to crack them into smaller sized rubble. I then broke up the biscuits using my hands. I didn’t bash them as I didn’t want it to be overly crumby! Finally, toss in the marshmallows.

For the chocolate, break up the milk and dark chocolate pieces and melt them in the microwave, or in a bowl over simmering water. I melt the chocolate until there are a few lumps left and then stir until the residual heat melts the rest.

Leave to cool for a minute or two before pouring over the rubble and mixing thoroughly.

Press into the prepared tin.

Melt the white chocolate and then drizzle over the rocky road and take a spoon to do a little marbling.

Leave in the fridge to chill before cutting into squares. This is very indulgent, so keep the squares fairly small!

Rocky Road1

This is a really good sweet treat to give in a cellophane bag as a gift or to take to a bake sale