Peanut Butter Fudge

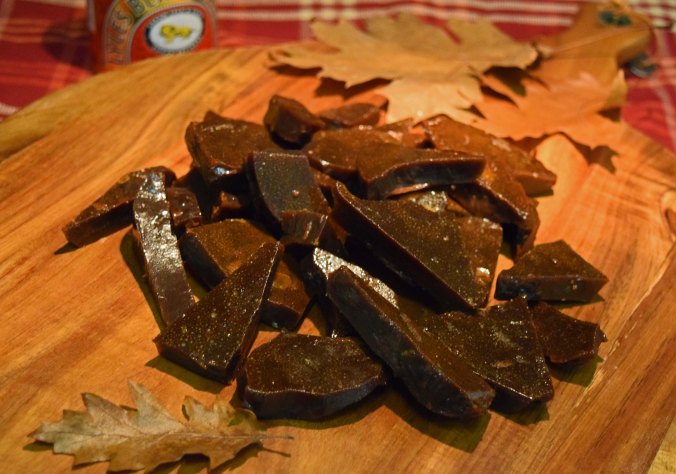
This is a quick recipe for a very indulgent treat.

PB Fudge4

This is just a small batch, but the recipe can easily be doubled. The fudge is super creamy, buttery and delicious, but very rich!

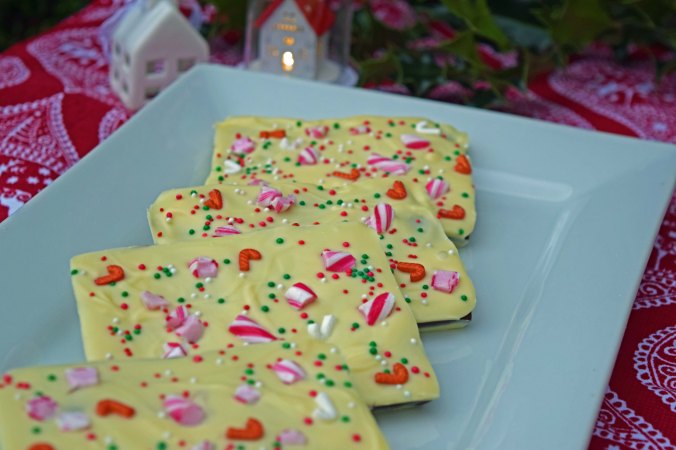
It’s perfect for cutting into squares and filling little bags, tied with ribbon for a gift.

The fudge gets incredibly hot, so it goes without saying that no children should come anywhere near when making it and there can be absolutely no sampling until it has cooled down!

PB Fudge

Ingredients:
450g caster sugar
60g butter
120ml/½ cup whole milk
One 397g tin of condensed milk
180g/around ¾ cup of smooth peanut butter

Method:
Line a 20cm/8 inch square baking tray with greaseproof paper or foil, leaving an overhang in order to pull the fudge out.

PB Fudge3

Put the milk and sugar in a heavy-based pan over a medium heat with a candy thermometer and keep stirring until all the sugar has melted. You need the sugar to fully dissolve into the milk or it could burn on the bottom of the pan. Don’t rush this stage, just let the sugar gently melt, stirring all the time, before progressing to the next stage.

When the sugar and milk are ready, stir in the butter and let it melt, before increasing the heat and bringing it up to a full boil.

Turn the heat down and stir in the condensed milk.

Turn the heat back up and bring the temperature up to the soft ball stage – 116°C/240°F. It will now be a lovely caramel colour.

Once you have reached this stage, remove from the heat and add it to a stand mixer fitted with the paddle attachment. Add the peanut butter and beat it thoroughly until it has thickened (about 5 minutes). You can also do this with a wooden spoon.

Pile it into the waiting tray and use a spatula to flatten it down and into all the corners.

PB Fudge2

If disaster happens and you get a few black, burnt sugar particles come up from the bottom when you are stirring, all is not lost! Very carefully, use a metal sieve and filter them out when you transfer the fudge to the bowl for beating.

You have to do this fairly quickly, while the fudge is still molten, but if you only have a few burnt particles, the fudge shouldn’t taste burnt. The best way of avoiding burnt fudge is to make sure the sugar is completely dissolved right at the start.

PB Fudge1

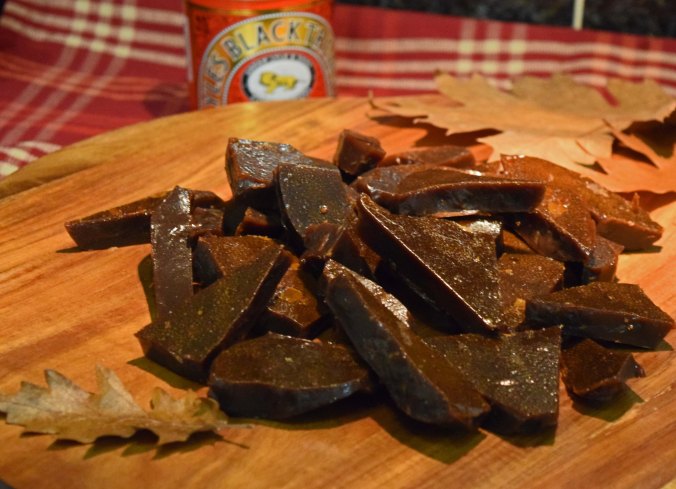
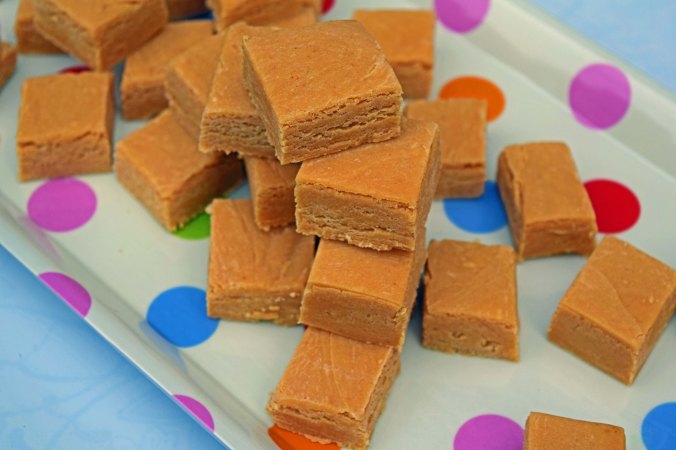
Once the fudge has set, lift it out of the tray and cut into squares with a sharp knife.

Peppermint Bark Bars

After the Halloween butterscotch bark bars here, I just had to use my bark moulds again! This is a pretty simple recipe, but still really good and perfect for a festive treat.

Peppermint bark5

I’ve used crushed up peppermint candy canes for my bars, but peppermint boiled sweets would be just as good. I also picked up some little candy cane sprinkles (I love using themed sprinkles!) and have used a few of them here.

Peppermint bark

The bars are fairly substantial, so you could break them into two, or if not using moulds at all, the slab can be broken into shards.

Just one thing to note, you have to be fairly quick after adding the peppermint extract as the melted chocolate can seize.  Don’t be tempted to try and melt the chocolate and the peppermint extract together – no good will come of this!

Pepermint bark3

This recipe makes 6 large bars

Ingredients:

200g dark chocolate
100g milk chocolate
400g white chocolate
1 ½tsp peppermint extract – I used Nielsen-massey Pure Peppermint Extract
Crushed candy canes, sprinkles or crushed peppermint sweets to decorate

Method:
Melt half of the white chocolate in the microwave. You can do this in a bowl over simmering water, but I have much more success melting in the microwave. I have had many a recipe ruined by chocolate that has seized up over simmering water – especially white chocolate.

Just stop heating the chocolate when there are still lumps and the residual heat will melt the remainder. Leave to cool a little before pouring into the moulds.

When you are ready to pour, stir ½tsp of peppermint extract and stir well to incorporate.

Divide the white chocolate equally and cover the base of each mould with a thin layer. Leave to cool, it will firm up quite quickly and you need it almost set before adding the milk and dark chocolate layer.

Peppermint bark4

Melt the dark and the milk chocolate together in the microwave in the same way as the white chocolate and leave to cool a little. The layers will not be defined if the chocolate is too warm and melts the base layer. As before, just before you are ready to pour, stir in ½tsp of the peppermint extract.

Divide the dark and milk chocolate combination between the moulds and leave to cool down.

When the middle layer is firm, but not hard, melt the remainder of the white chocolate, stirring in the final ½tsp of peppermint just before pouring.

When the bars all have their coating of white chocolate, sprinkle over the crushed candy canes and any other sprinkles you are using. Gently push them in to make sure they all stick into the chocolate.

Peppermint bark1

Leave to cool completely before turning out.

This can also be done in a square dish lined with oiled cling film or foil and broken into shards.

Peppermint bark6

These would make great homemade gifts or part of a homemade Christmas hamper. Just chop into bite sized shards and pop into a cellophane bag, tied with Christmas ribbon.

Bonfire Toffee

This is old fashioned and traditional treacle toffee that is seasonal for this time of year. As loved by children and adults alike, this is perfect for bonfire night parties!

Bonfire Toffee2

I use a candy thermometer to make this, but it is possible to make using a bowl of water to test when the toffee is ready. Just drop a small ball into the water and if it separates into firm threads (not brittle), it’s ready.

I make sure the children are well out of the way when making this as the toffee gets phenomenally hot!

Ingredients:
300g light brown sugar
150g golden syrup
150g black treacle
150g butter
¼ tsp cream of tartar
Vegetable oil for greasing

Method:
Prepare your tin by lining with non-stick baking parchment and oiling, or you could use foil and oil that. An oiled silicone mould would work well too. I used one that was 15cm square.

Place the ingredients into a deep, heavy based pan and heat on medium, stirring occasionally until everything is completely melted.

Place a candy thermometer in the pan and turn up the heat. You need to boil this until it reaches 140°C/284°F. Then, very carefully, pour the molten toffee into your prepared tin and leave to cool at room temperature.

Bonfire Toffee

If you want to cut the toffee into individual pieces, wait until the toffee has cooled enough to handle but is still soft and pliable – around 15 minutes. Use an oiled knife to cut into pieces and wrap in small squares of parchment paper, twisting up the sides. Alternatively, use a toffee hammer and break into irregular shards once it has cooled completely.

This must be stored in an airtight container and separated with layers of baking parchment. Once it has cooled and exposed to the air, it will become really sticky and all the pieces will get stuck together.

Bonfire toffee closeup

As a child, I remember buying this in little paper bags and you had to make a decision whether to eat the paper stuck to it or not. Don’t let that happen!