Smoky and Spicy Cheese Ball

Since I made my very first cheese ball here, it was so good, I have been needing an excuse to create new ones.

cheeseball2b

With the festive season upon us, a cheese ball is the perfect make-ahead addition to a any party or buffet table. Served with cruditiés or crackers, they are really good for feeding a crowd and delicious to eat.

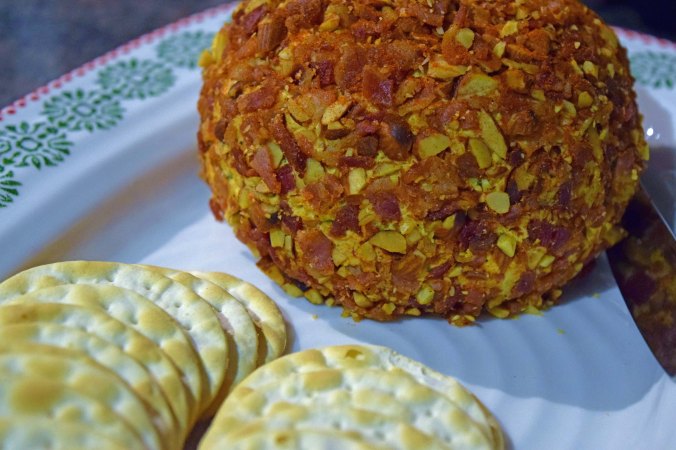
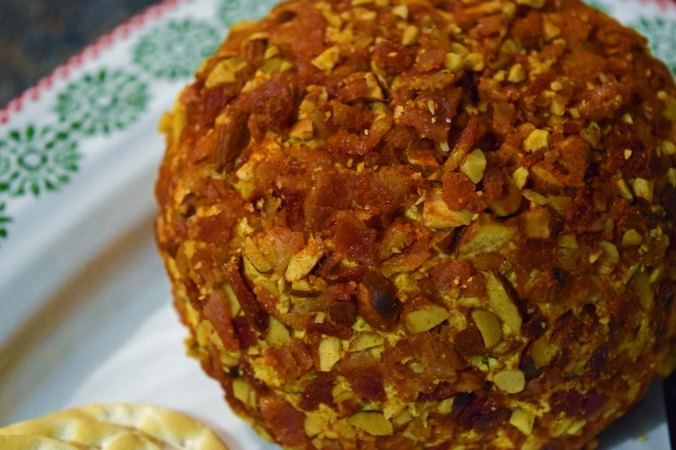
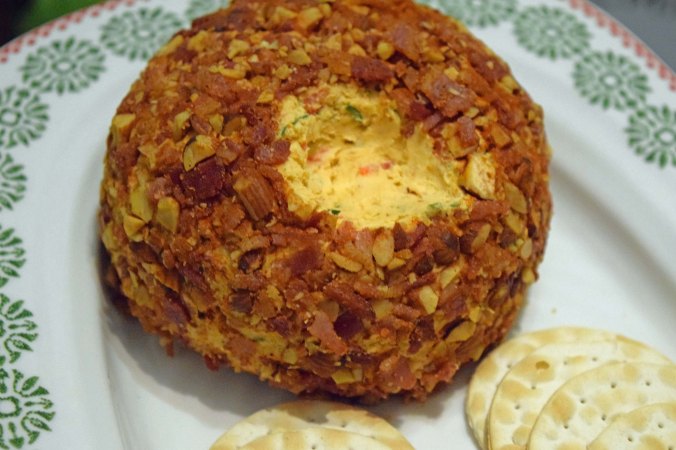
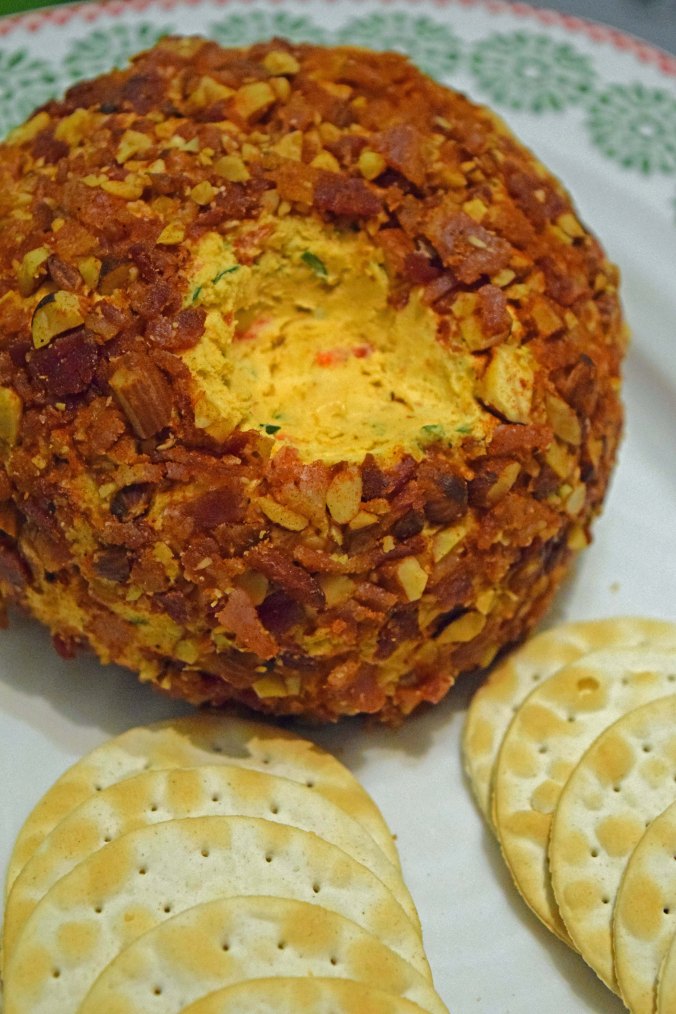
This one is all about smoky and spicy flavours. Smoky cheese, smoked paprika, smoky and spicy chipotle chillies and the crust has chopped smoky almonds, smoked paprika and lots of crispy shards of smoky bacon goodness. Like my first cheese ball recipe, I haven’t used any extra salt in this at all.

cheeseball2

Ingredients:
8oz/226g room temperature cream cheese
8oz/226g room temperature Applewood smoked cheddar, grated
Small bunch of chives, very finely chopped
1-2tbs of chipotle chilli paste.
1 roasted red pepper, skinned and finely chopped. You can easily cheat and use one from a jar for this.
2tsp smoked paprika – sweet or spicy, the choice is yours
Freshly ground black pepper

Crust:
1 pack of salted smoked almonds, very finely chopped
6 thin slices of smoked streaky bacon, cooked until crisp – then cool and finely chop
Freshly ground black pepper
2tsp smoked paprika
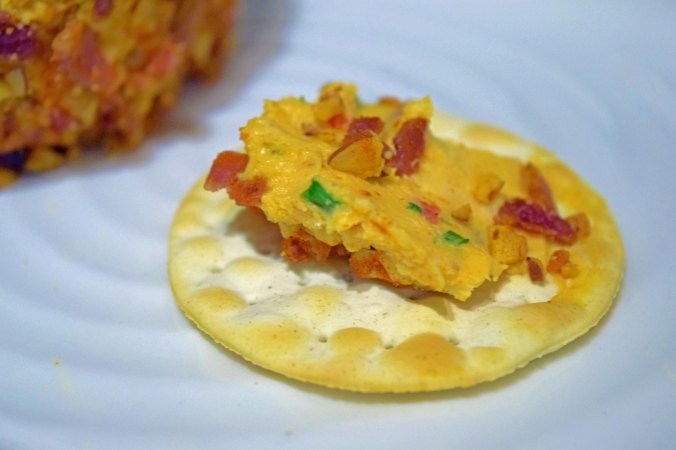
Crackers for serving

cheeseball slice

Method:
In a stand mixer fitted with the paddle attachment, place the room temperature cheeses, peppers, paprika and chilli and mix on low speed until well mixed.  Add the chives and mix until just combined.

Place onto cling film and form into a ball. Refrigerate for at least two hours in order for it to firm up and be rolled in the crust ingredients.

On a plate, spread out the chopped almonds and bacon. Season the plate all over with freshly ground black pepper and sprinkle over the paprika so you have an even coating.

cheeseball slice2

Then just roll the cheese ball around in the crust ingredients, until fully coated. This is ready to serve immediately but will only get better if left to come up to room temperature. Otherwise you can refrigerate for up to 3 days.

cracker1

This could easily be made vegetarian by leaving out the bacon and using more of the other ingredients to coat the outside.

Mini Peanut Butter Cheesecakes with Salted Caramel Sauce

This recipe is only for people who LOVE peanut butter! The filling is rich, creamy and packed full of smooth peanut butter.

Mini PB cheesecakes

For the crust, I have used caramelised Lotus Biscoff biscuits which are quite dangerous to have around the house as they are so moreish. However, they are perfect for the base of just about any cheesecake. Their delicate spice and caramel flavour work so well with the peanut butter and the salted caramel sauce.

I have made a batch of caramel sauce myself, but Sainsbury’s Taste the Difference Salted Caramel Sauce works perfectly well here too, just warm the jar slightly to make the sauce pour easily.

I think these would be great for a small, but decadent dessert and would work well for a holiday party.

Mini PB cheesecakes1

Crust:
25 Lotus Biscoff biscuits
50g salted butter, melted

Filling:
300g Full fat cream cheese at room temperature, I used Philadelphia
200g sour cream
300g Smooth peanut butter
120g caster sugar
1tsp vanilla extract
2tbs plain/all-purpose flour
3 large eggs, lightly beaten

Caramel Sauce:
200g sugar
100g salted butter
120g double/heavy cream
1tsp sea salt

I used Masterclass 12 hole mini sandwich tin for my cheesecakes, but these can easily be made in muffin cases too.

Method:
Start by making the caramel sauce to allow it time to cool.

Add the sugar to a deep, heavy based pan and heat until melted. Stir in the butter until combined and then pour in the cream, stirring all the time until it reaches a rolling boil. It will bubble and rise up as it boils which is why you need a pan deep enough. Allow to boil for a minute or two, it should be the colour of golden amber. Stir in the salt and allow to cool.

Preheat the oven to 180°C and prepare the tin by lightly greasing the sides.

For the crust, blitz the biscuits in a food processor until they are fine crumbs. Add to the melted butter and mix with a wooden spoon.

Equally distribute the buttery crumbs between the cups and firm them down with the back of a spoon, shot glass, or pastry tamper if you have one. The crusts need to be neat and compact so you don’t have any crumbs in the actual cheesecake.

Bake the crusts for 5 minutes and allow to cool while you make the filling

For the filling, add the cream cheese and sugar to a stand mixer fitted with the paddle attachment. You can also use a hand mixer for this. Beat on high speed until super smooth and fluffy.

Add the vanilla, cream and beat again until smooth, then add the eggs until just combined. Finally stir in the peanut butter until fully incorporated. I do this final step by hand so as not to whip too much air in that could crack the cheesecakes.

Pour in the filling onto the part-baked crusts. They will not rise very much, so you can fill almost to the top.

Bake for around 18-20 minutes or until just set. Keep an eye on them as they will crack if over-baked.

Mini PB cheesecakes closeup2

Remove from the oven and allow them to cool down to room temperature. Then wrap in plastic and chill thoroughly. The loose bottoms of this tin allow you to push the refrigerated cheesecakes out with no problems.

Mini PB cheesecakes closeup

When ready to serve, pour on a little salted caramel sauce. These are super rich and sweet and I have served mine with some tart blackberries.

Baby chocolate Oreo tea cakes with marbled chocolate cheesecake frosting

This recipe makes a lot (at least 18), so would be perfect for a bake sale or fund raising coffee morning.

Oreo cakes

I used the Master Class, non-stick, 12 hole mini sandwich tin for this recipe. It makes perfect cakes with straight sides and has loose bases, so every single cake comes out with no effort.  I got mine from Amazon here.

I once had a delicious cupcake at Starbucks that had a mini Oreo cookie on the top. The girl serving us was enthusing how pleased she was that they had started using the mini cookies, rather than half a normal sized one. I thought it was really nice and wanted to make my own version at home.

The cake recipe includes instant espresso powder which (as Ina says) brings out the chocolate flavour even more. The cakes by themselves are very moist, but the frosting is the star here.

I have seen many recipes online for oreo cupcakes with a lot of them using ground up oreos in the frosting. I’m not so keen on the little bits in the frosting, so decided that I would make a smooth icing with mine.

I then thought how good a cheesecake type frosting would be and because I couldn’t decide whether to do a white or a dark chocolate version, I decided to use both! I don’t have any duel colour piping bags, so just divided the frosting and put melted white chocolate in one half, melted dark chocolate in the other half and made delicious marbled chocolate cheesecake buttercream frosting.  These are very rich and indulgent, but very good with coffee for an occasional treat or for afternoon tea.

…unless you are my eldest son and can easily eat 3 or 4 before feeling a bit sick!

Oreo Cake

Cake ingredients:
400g plain/all-purpose flour
50g cocoa
2tbs instant espresso powder
350g golden caster sugar
2tsp baking powder
1tsp bicarbonate of soda
½tsp salt
3 extra-large eggs
175g unsalted butter at room temperature
1tbs vanilla extract
150ml sour cream
130ml vegetable oil
300ml whole/full fat milk

Method:
Sift together the flour, cocoa, espresso powder, baking powder, soda and salt in a large bowl.

In a stand mixer with the paddle attached, whip the softened butter with the sugar until light and fluffy – around 5 minutes.

Beat the eggs with the oil and milk and with the mixer still running, add to the butter and sugar until fully incorporated.

Then with the mixer on low speed, add all the dry ingredients until just mixed in.

Using an ice cream scoop, distribute the cake batter into the waiting tin and bake for around 20 minutes or until a toothpick comes out clean. Repeat with the rest of the cake batter until you have 18 cakes. Leave to cool completely.

Marbled Chocolate Cream Cheese Frosting:
360g room temperature cream cheese
360g icing sugar – sieved
120g softened butter
1tsp vanilla extract
1tsp instant espresso powder
100g packet of good quality white chocolate – broken into smaller pieces
100g packet of good quality 70% cocoa solids chocolate – broken into smaller pieces

Method:
Melt the dark chocolate with the espresso powder in the microwave for 30 seconds and stir, then microwave again for 10 seconds, stirring and repeating until almost melted. The residual heat will continue to melt as you stir. Leave to cool and repeat with the white chocolate.

Beat the cream cheese with a stand mixer fitted with the paddle attachment or a hand mixer until light and fluffy. Add the butter and continue whipping. Add in the vanilla and then on low speed, the sieved icing sugar.

Halve the mixture and place one half in a separate bowl.

In the mixer, add the cooled white chocolate and beat until light and fluffy. Transfer to a bowl and repeat with the dark chocolate.

For icing, you can either use a dual colour piping bag which is made for such a job, or, as I have done, you can just use a normal piping bag, fitted with a star nozzle, or even just with the end cut off. Fill one side with the white chocolate and the other with the dark chocolate and squish to remove any air pockets. It doesn’t have to be exact as you are going for a marbled effect.

Oreo cake closeup

Cut the cakes in half and pipe a little of the frosting on one half. Sandwich together with the other half and pipe more onto the top and adorn with a mini Oreo cookie.