Little Sweet Cherry Pies

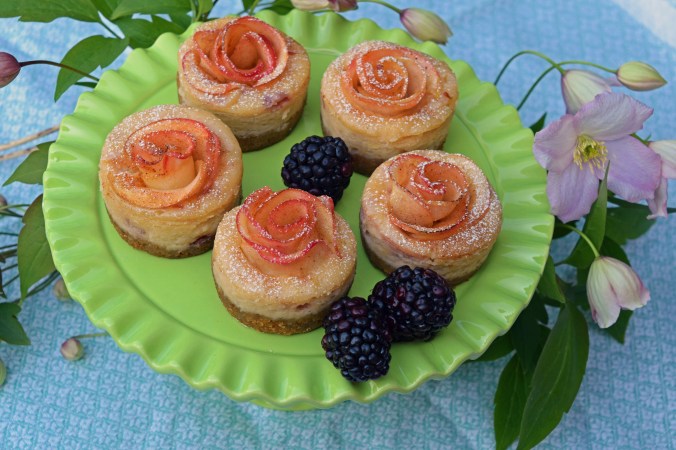
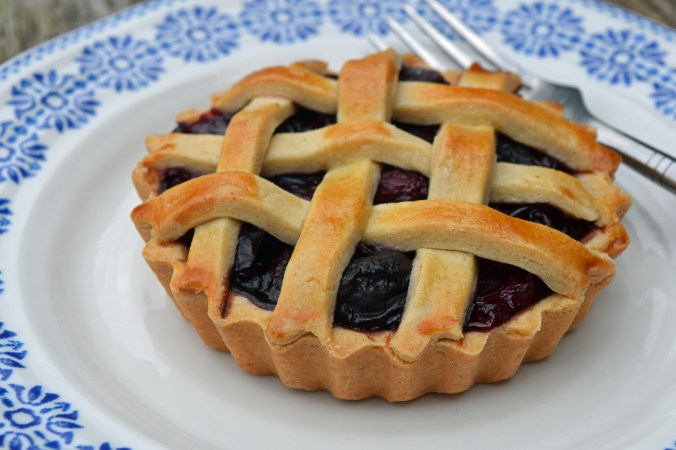
These little beauties are made with sweet and buttery pastry and filled with juicy and sweet fresh cherries.

cherries3

When cherries are in season, they are so good eaten fresh, but if you are looking to make the perfect summer dessert, then cherry pie is fantastic.

This particular recipe is for individual sized pies, but you could easily make mini pies or a large one to cut into slices.

uncooked pie

This recipe makes 6 individual pies or one large one

For the crust:
500 grams plain/all purpose flour
100g icing sugar, sifted
250g cold unsalted butter, cut into small cubes
2 large eggs, preferably refrigerated
½ tsp salt
Pinch of cinnamon
1 egg yolk and a little milk to make an egg wash

Filling:
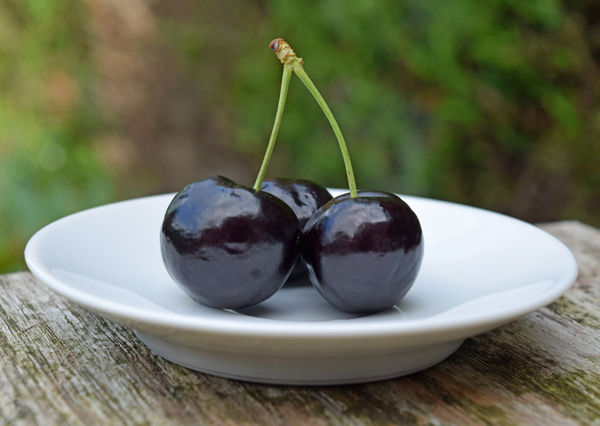
800grams pitted sweet cherries
Juice and zest of half a lemon
100g soft brown sugar – you may need less if your cherries are super sweet
2 tbs water
1 tbs cornflour
Pinch of cinnamon

cherry pie2

Put the flour, butter, salt and cinnamon into the food processor fitted with the steel blade.  Pulse the ingredients until crumbly, add the eggs and pulse a few more times until a ball of dough starts to come together.

Turn the dough out, pat into a circle, wrap in plastic and chill for 30 minutes, whilhile you prepare the cherry filling.

In a small bowl mix cornflour with 1 tbs of flour together.

In a pan, heat the cherries, water, juice, zest, cinnamon and sugar together and cook on a gentle heat for up to 20 minutes until softened but not until the fruit is falling apart.  Add the cornflour mixture and heat until the cherry filling is thickened.  Leave to cool.

Preheat the oven to 180ºC/350ºF

Cut the chilled pastry into two halves and re-wrap one half and put back in the refrigerator.

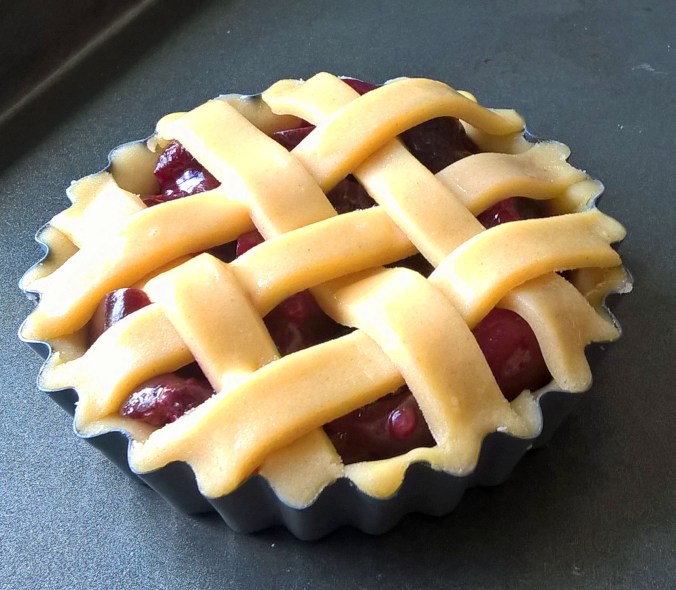
Roll out the pasty and line the bases of your tart tins, fill with the cooled cherry filling.

For the lattice tops take out the other half of the pastry and roll it out.  Taking a pizza cutter, or a sharp knife and a ruler, cut equal narrow strips of pastry and layer onto each pie to form a lattice, pressing off excess pastry with your fingers.

It’s best to chill the pies again at this stage for 20 minutes

Egg wash the tops of the pies and bake for around 30 minutes or until the pastry is golden and cooked through.

pie closeup

No Bake Chocolate Caramel Shortbread

This isn’t really shortbread as it has a cookie crumb base like a cheesecake, but its not a tray bake either as its not baked, just assembled and allowed to set.

Malteser Caramel Shortbread

My husband loves caramel shortbread and has been asking for ages for me to make some.

My youngest son William, loves the Malteser topped crunchy traybakes from Costa, so I thought I would combine the two and make them both happy.

I have tried the base made with both Maryland double chocolate chip cookies and Oreos – bashed to smithereens.  The verdict was that the chocolate chip cookies were the preferred base, so this is what I have used here.  Any cookies can be used for the base, including digestive or gingernuts, or you can even bake a proper shortbread base yourself.  This however, is much quicker…!

Ingredients:
Crust:

2 x 100g packs of Maryland Double Chocolate Chip cookies (the purple packet) – crushed
85g butter – melted

Caramel:
1 397 can of Condensed Milk
150g butter
75g Dark Muscovado Sugar
75g Soft Light Brown Sugar

Marbled Chocolate Top:
2 x 100g packs of 70% Good Quality Chocolate – broken into pieces
1 x 100g pack of Good Quality White Chocolate – broken into pieces
1 pack of Maltesers

Prepare a 20cm tin by lining the base and sides with parchment or cling film will also do the job.  The finished squares look best if you use one with square corners

Method:
Mix the crushed cookie crumbs with the melted butter and press into the base of your lined tin.  place in the freezer while you make the caramel.

Melt the butter and sugars together until the sugar has disolved.  Add the condensed milk and bring to the boil, stirring all the time.  The caramel with thicken and turn golden.  Leave for a minute so it cools slightly and then pour onto the waiting cookie crumb base.  This needs to be left to cool completely in order to set before you add the final layer of chocolate.  If you can’t wait, then put it in the freezer.

When your caramel is firm to the touch, place the dark chocolate in the microwave and heat for around 30 seconds before stirring, then keep heating for 10 seconds and stirring until almost melted.  Keep stirring and the residual heat will melt the final few pieces.  Be careful not to burn the chocolate.  You can of course do this in a bowl over simmering water, but I have had more than one batch seize up on me, so I always melt it in the microwave nowadays.  Repeat with the white chocolate.

When the chcolate has cooled a little, pour over the dark chocolate, making sure to coat the whole of the caramel.  Spoon blobs of the white chocolate on the top of the dark chocolate and swirl with a spoon to create a marbled effect.  Place Maltesers in the middle of where your squares will be when you cut them out.

Leave until the chocolate has just set and using a very sharp knife to cut into squares.  I run the knife under very hot water and dry to help go through the chocolate.  you don’t have to go all the way through at this point, its just easier to cut the chocolate at this point.

Leave in the fridge until completely chilled before gently lifting out the parchment or cling film and do your final cut with the knife and cut into individual squares.

Mini Blackberry Cheesecakes with Apple Roses

Apple roses have been done to death on Pinterest, but they are still delicious, fun to make and look very pretty.  These apple roses are in the middle of mini baked cheesecakes with tart blackberries.

cheesecakes

When I was a child, my uncle used to make elderberry wine.  Every year, one one day in late August, would be the day we would bring our baskets and containers and all go with him.  There was an old, disused railway bank near his house that was covered with brambles and elderberry bushes with millions of lovely purple berries.  He would get his elderberries and make the potent homemade wine and we would pick blackberries to make pies, crumbles, cakes and jam.

I really miss our family trips to forage for those lovely berries, but I still love blackberries to this day.

These mini cheesecakes are ideal for an addition to afternoon tea, a bite-sized dessert or an after-school treat.

Crust:
2 cups/approx 200g of digestive biscuit crumbs
2 tbs sugar
2oz/57g butter – melted

Cheesecake:
16oz/454g full fat and room temperature cream cheese
¼ cup/60g room temperature sour cream
1 cup/237g sugar
2 tsp lemon zest
2 tsp vanilla extract
2 extra large eggs
Blackberry puree – made with 1 heaped cup of fresh blackberries, 2 tbs sugar, heated until the juices run and the sugar dissolves. Push through a fine sieve to remove the seeds and leave to cool completely. You need ¼ cup of the puree. OR you can of course cheat and use ¼ cup of seedless blackberry jam.

Apple Roses:
2 crisp apples, preferably with a rosy red skin. I used Pink Lady apples
1tbs lemon juice
5tbs water

Cinnamon sugar:
¼ cup/60g caster sugar mixed with 2 tsp cinnamon.

Preheat the oven to 180ºC/350ºF and line a muffin tin with 12 cupcake cases.

Mix the crumbs, sugar and butter together and divide the mixture equally into the cupcake cases, pressing down with a spoon for a firm base.

To make the filling, place the cream cheese, sugar, sour cream, lemon zest and vanilla into a stand mixer with the paddle attachment and beat until very creamy, with no lumps.  Add the eggs and beat again until fully combined.  Stir in the blackberry puree, you can fully mix in, or leave as a marbled finish.

Carefully pour the cheesecake mixture into the prepared cupcake cases, coming up to just over half way.

For the roses, cut the apples in half, remove the core and thinly slice into half circles and place in a bowl with the water and lemon juice.  Microwave for around 1 minute until the slices soften and they are flexible.

Depending on how thick you have cut your slices, you need around 10-12 for each rose. Lay them out on a board, overlapping each slice with the next.  Sprinkle with a little cinnamon sugar and roll up from one end the other as tightly as possible.  Place into the waiting case, the rose will ‘bloom’ and fill the mini cheesecake.  Repeat until you have a rose in each one and top with a little sprinkle of the cinnamon sugar.

Bake at 180ºC/350ºF for around 25 minutes until the centres are just set and allow to fully cool.  Chill for at least 2 hours before serving.

Apple rose closeup