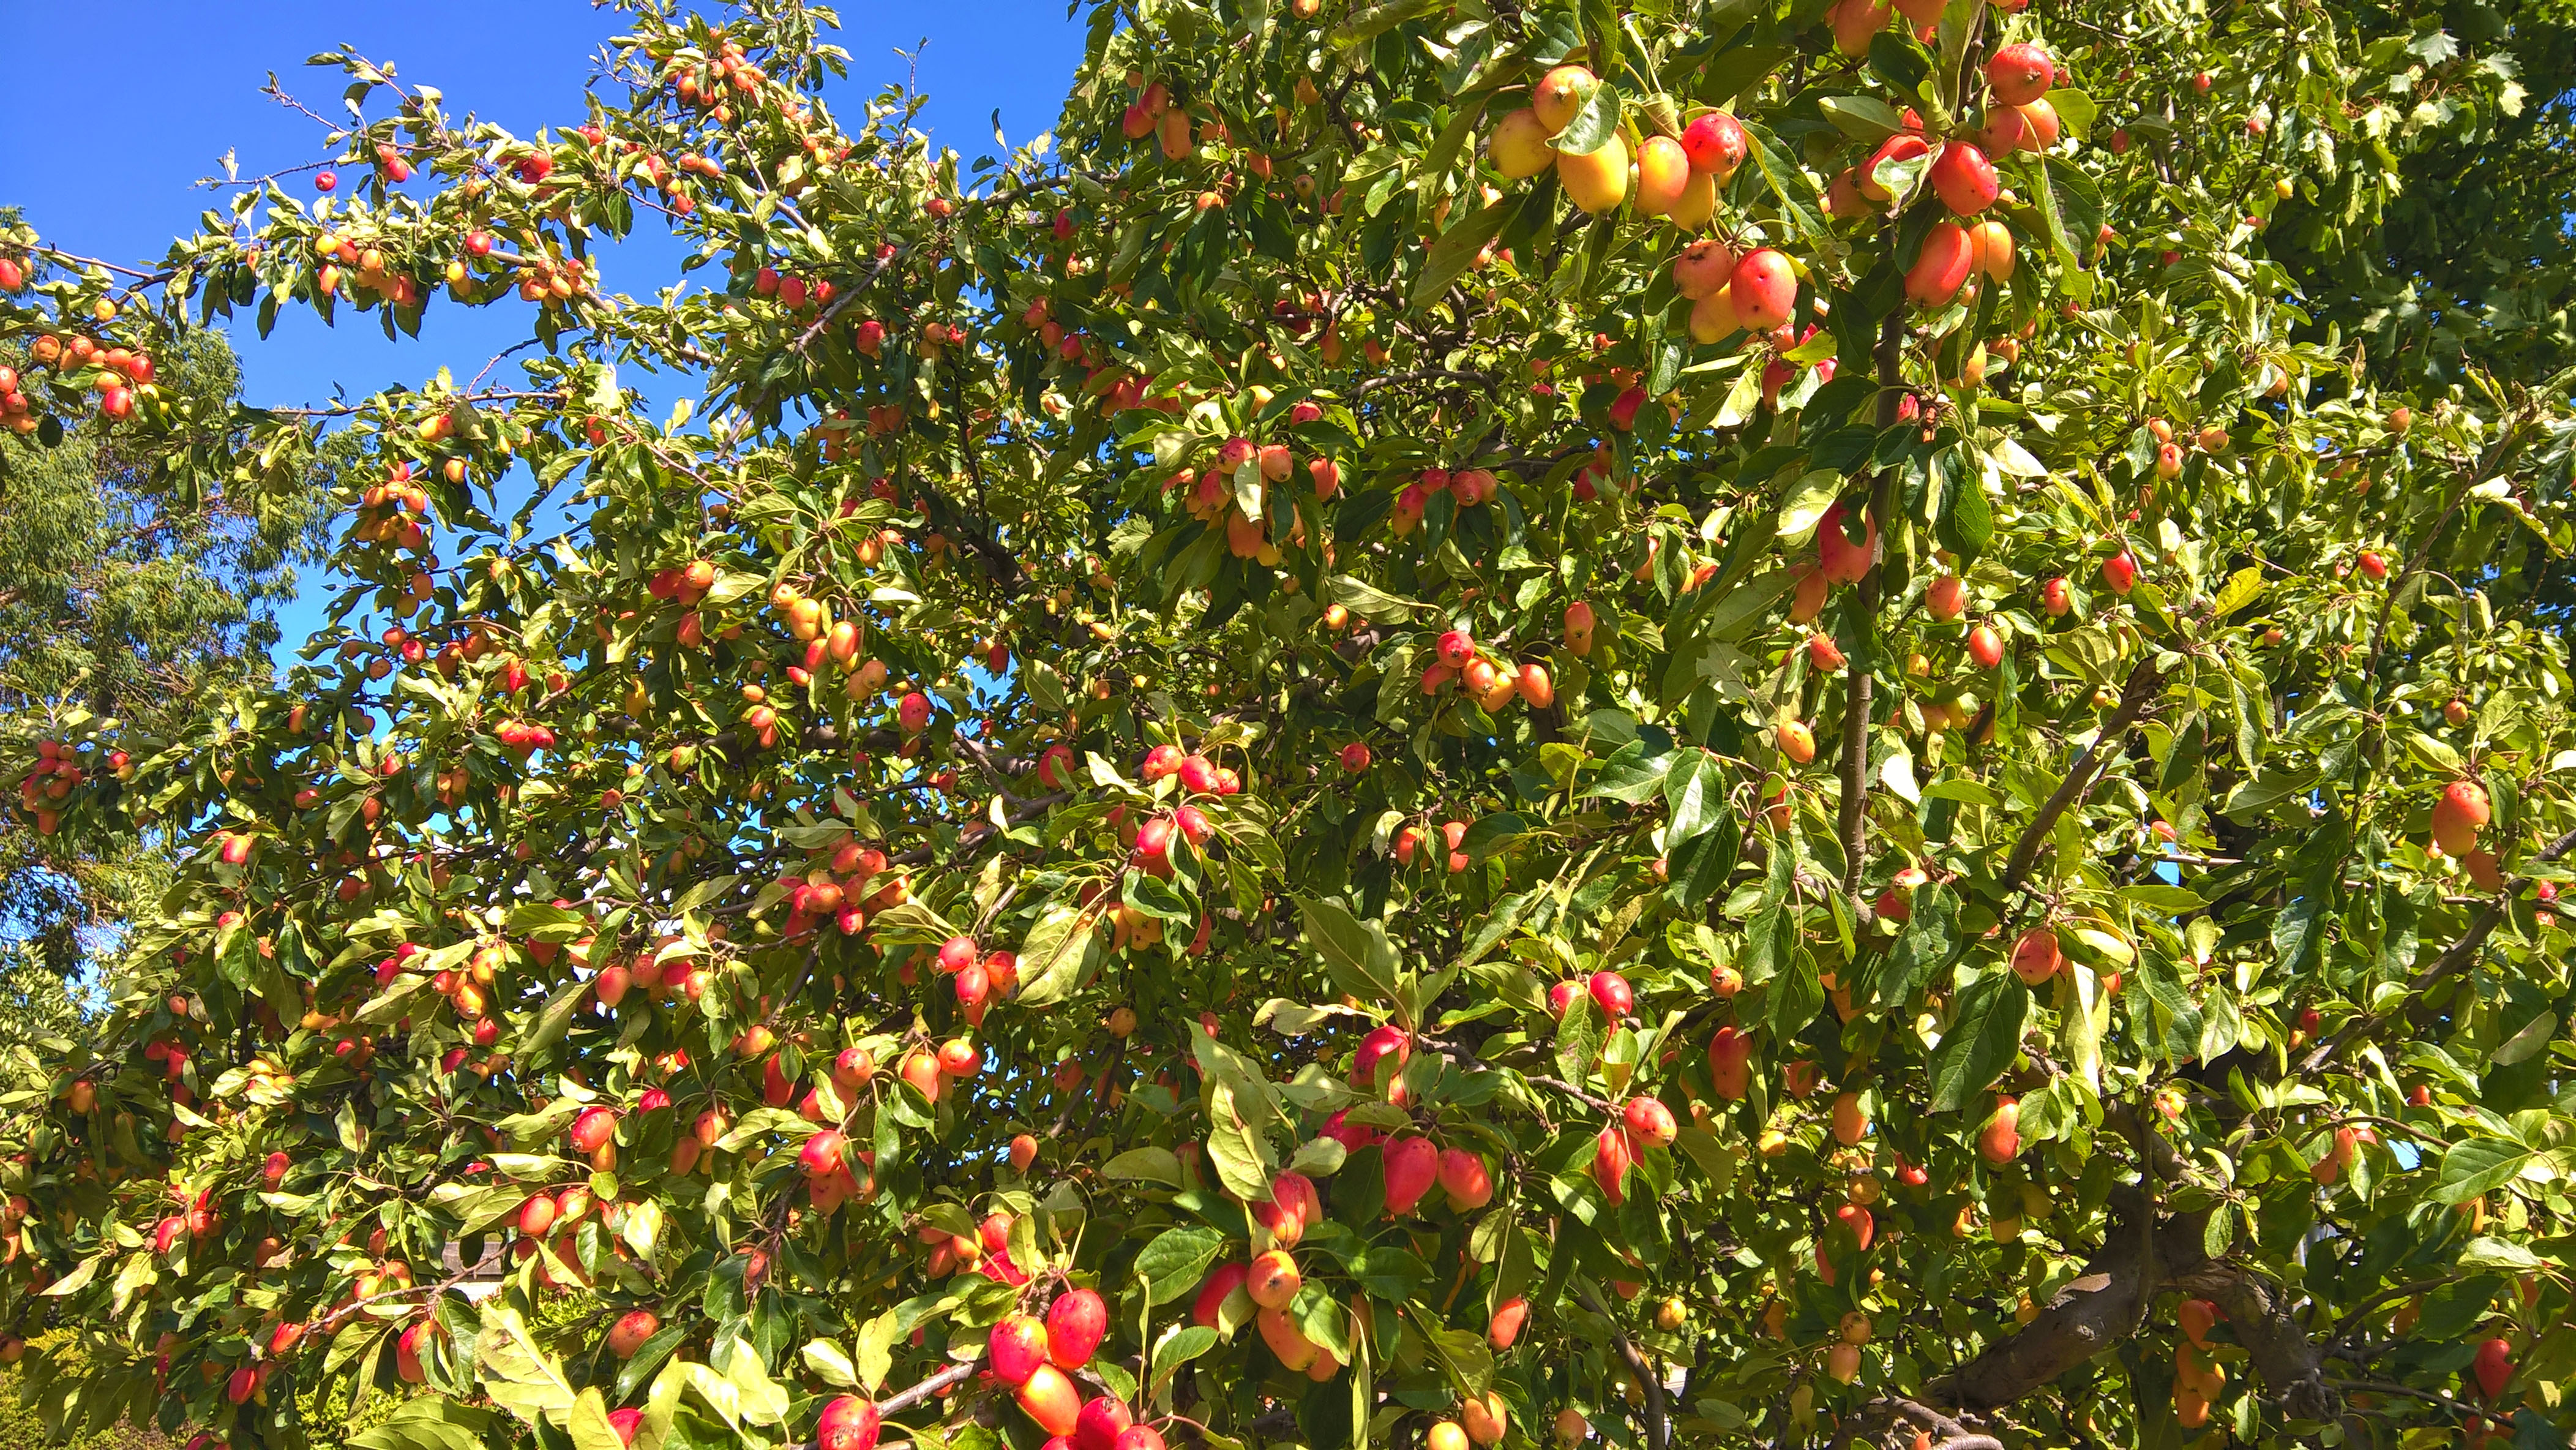
August is when the blackberries are ready and there are some epic ones this year – probably because of all the rain!

I love to go blackberry picking and I’m very happy its not been as hot as last year. I love blue skies, warm breezes, but NOT all the bugs that come with it!
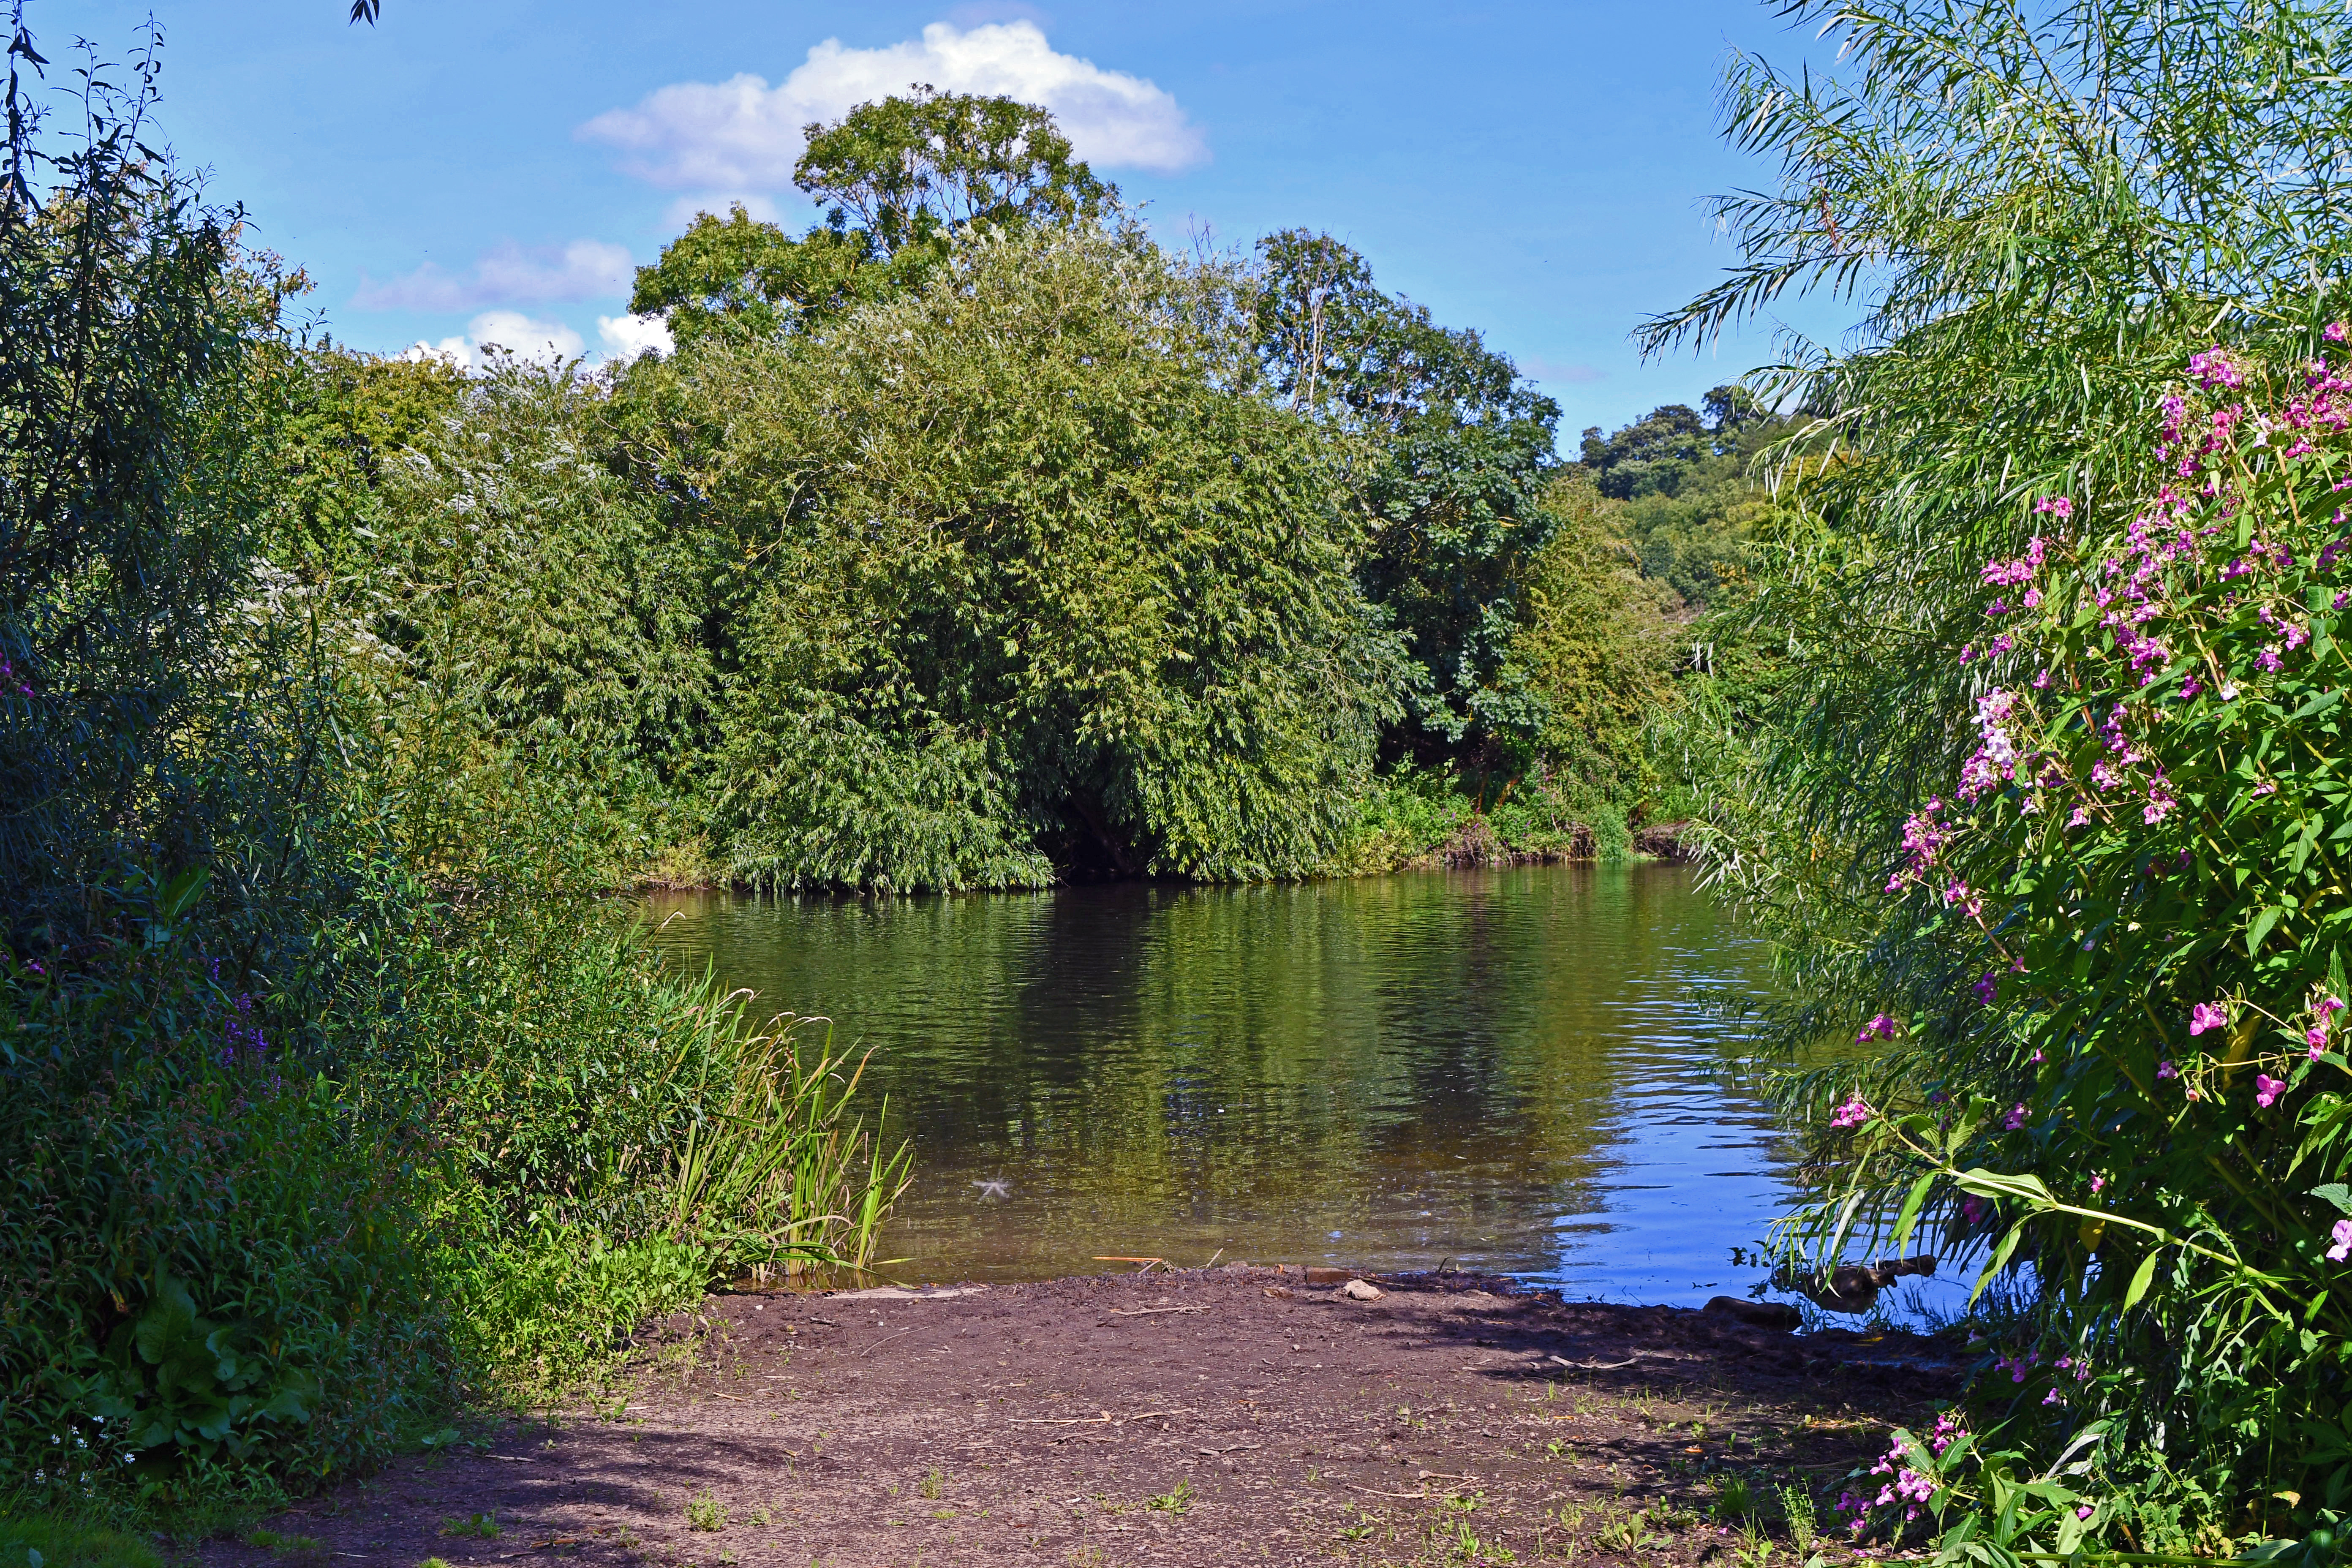
I’m lucky to live very close to the river Trent where its quite rural and there are lots of hedgerows, full this year, of lovely, big blackberries.
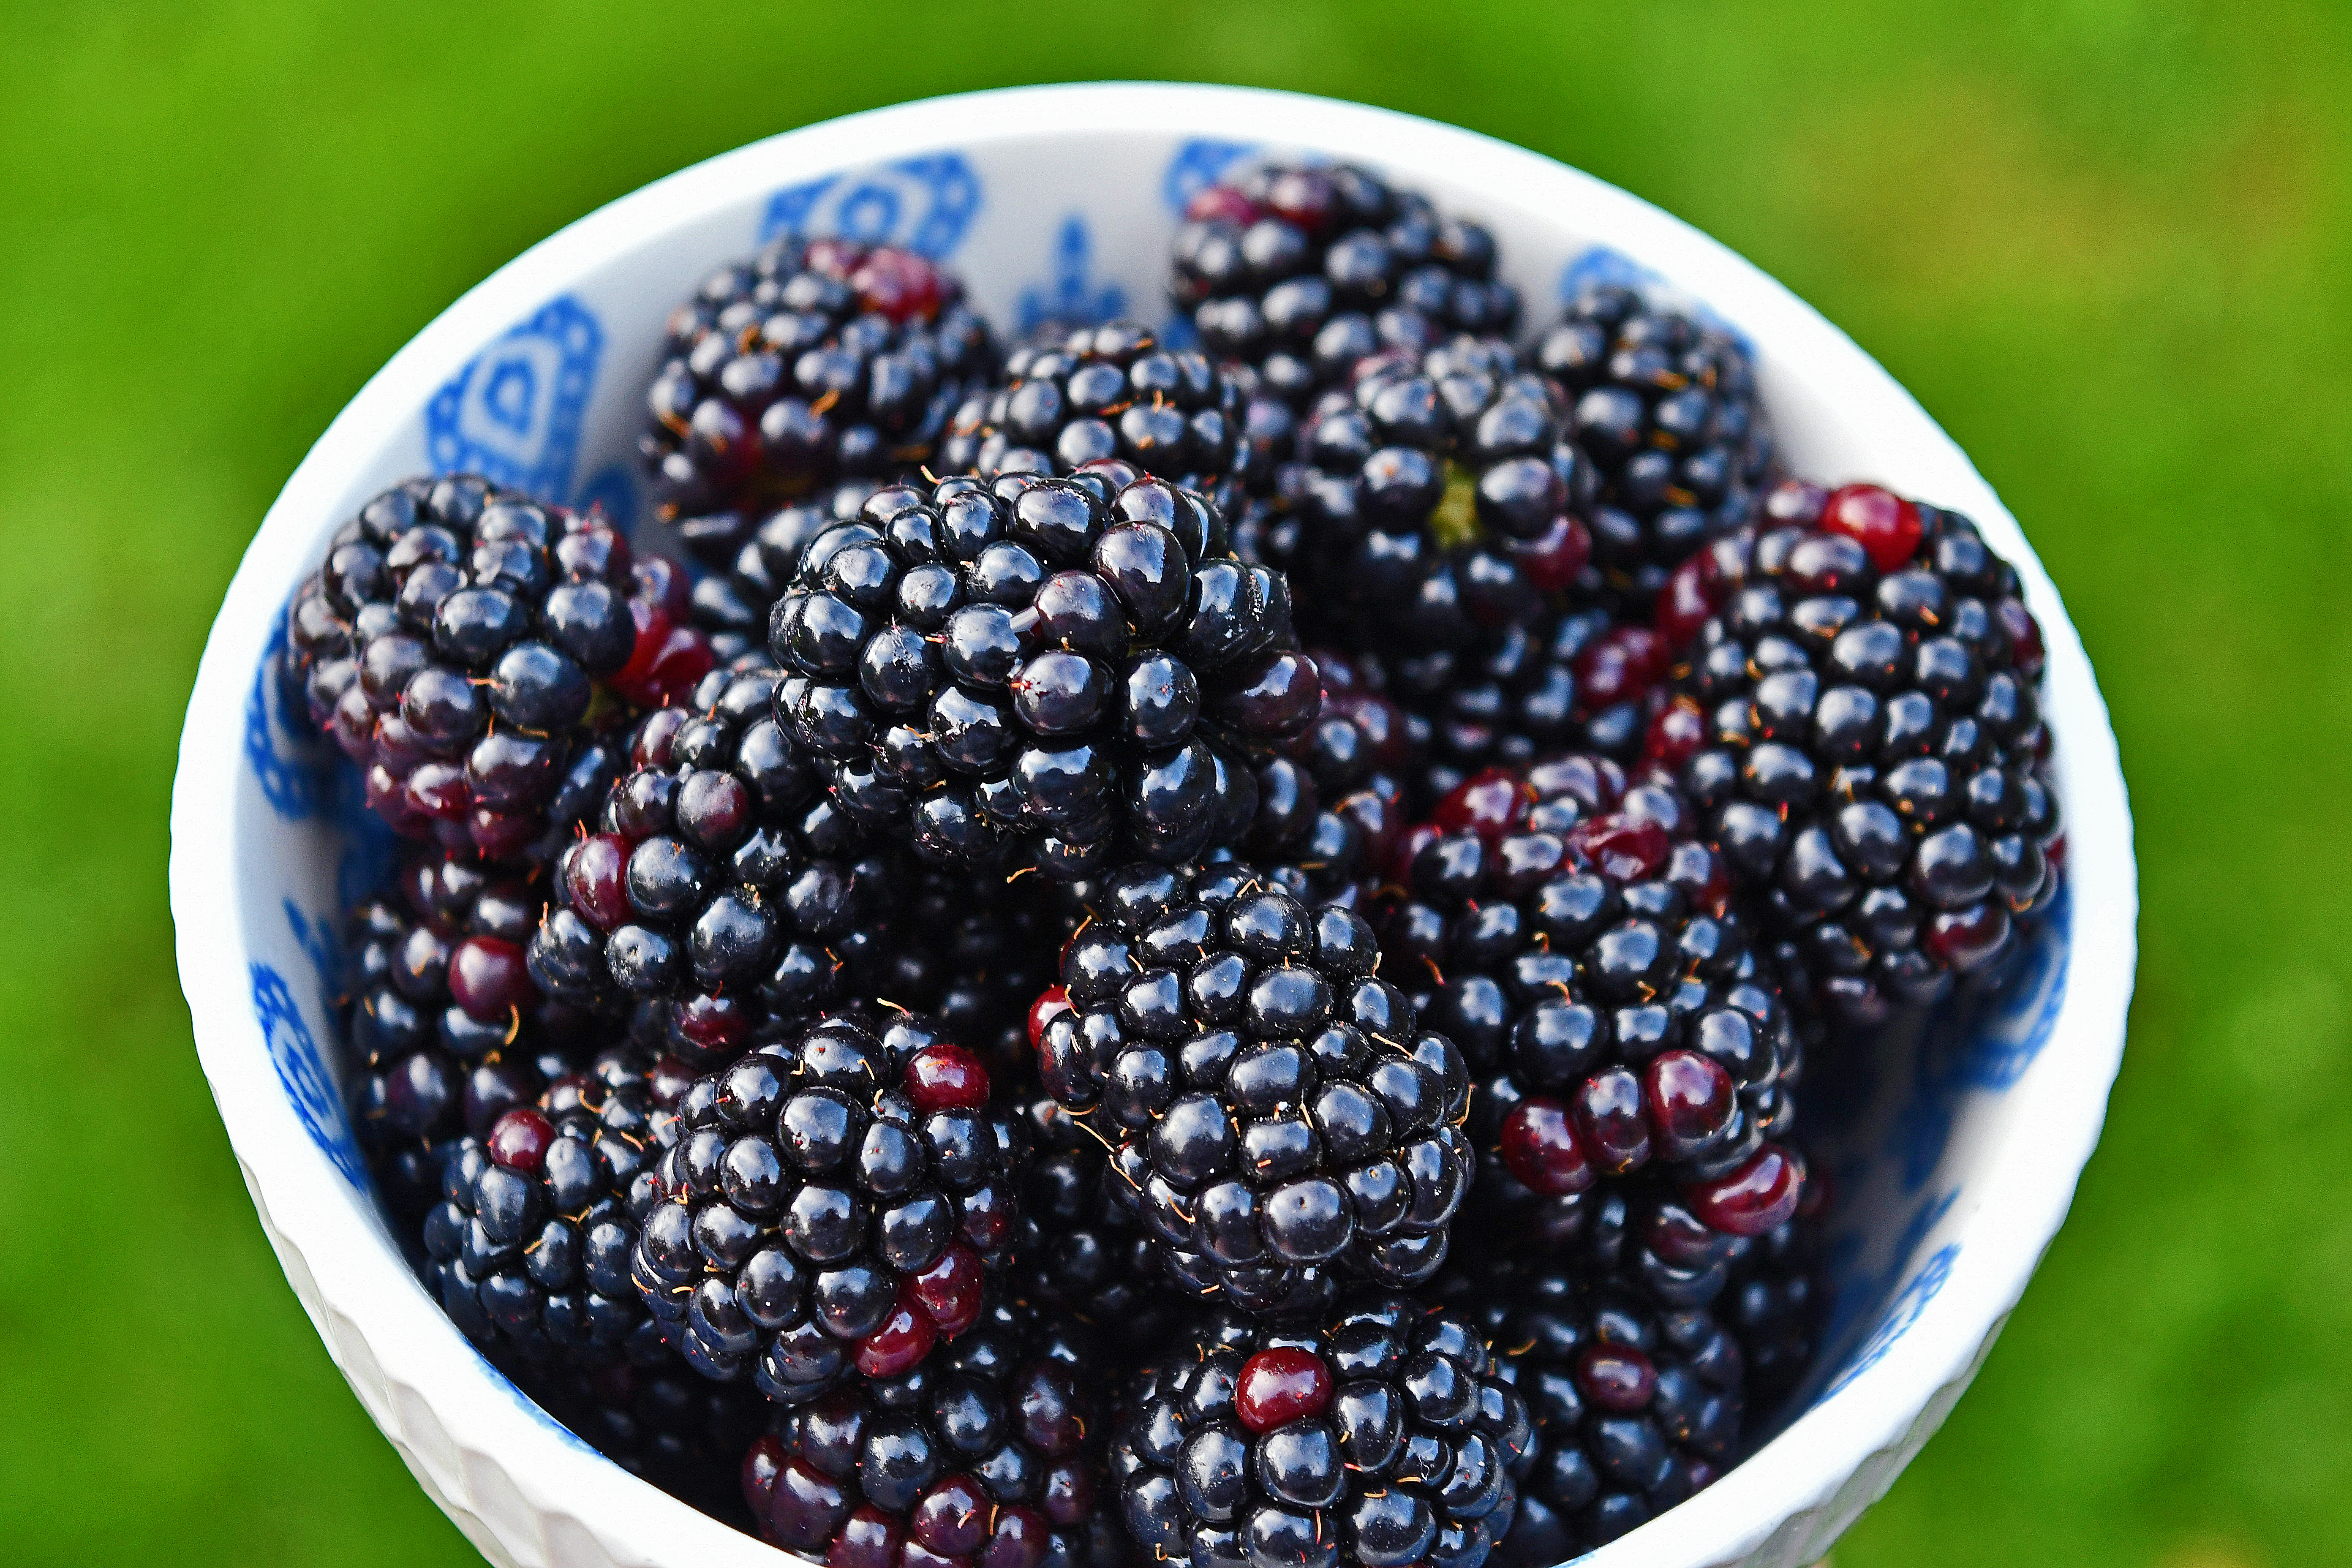
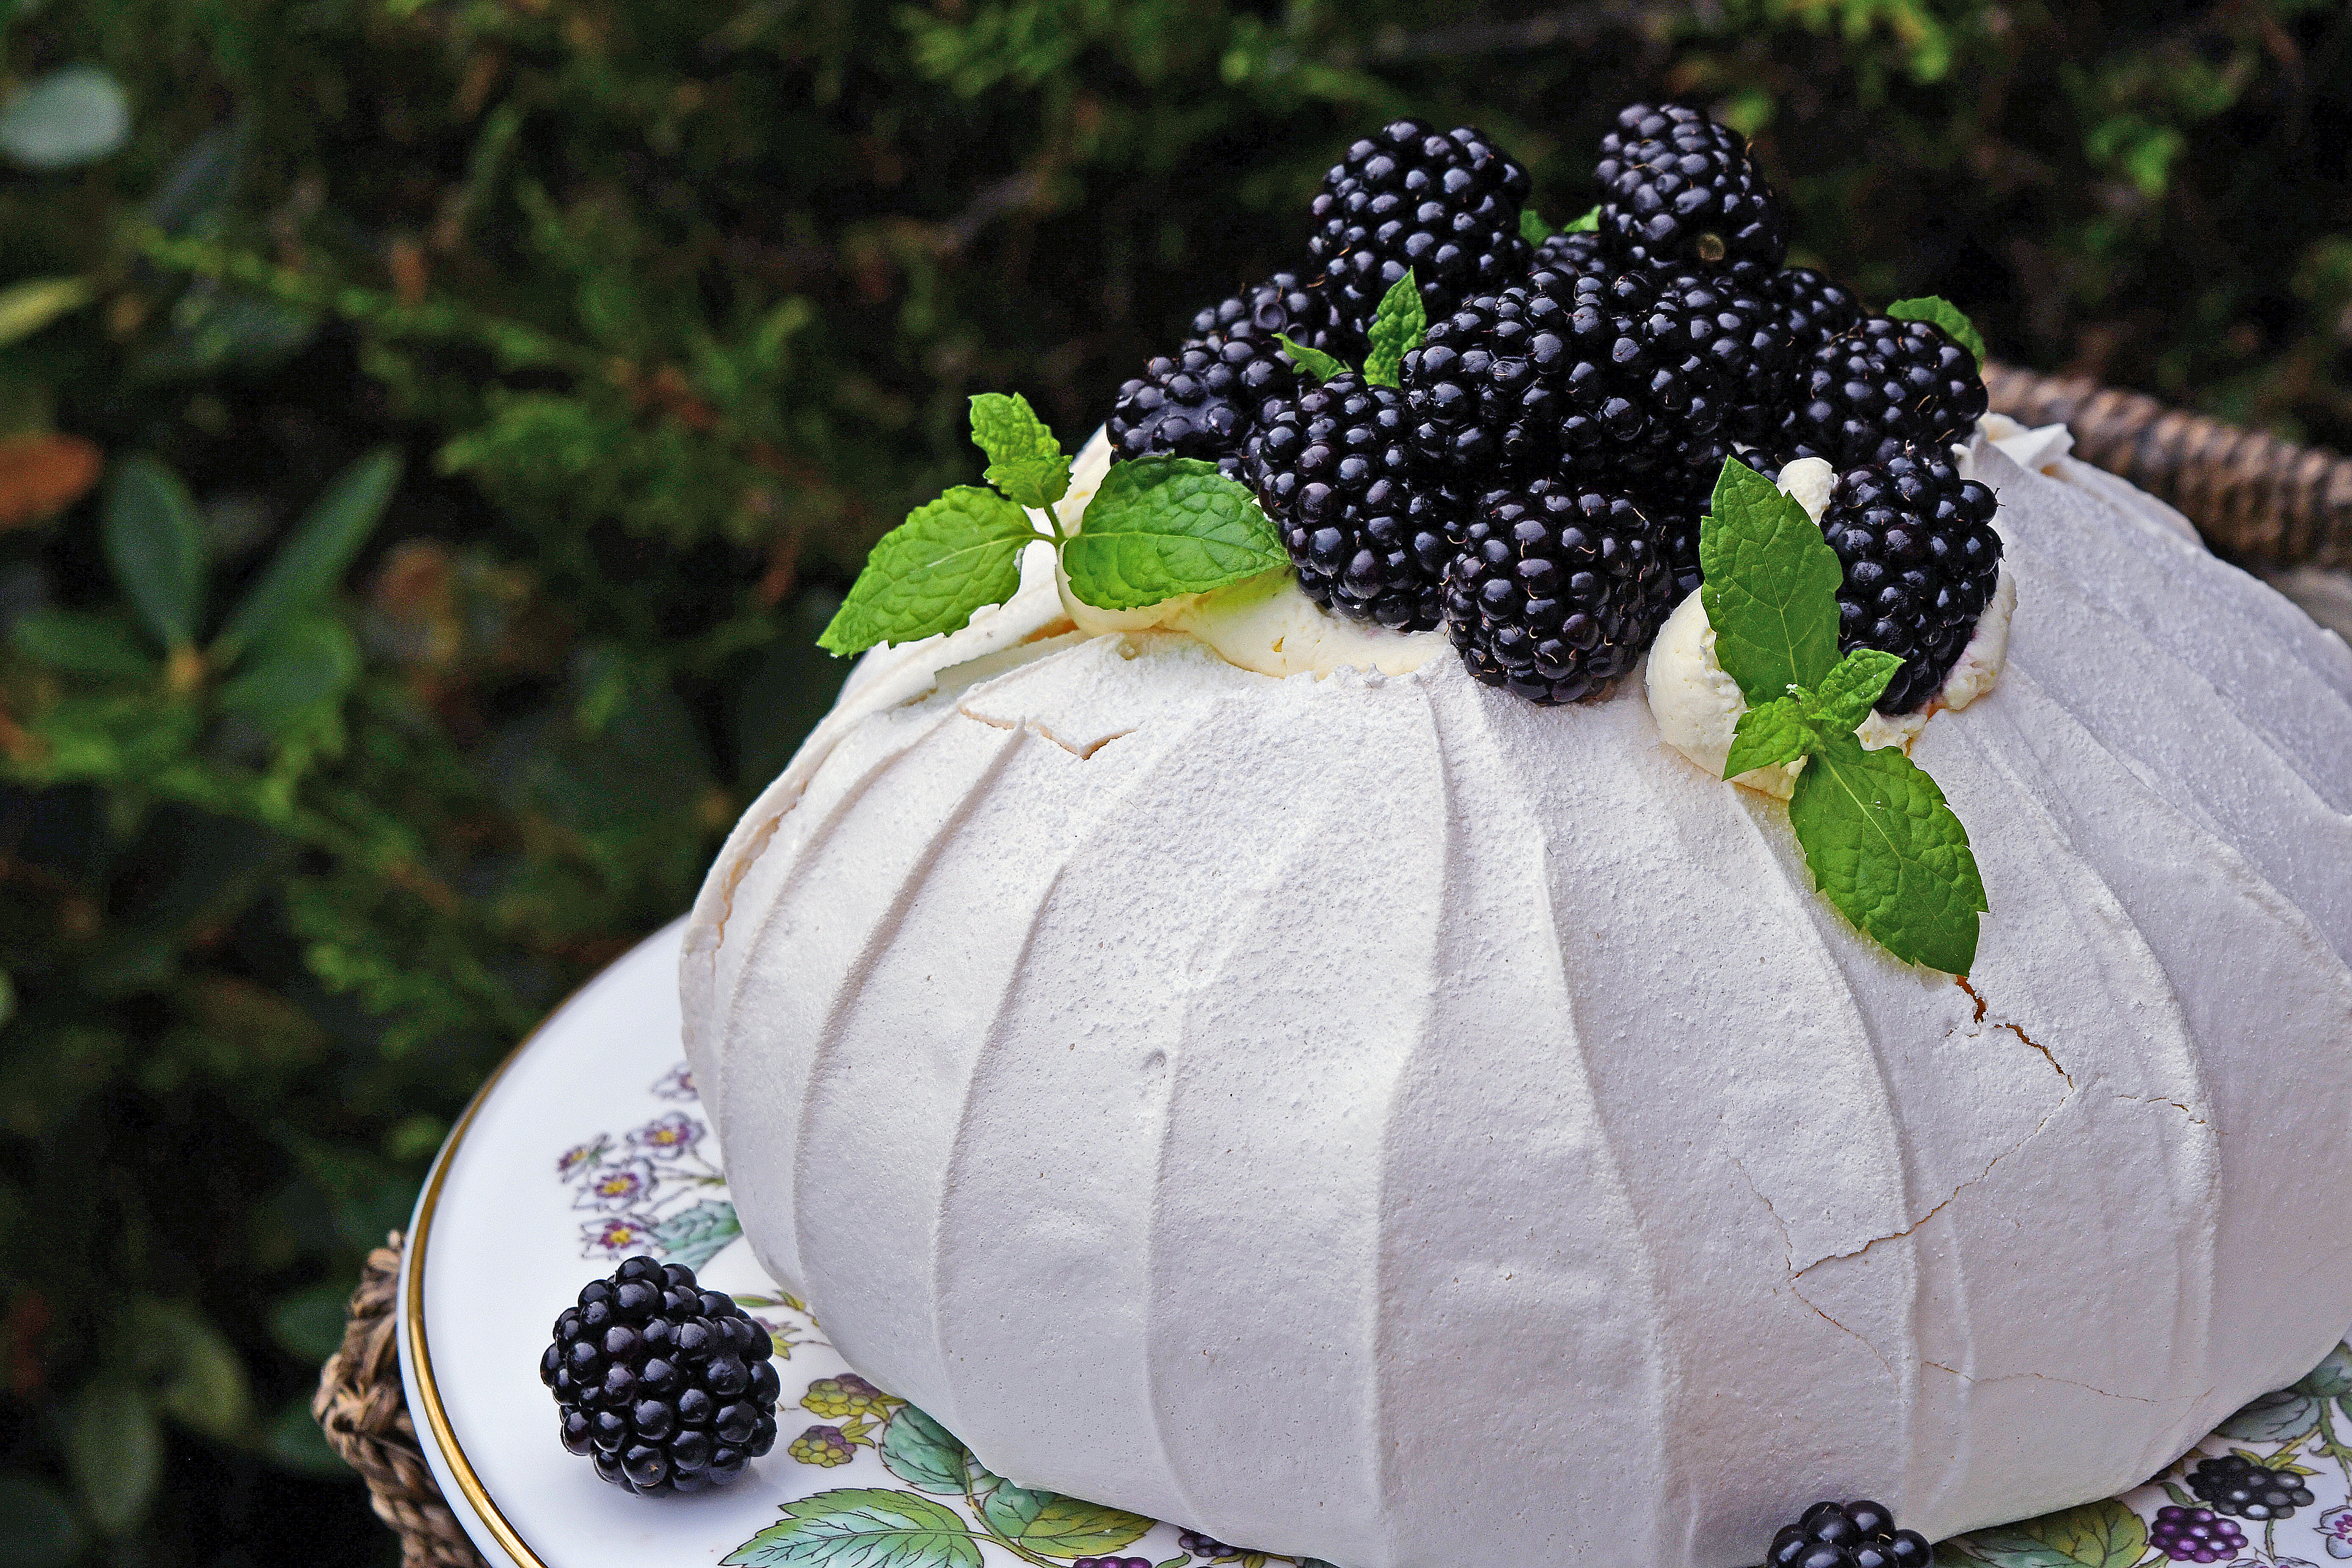
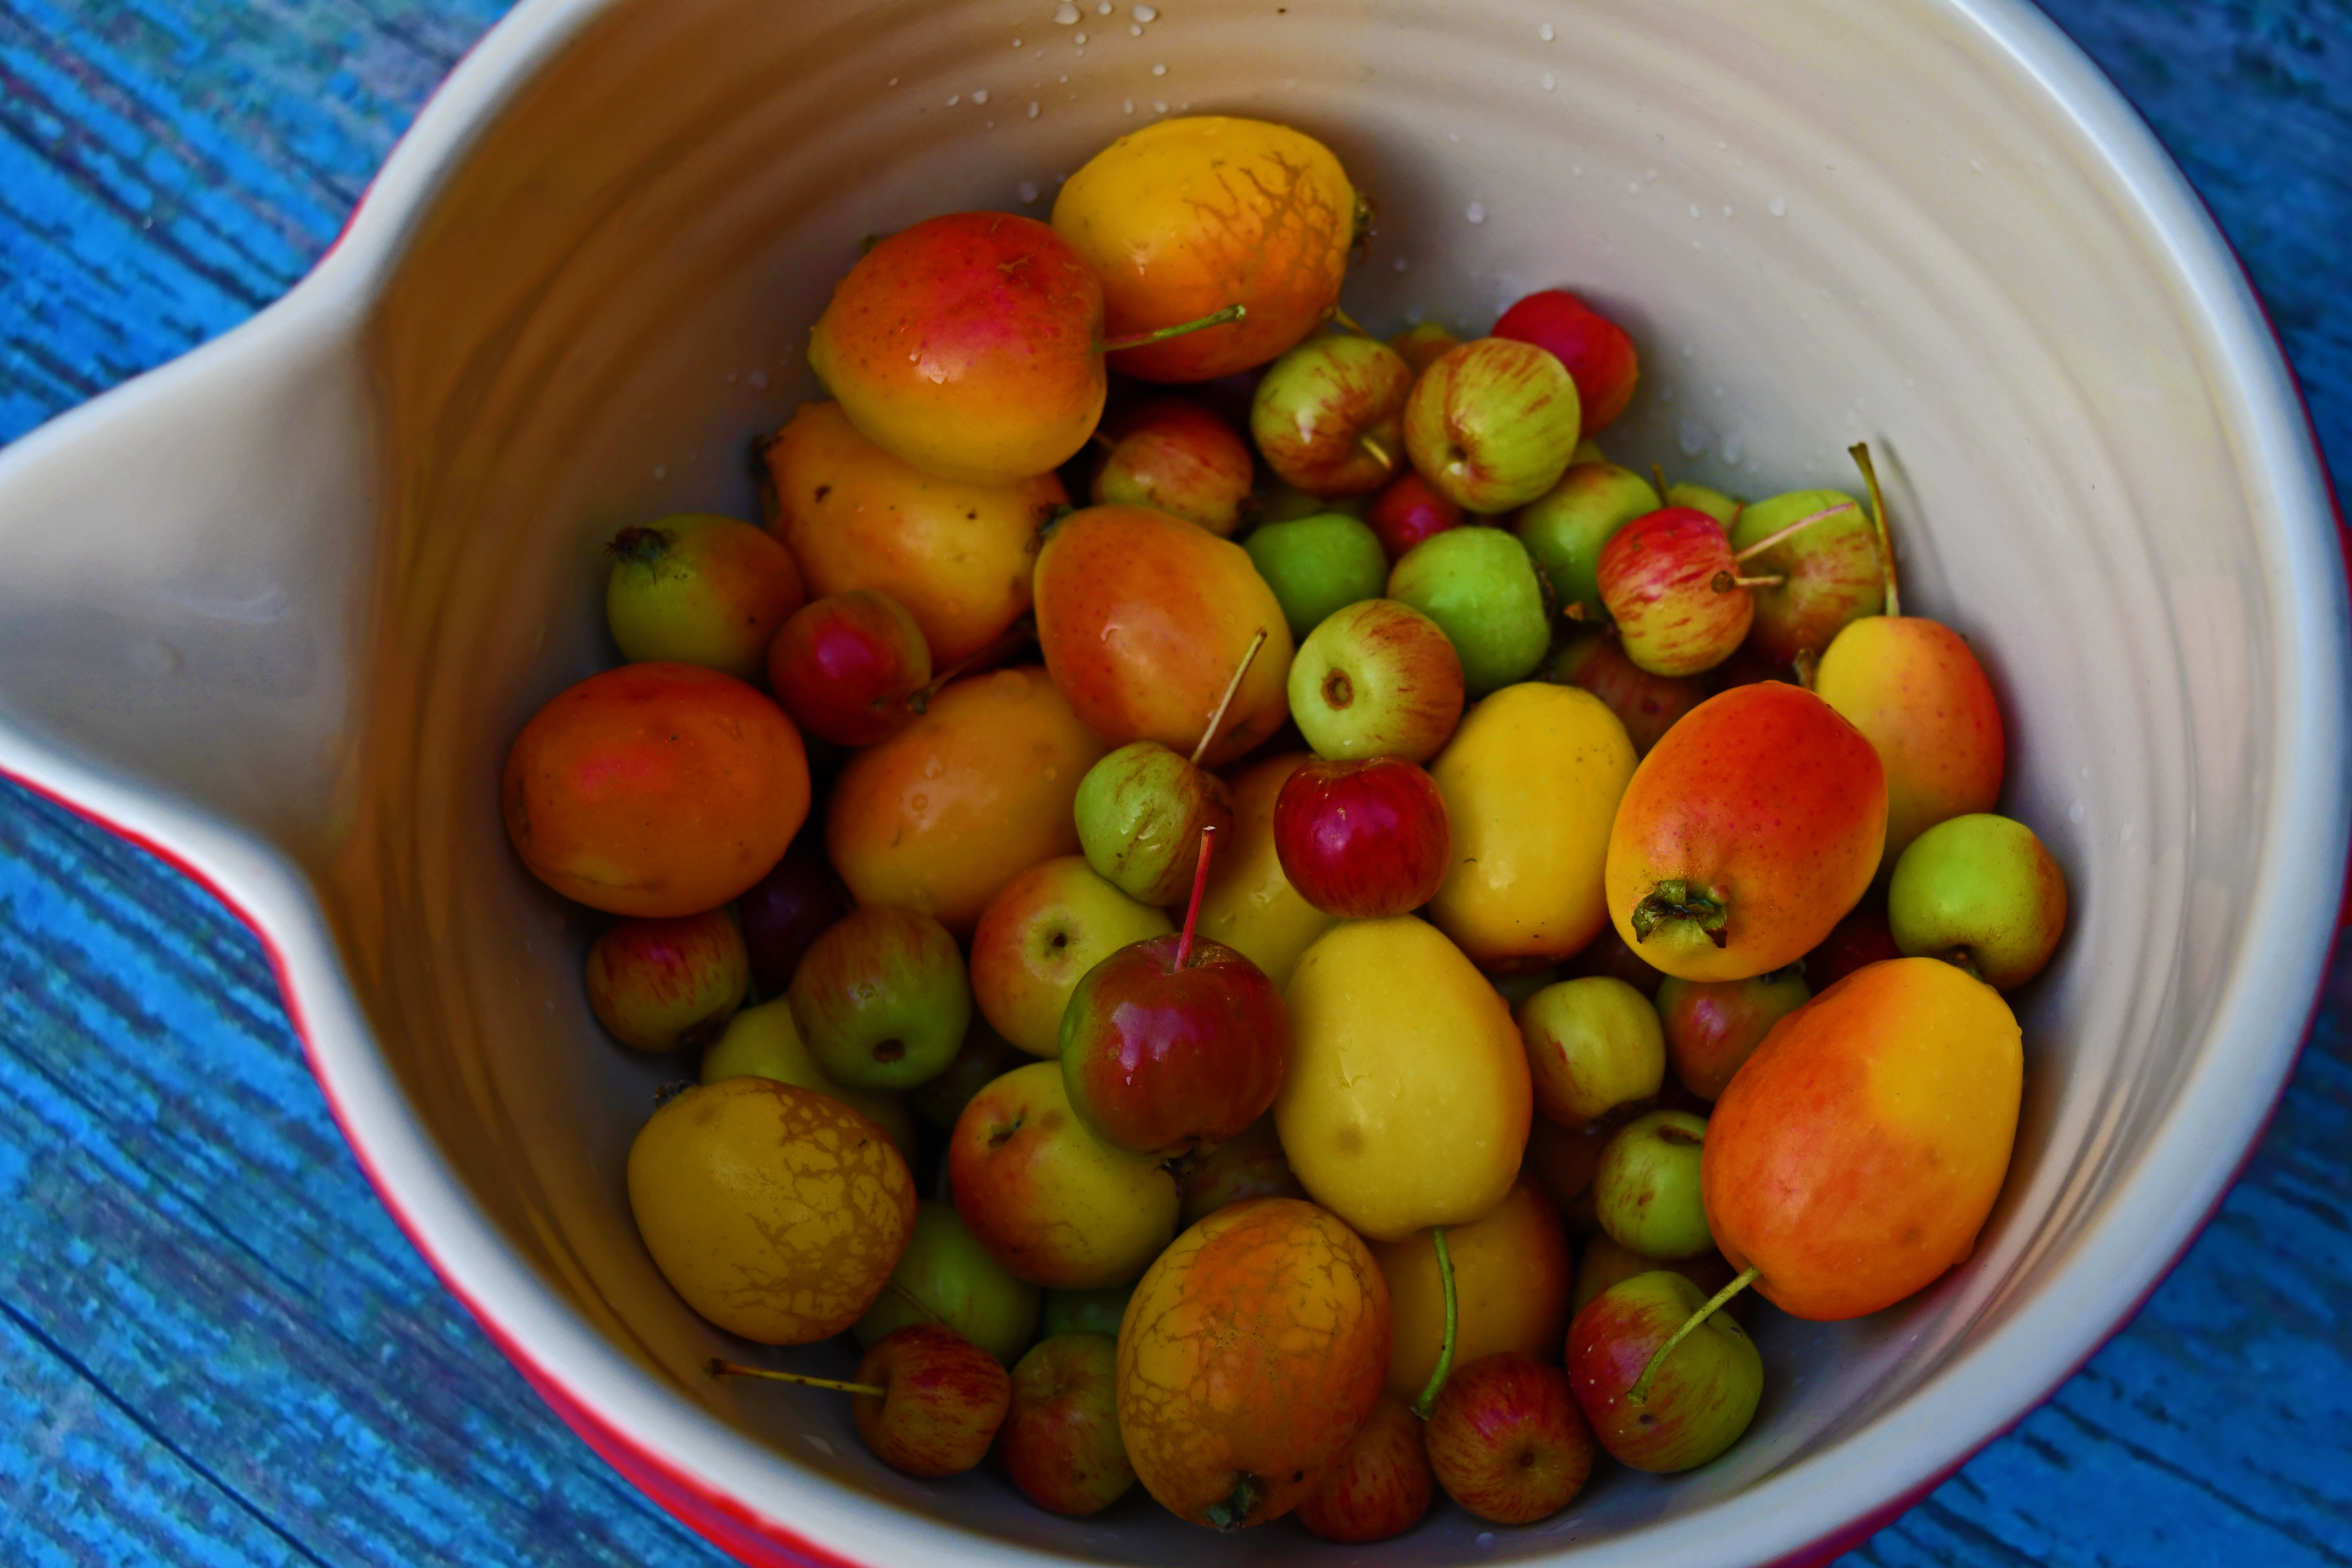
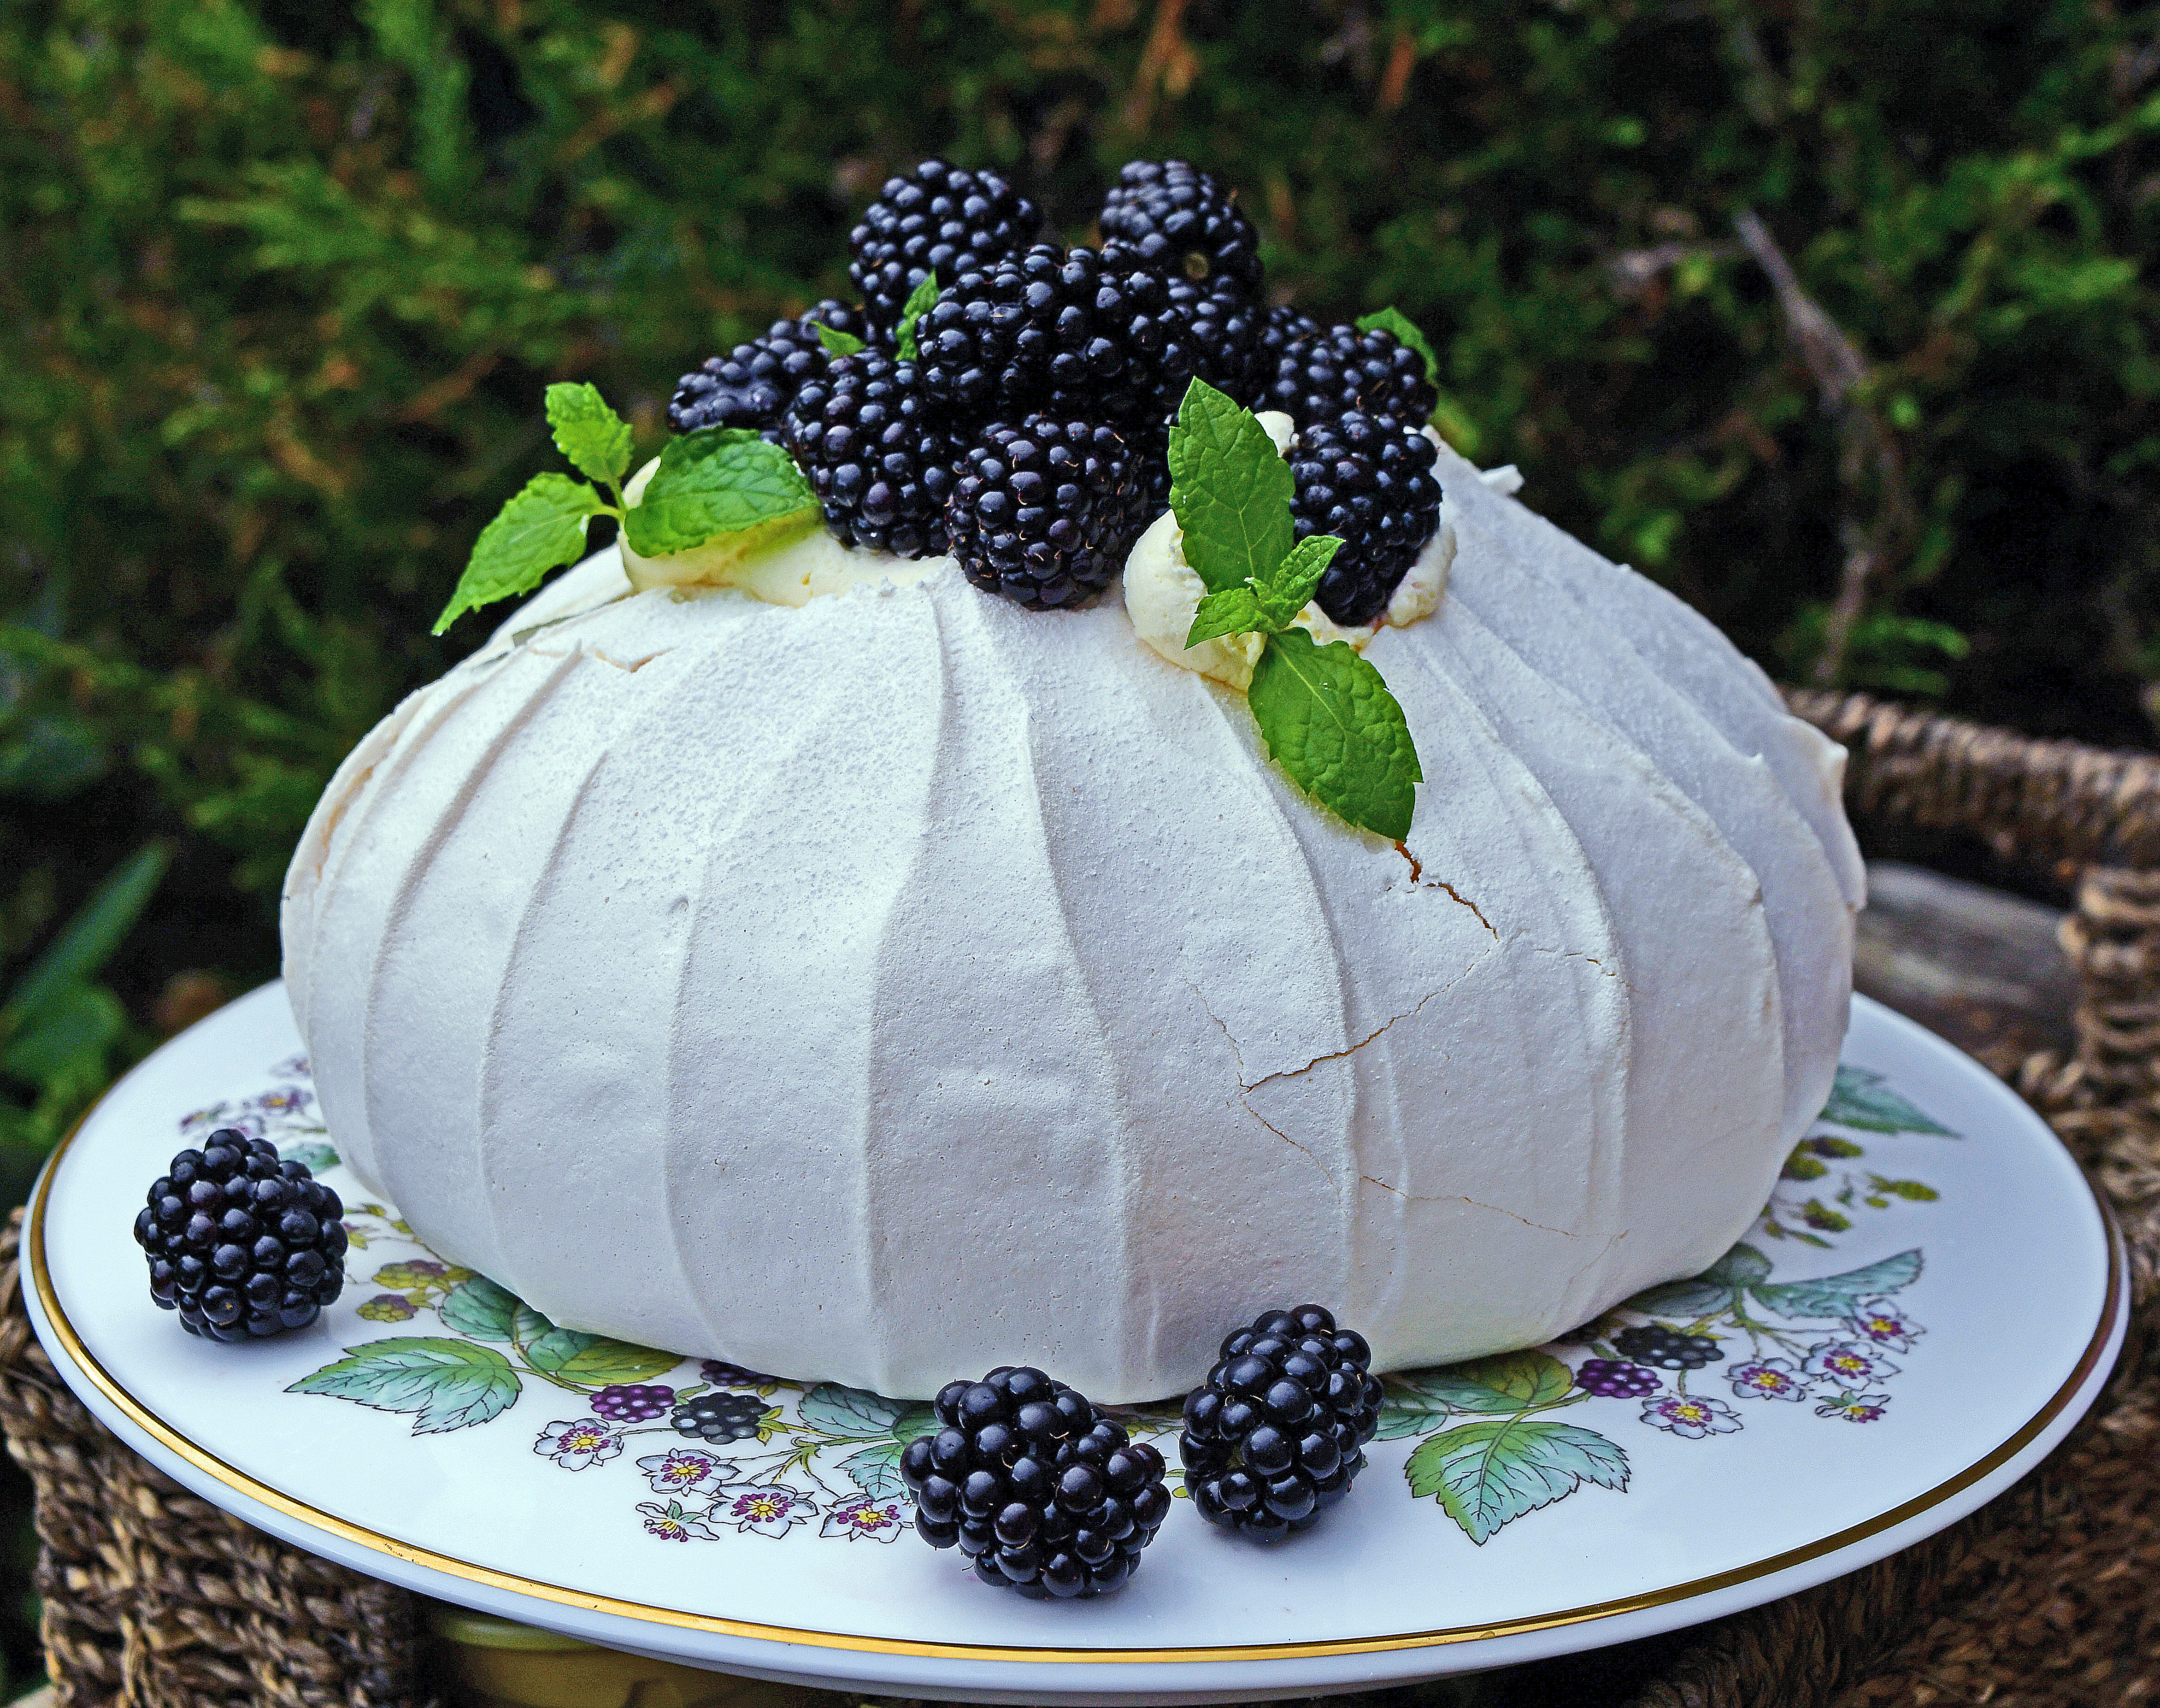
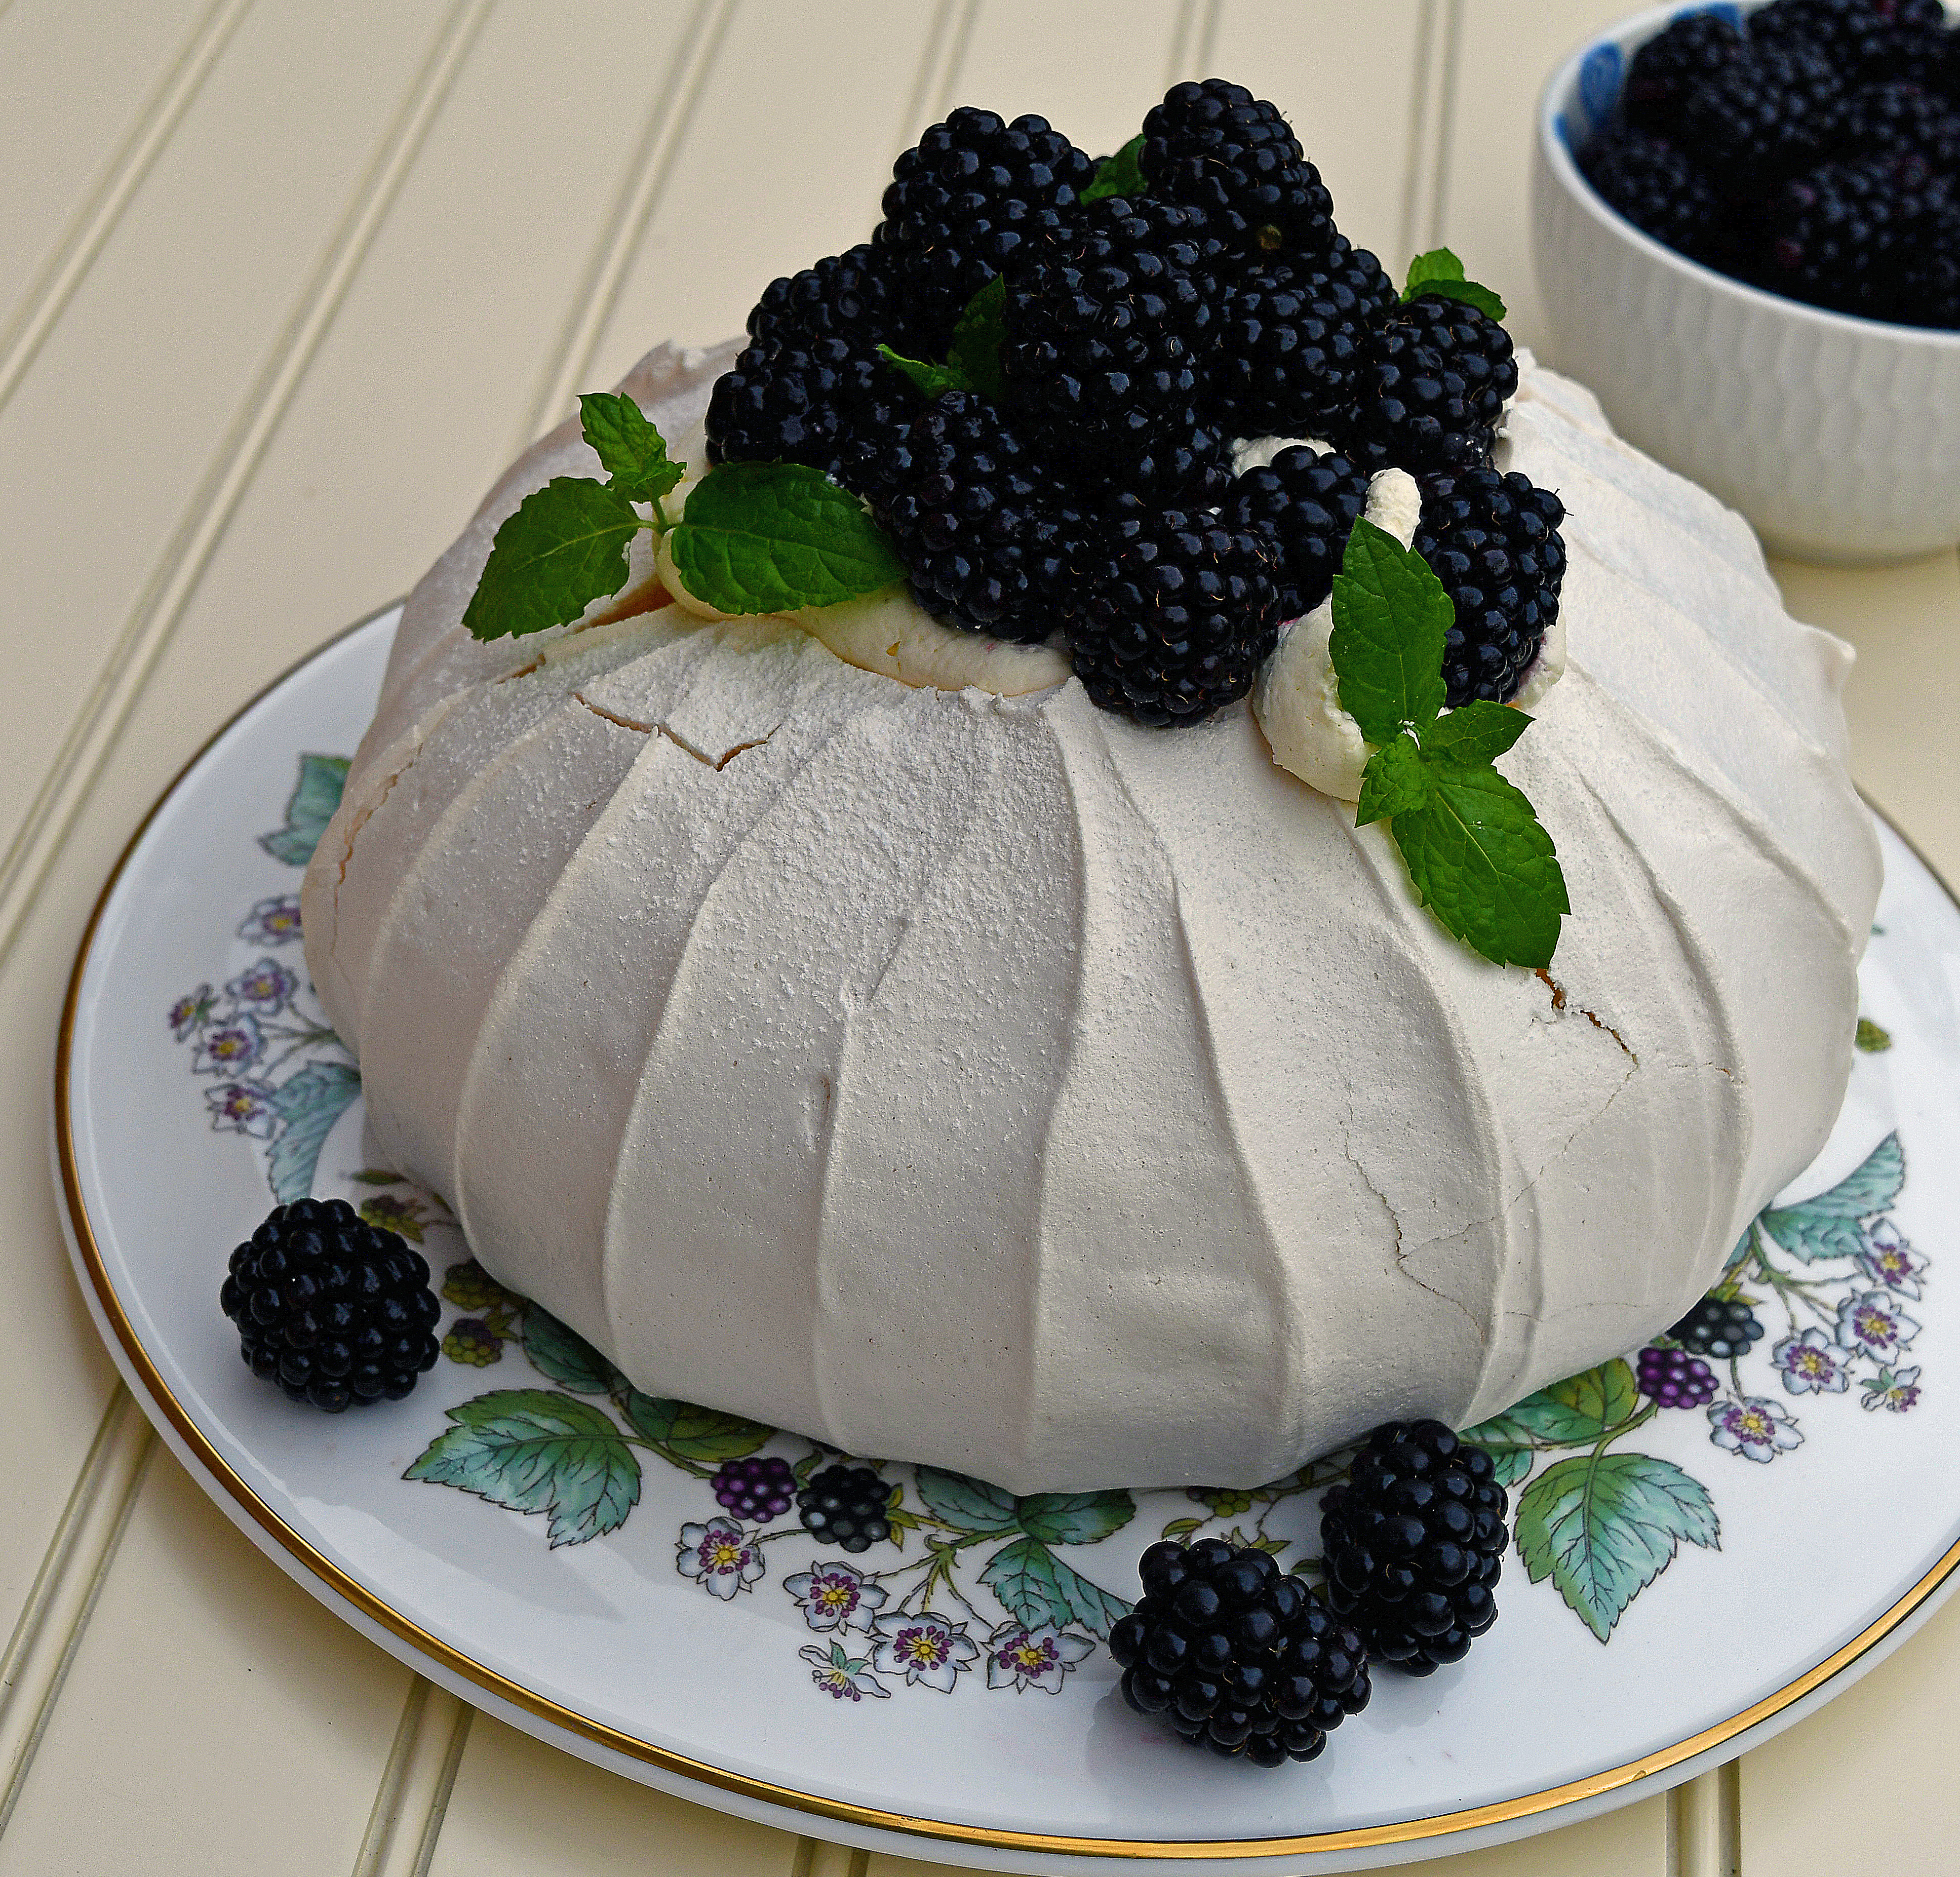
I decided to have a go at making a pavlova with my harvest and fill it with whipped cream, lemon curd and the big juicy (washed!) blackberries. I soak my berries briefly in salt water and then rinse with lots more water to get rid of anything lurking in them…
Ingredients
5 egg whites – I use room temperature eggs
250g caster sugar
Pinch of salt
1/4 tsp cream of tartar
1tsp of vanilla extract
Lemon – you can use vinegar too
1tbs corn flour
Filling:
500ml double/heavy cream
vanilla extract
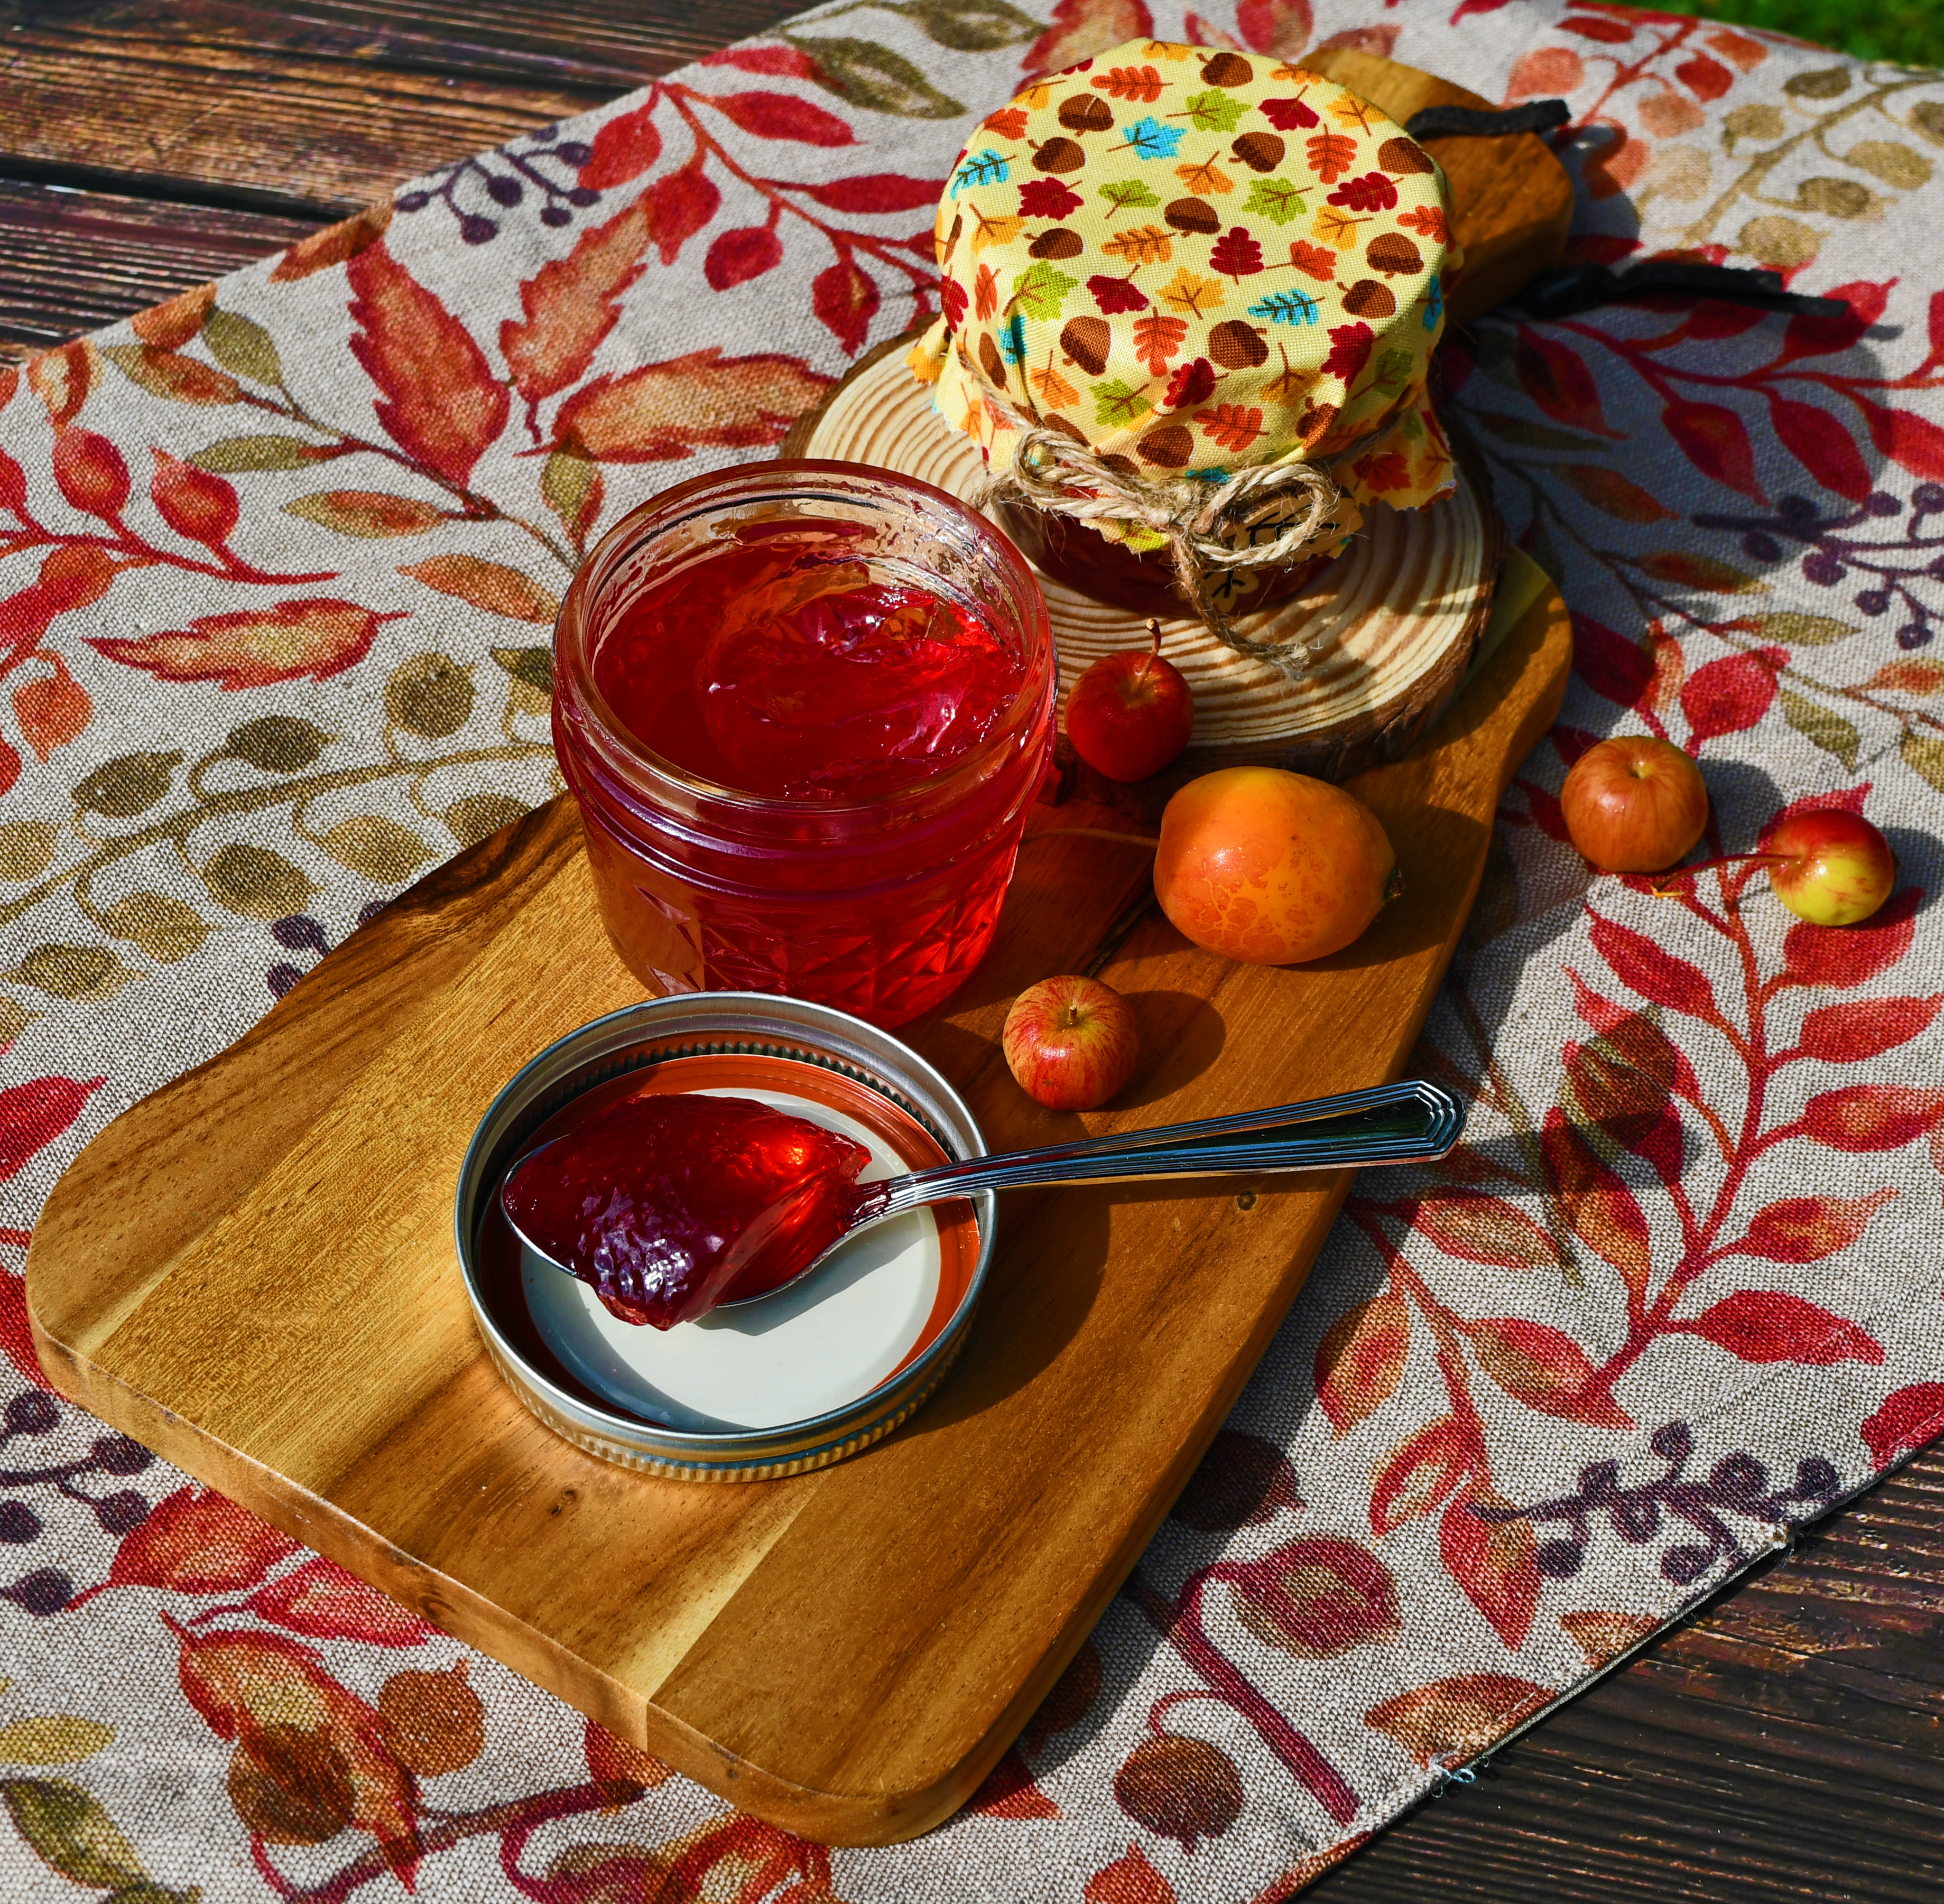
Lemon curd
1-3 tbs sieved icing sugar
Blackberries
Mint and icing sugar to garnish
Method
Make sure the bowl and whisk are really clean and there are no bits of yolk in the egg whites. I rubbed the bowl and whisk attachment with half a lemon to make sure there was no grease residue and the acid helps stabilise the egg whites too.
Draw a circle on some baking parchment – I used a bowl that was around 6/7 inches and then turn it over so the pencil won’t end up on the pavlova. Pre heat the oven to 150°C fan/130°F
Place the egg whites, salt and cream of tartar in the bowl and whisk until soft peaks
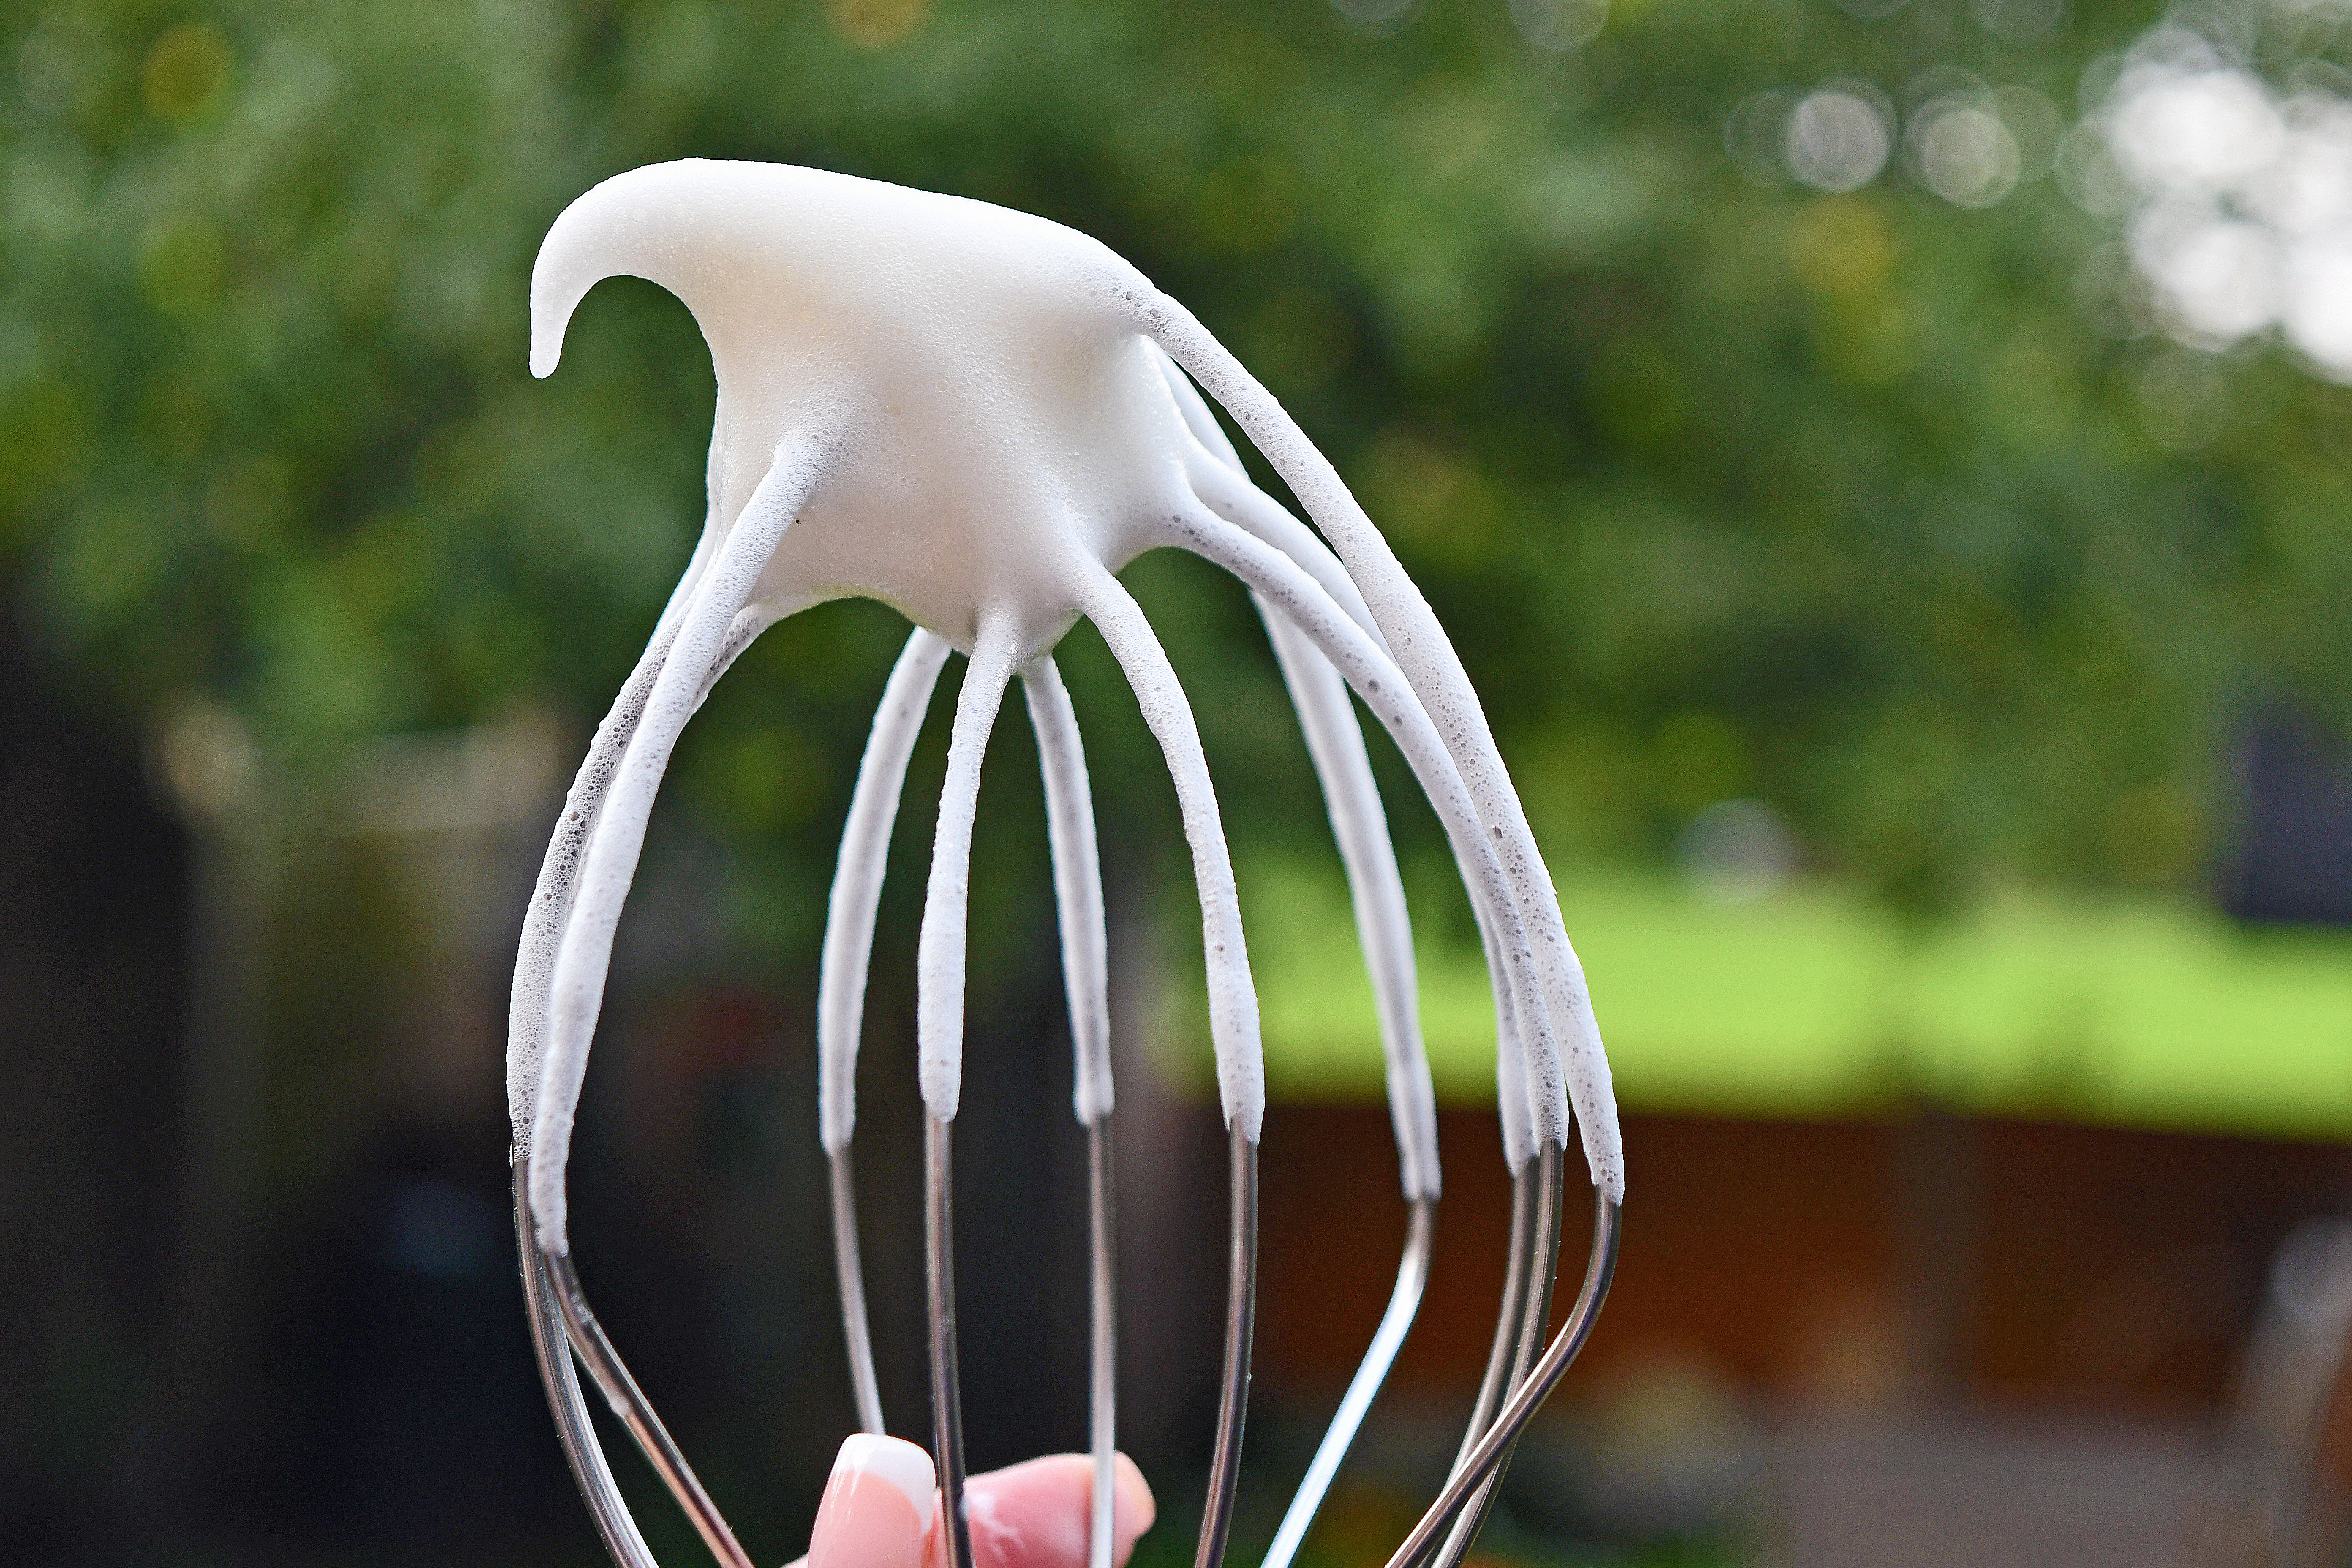
Then gradually add the sugar a spoonful at a time, giving it plenty of time to whisk into the egg whites.
Once the sugar is all in, the mixture will be full of volume and really glossy. Stop whisking and fold in the vanilla a teaspoon of lemon juice and corn flour – this will make the inside chewy and marshmallowy.
Use a little of the mixture to stick the paper to a baking sheet, this will not only stop it moving around when you shape the meringue, but also stop it blowing around in the oven and sticking to the pavlova
Spoon the meringue onto the baking parchment and using a palette knife or offset spatula, mould into whatever shape you like, leaving a dent in the middle for the filling to go into.
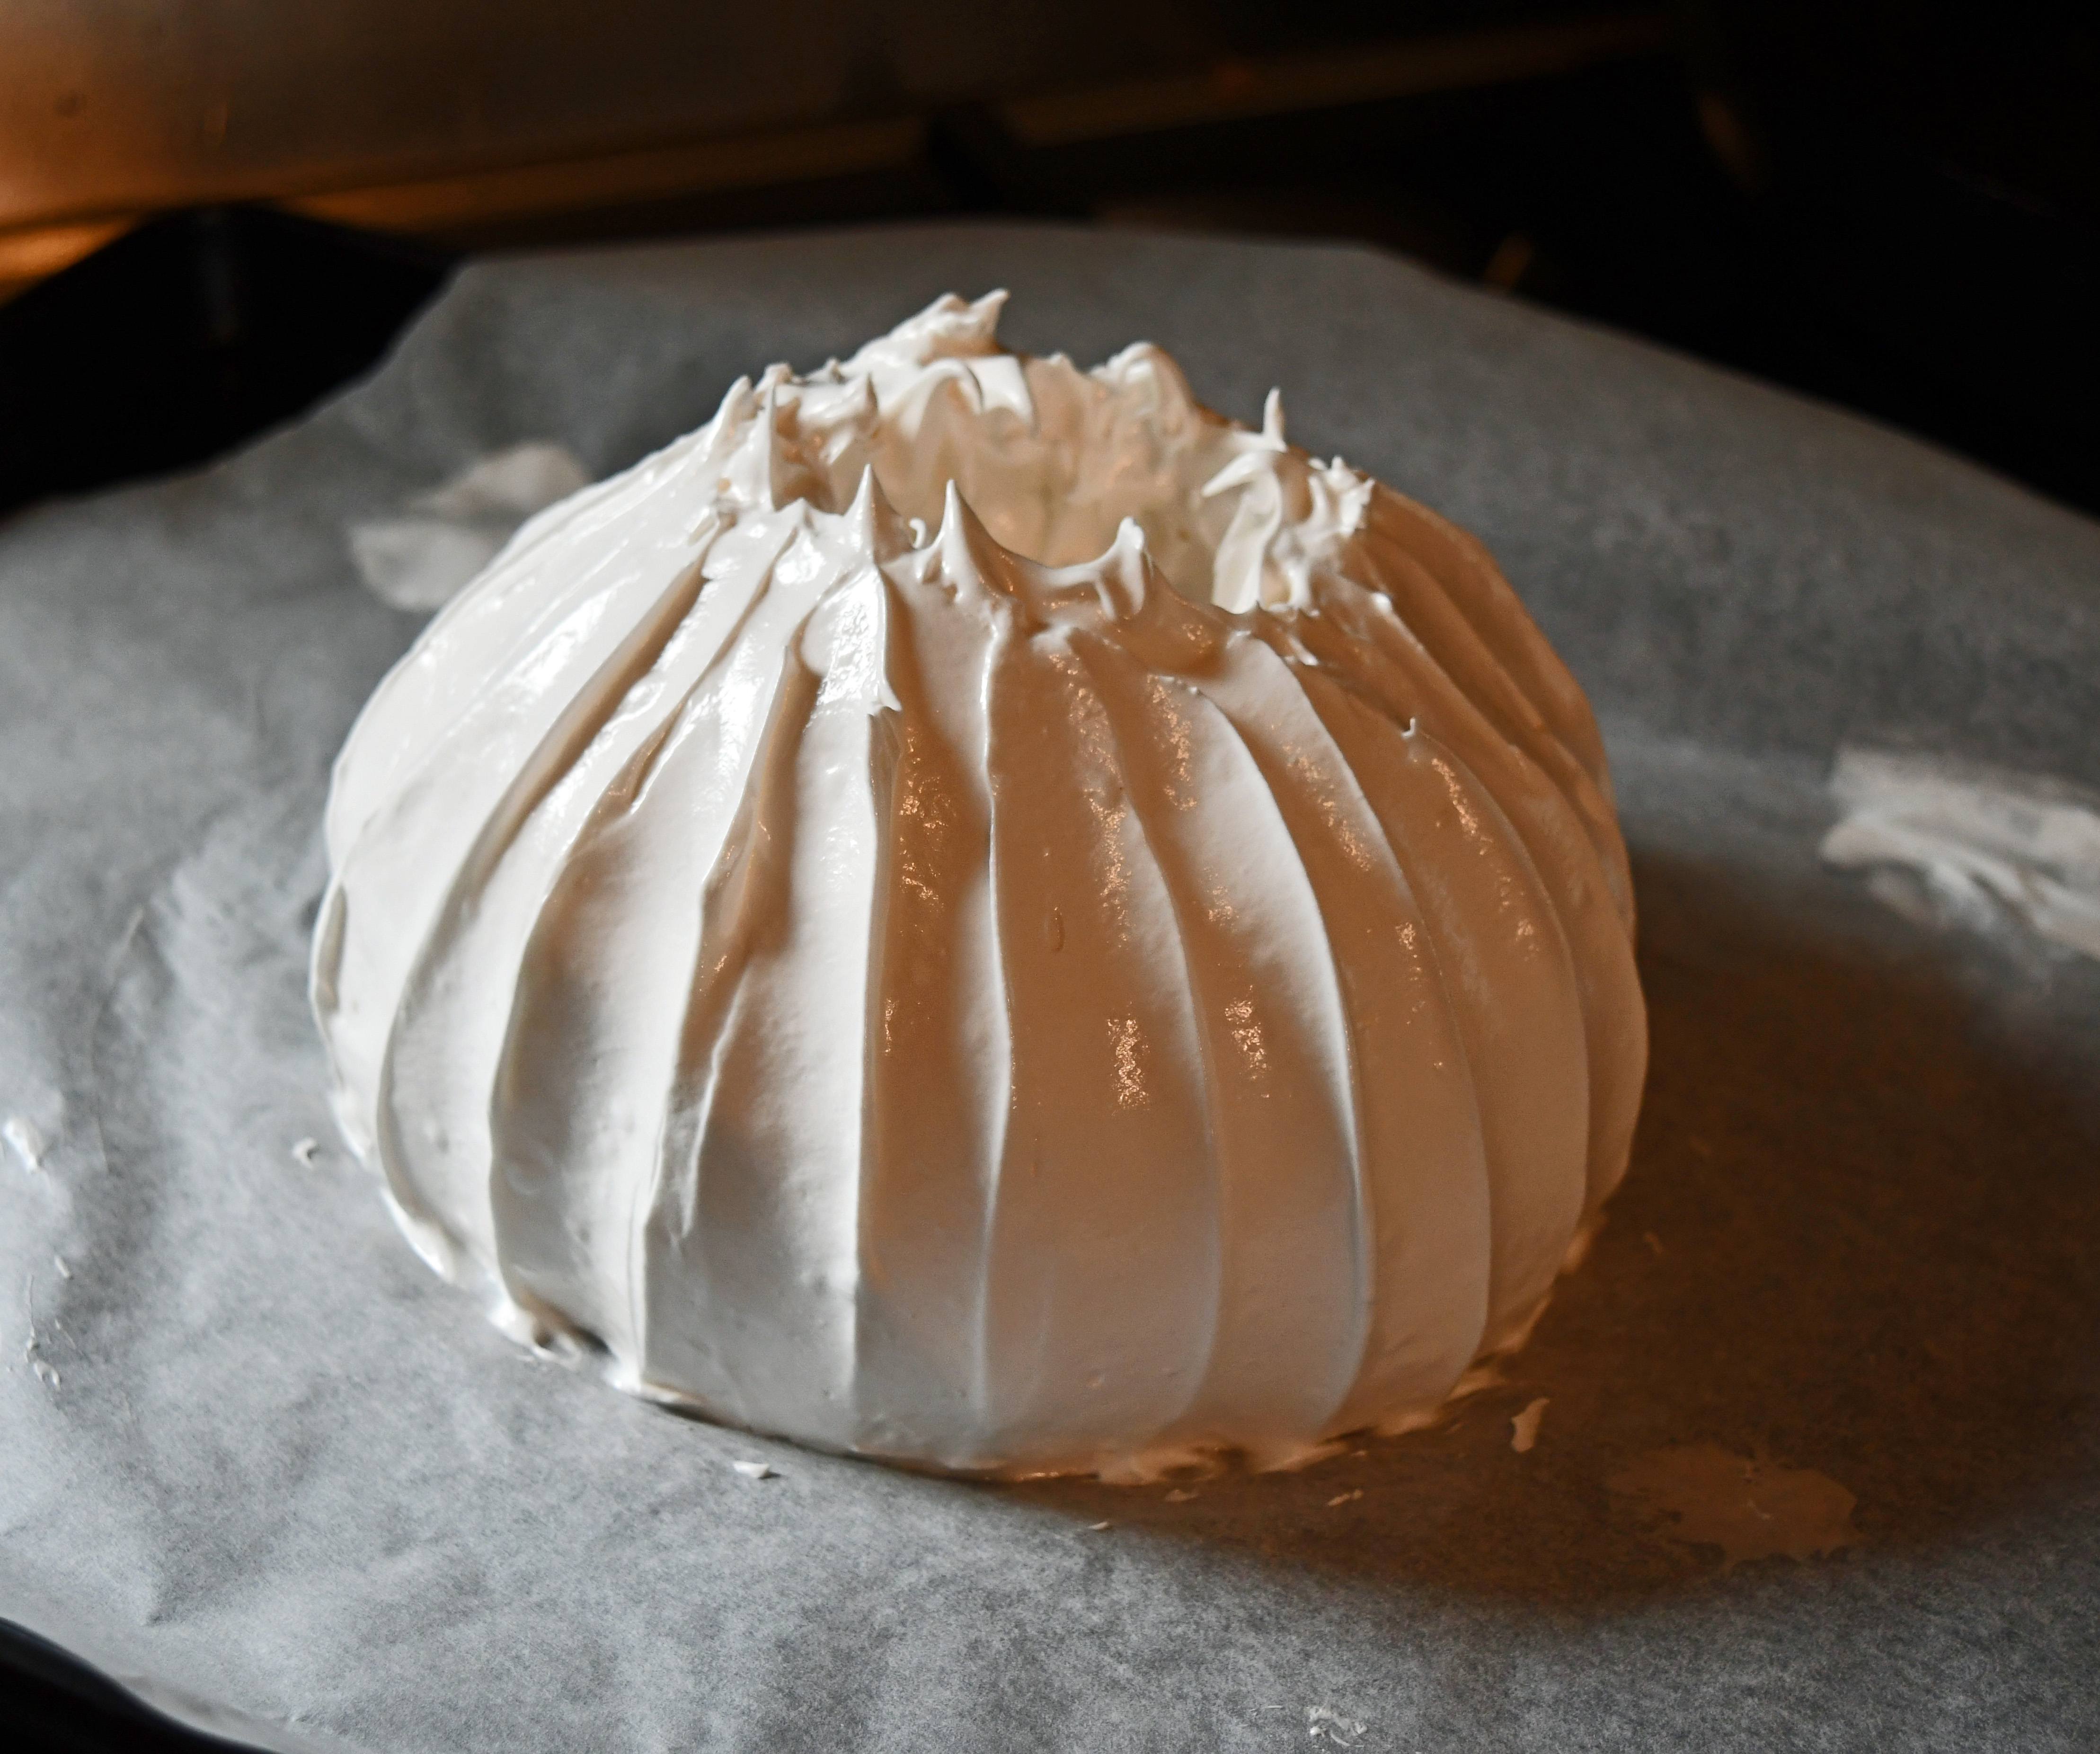
Bake for around an hour and don’t open the oven door. The surface will look dry and become crisp. After an hour, reduce the temperature to 120°C/250°F and leave it for another hour. Once this time is up, turn off the oven but leave the fan on, still not opening the door and leave again for another hour. Turn the fan off and leave it to fully cool, you can leave it overnight at this point.
It should be soft and a little chewy in the middle, but not wet and eggy! The centre will collapse a little which creates a pocket for all the berries and cream. Leave it on the parchment until you are ready to decorate as its quite fragile, mine has a few cracks.
To make the filling, whisk the cream, a tsp of vanilla and 1-2 tbs of icing sugar until it thickens into very soft peaks. Taste for sweetness and take care not to overwhip.
Take a couple of tablespoons of lemon curd and loosely fold into the cream so you have a marbled effect and gently pipe into the centre of the pavlova, along with a layer of berries, top with more cream and lots of blackberries, sprigs of mint and a light dusting of icing sugar.