Crab Apple Jelly

Crab apple jelly is a staple foraging recipe and really easy to make too. If you don’t have a jelly bag, a coffee filter or a muslin square in a sieve over a bowl will do the job.

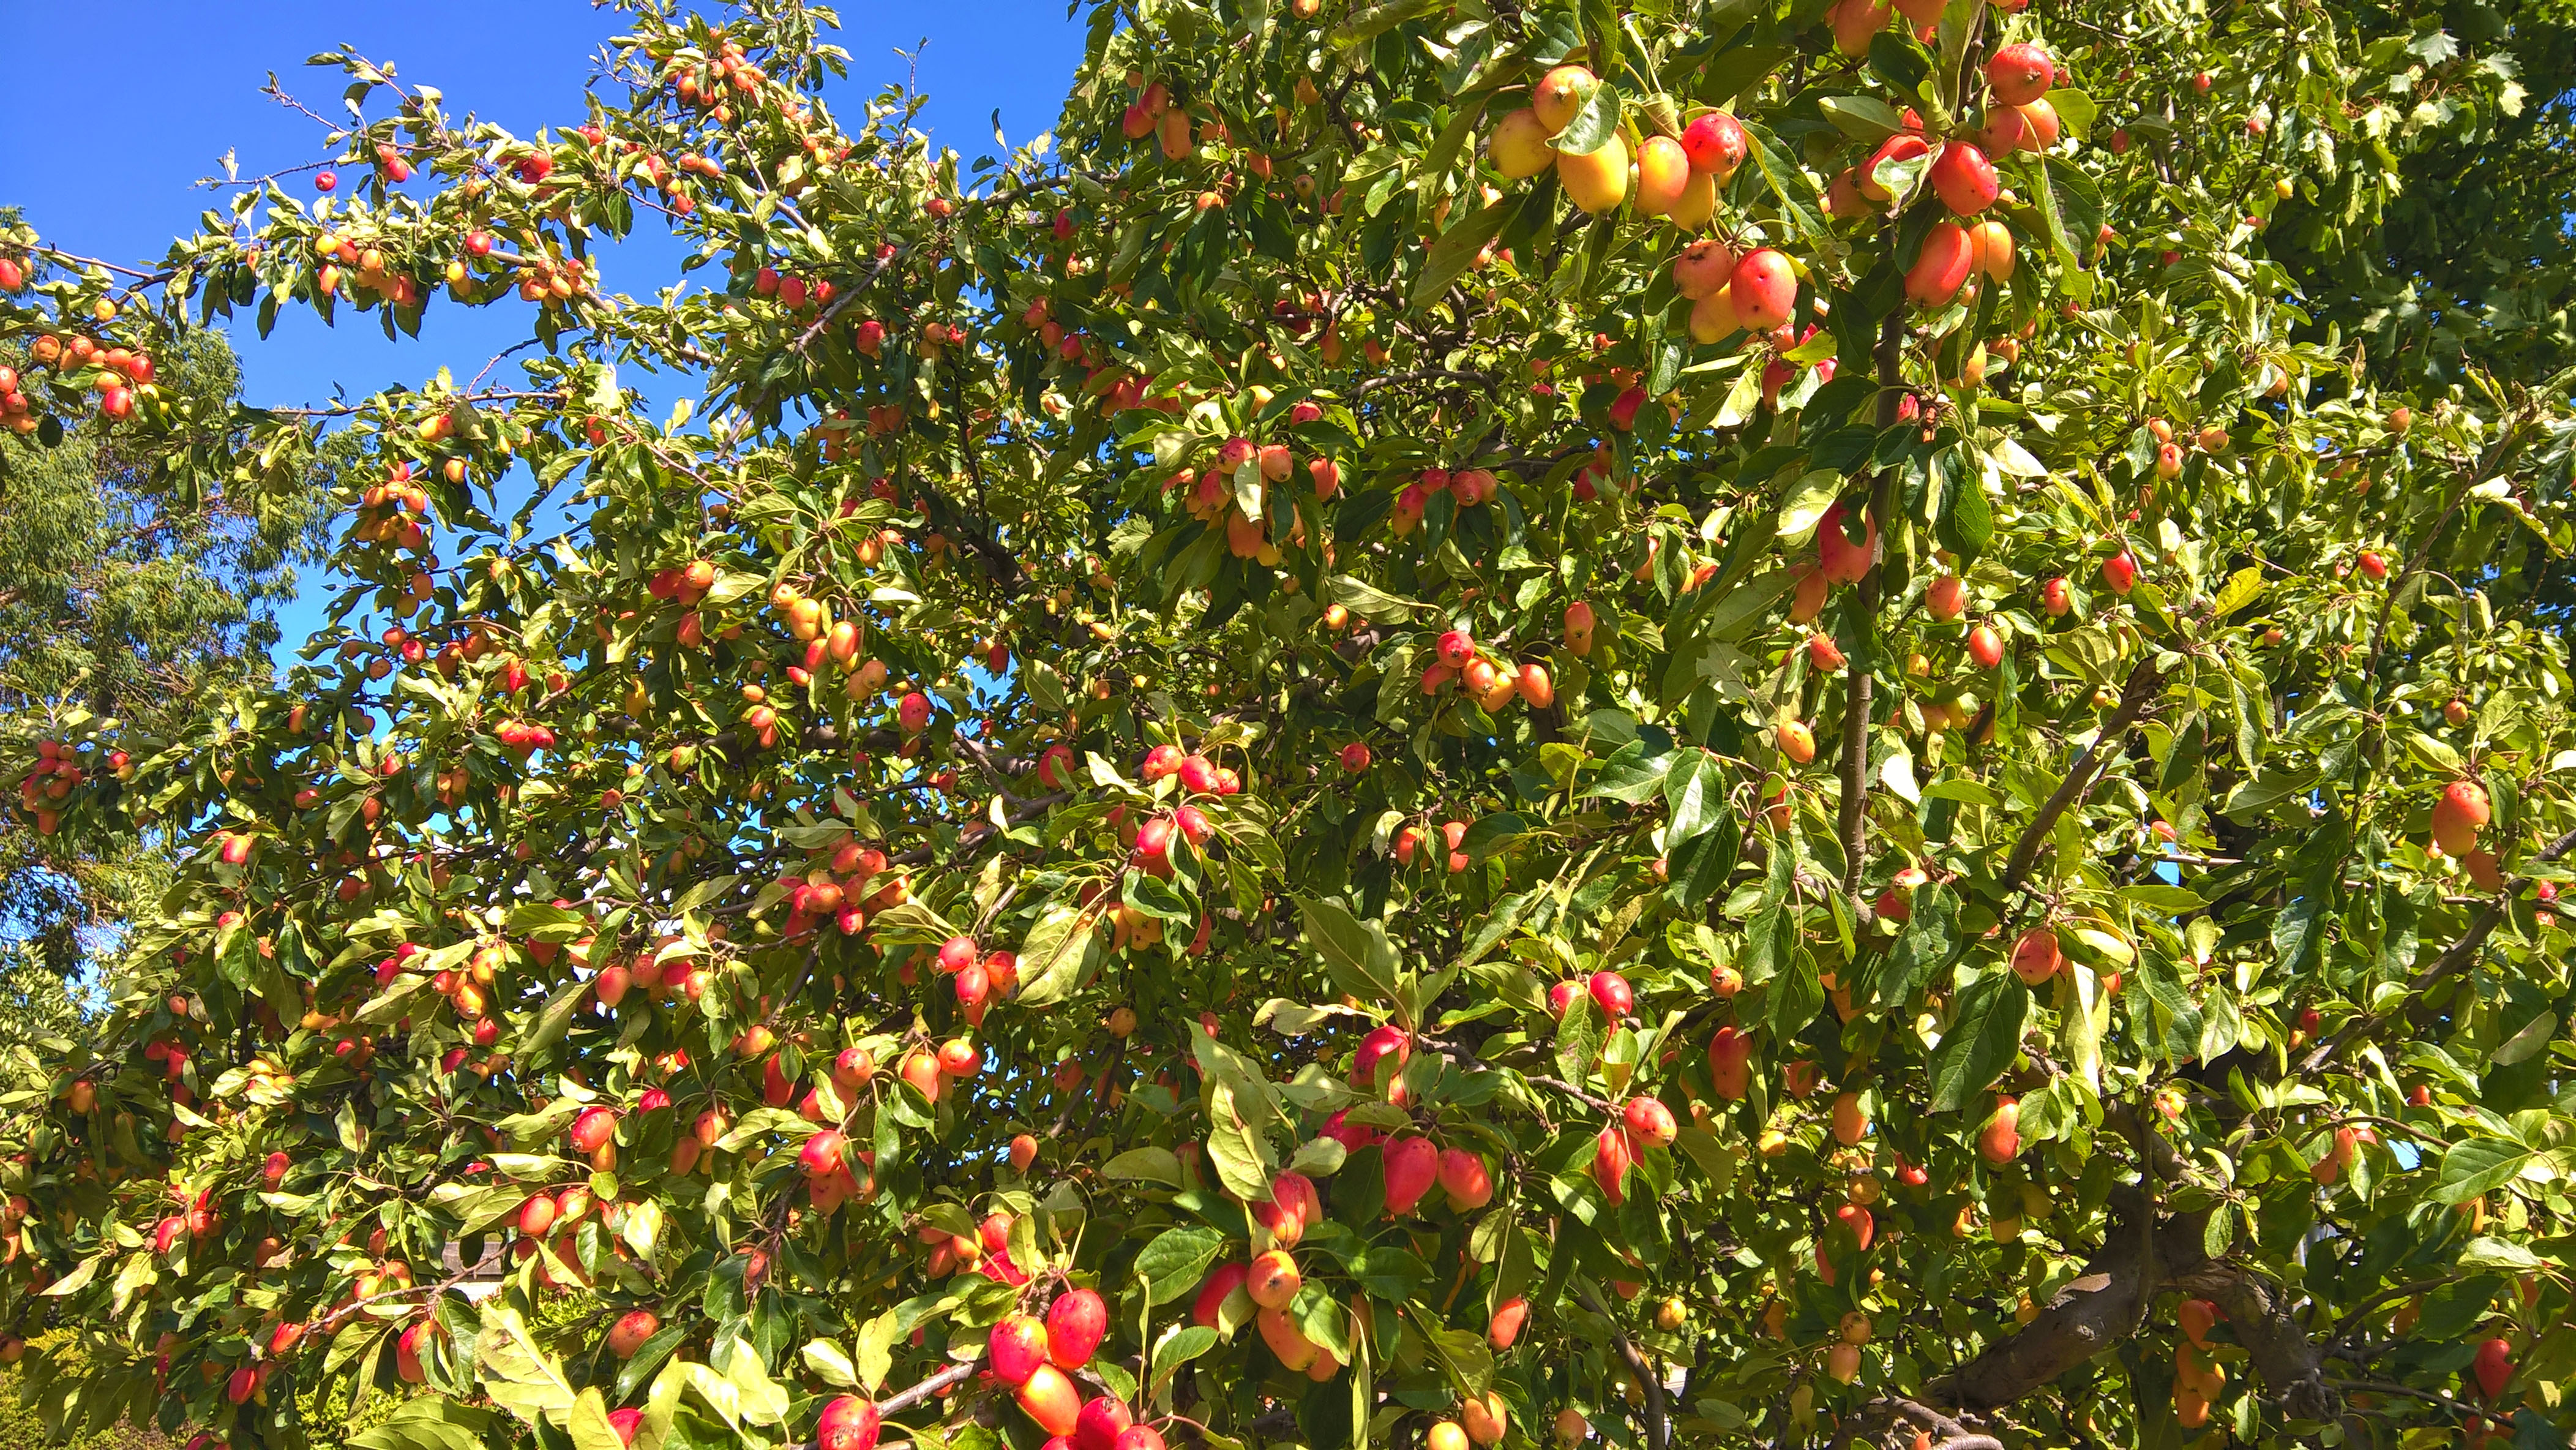
Crab apples are ready from late August onwards, depending on what type you can find. If you are unsure whether they are ripe or not, cut one open – if the seeds are dark brown, then they are ripe.

If you don’t have a crab apple tree in your garden, then you can find them growing in the woods and parks or I’ve heard that you can sometimes find them at a farmers market or farm shop, although I’ve never seen them for sale.

Crab apple jelly can be made in small quantities and there is already lots of pectin in them, so you don’t need to go out and buy special jam sugar. However, if you are nervous about it setting, then you can always slice in a lemon (with the pips) which will help.

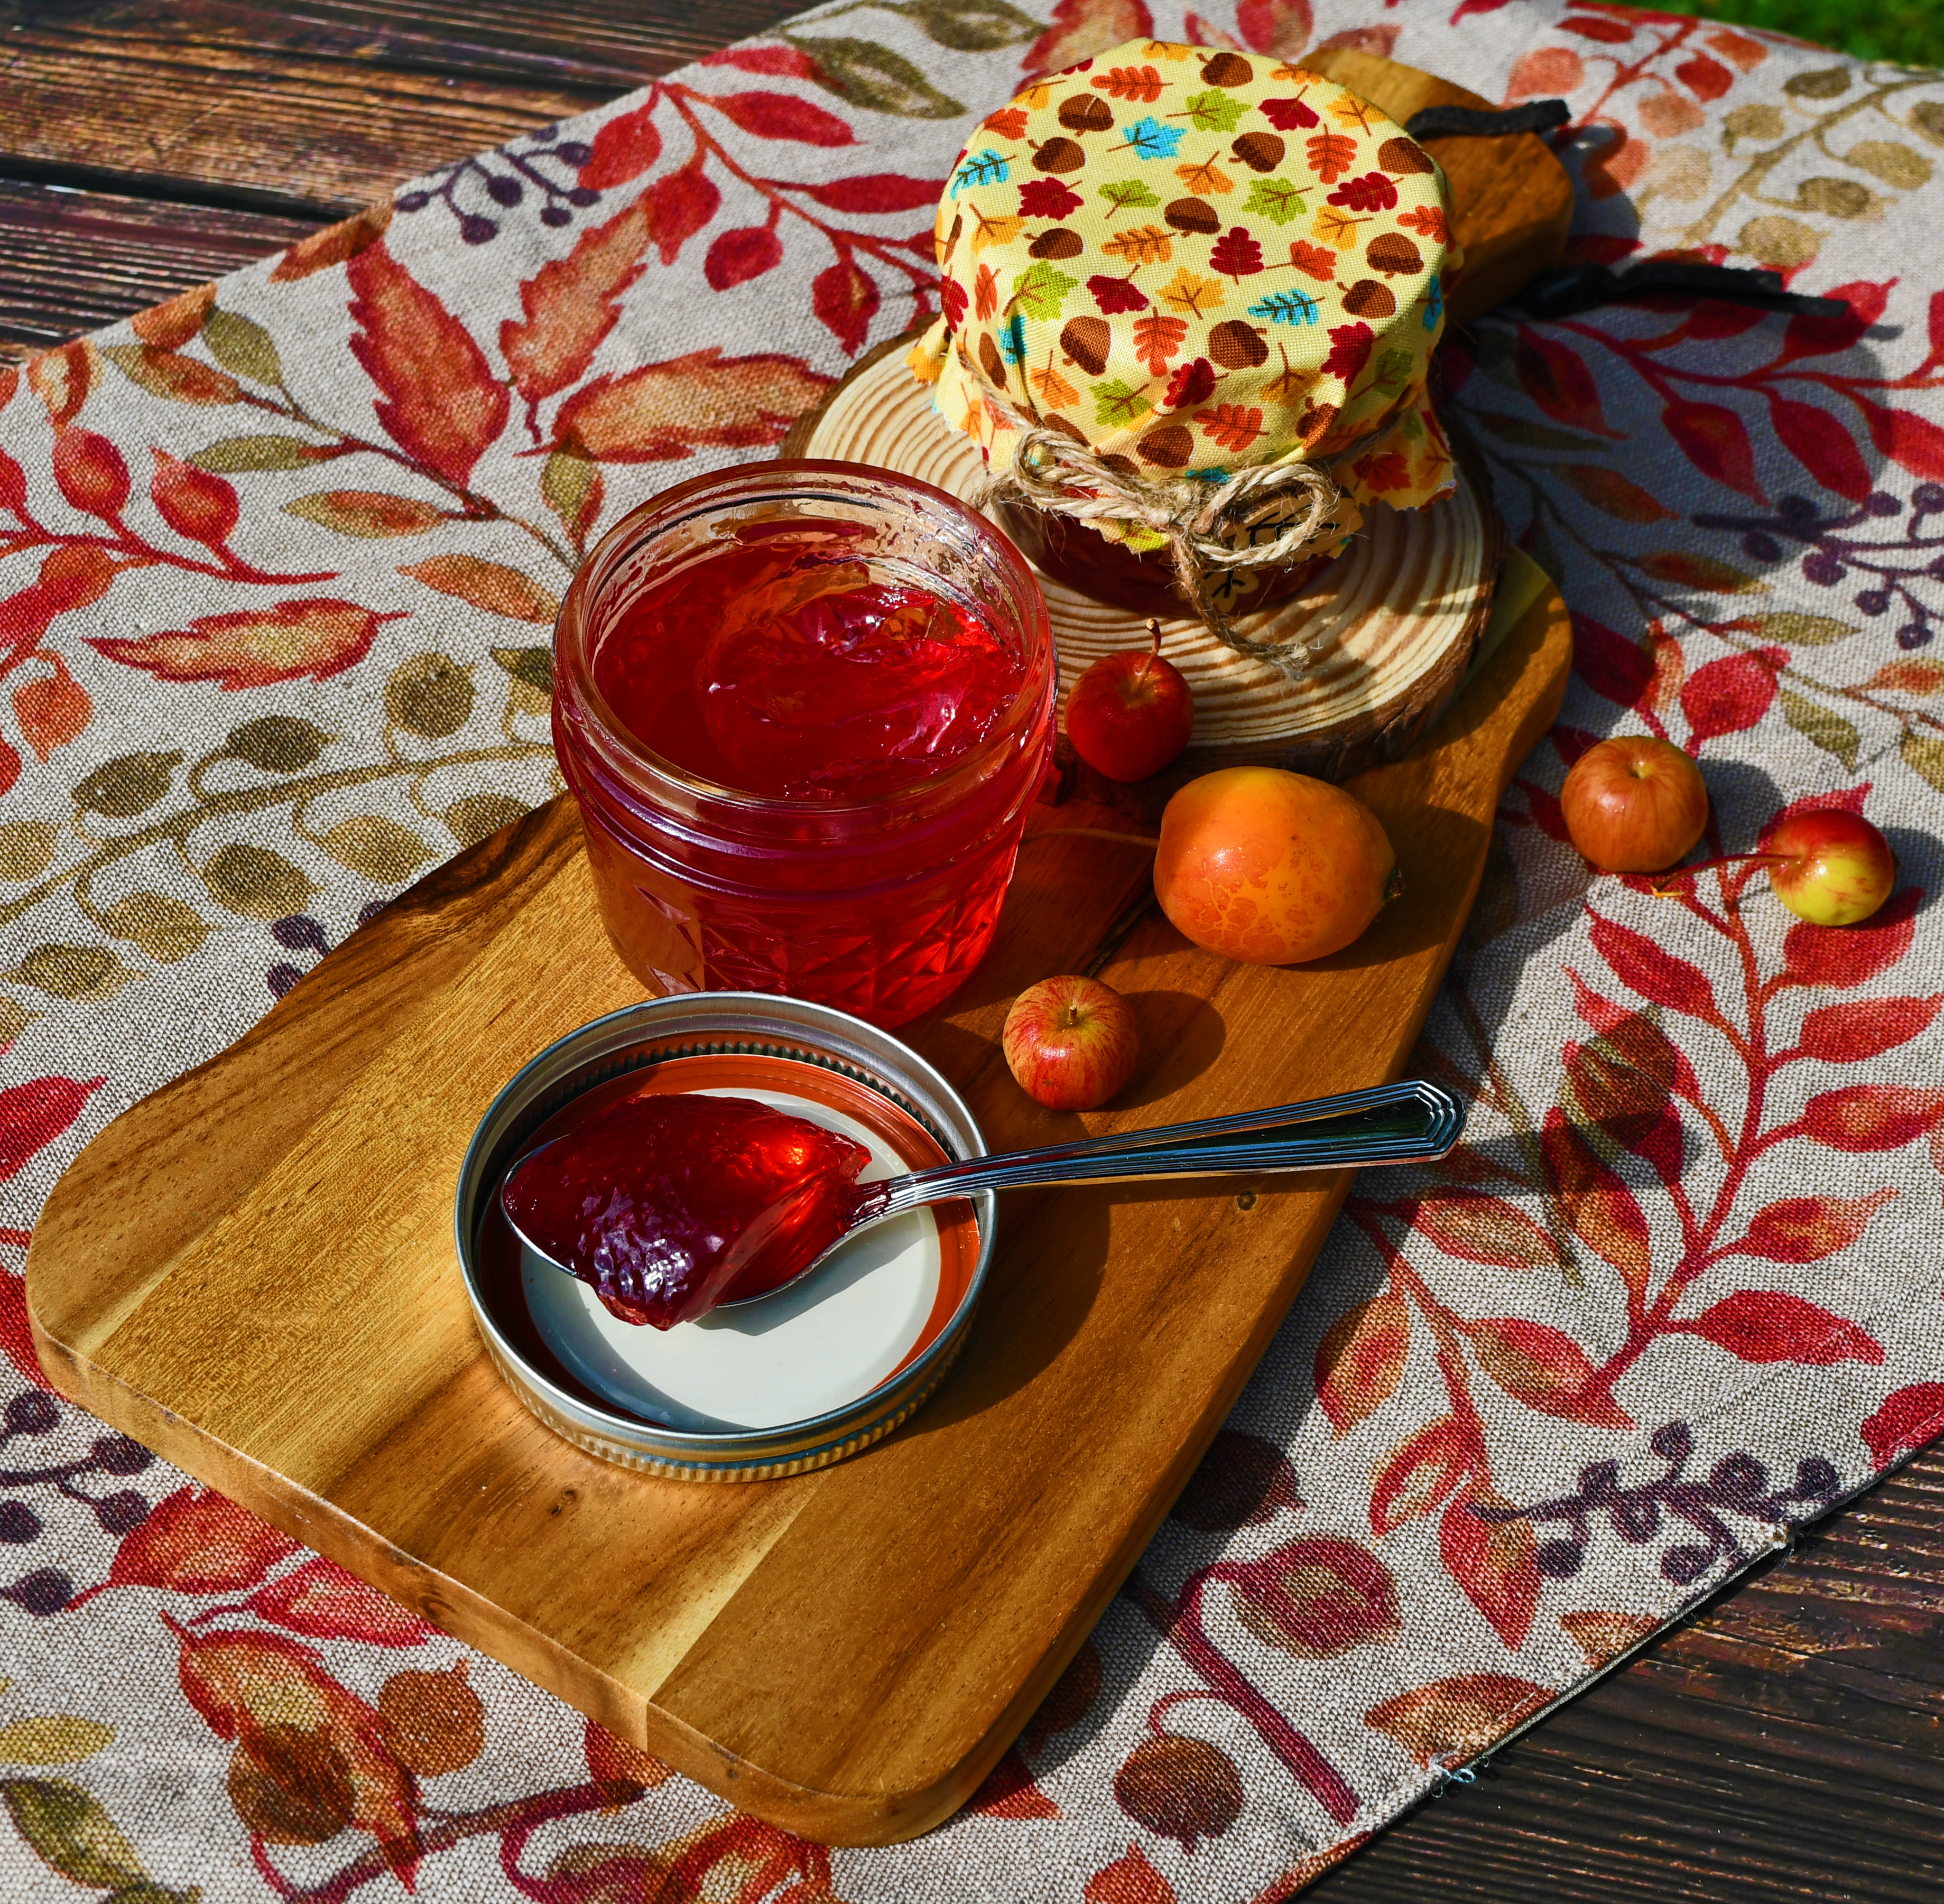
The final colour of your jelly will depend on what colour your apples are, but as long as you don’t squeeze or prod the bag, it should be crystal clear.

Ingredients:
Crab apples
One lemon
White granulated sugar

I picked up a couple of varieties here, the larger oval ones are always ready in August, but the smaller ones are usually later. I think everything has ripened quicker in the recent heatwave

Method:
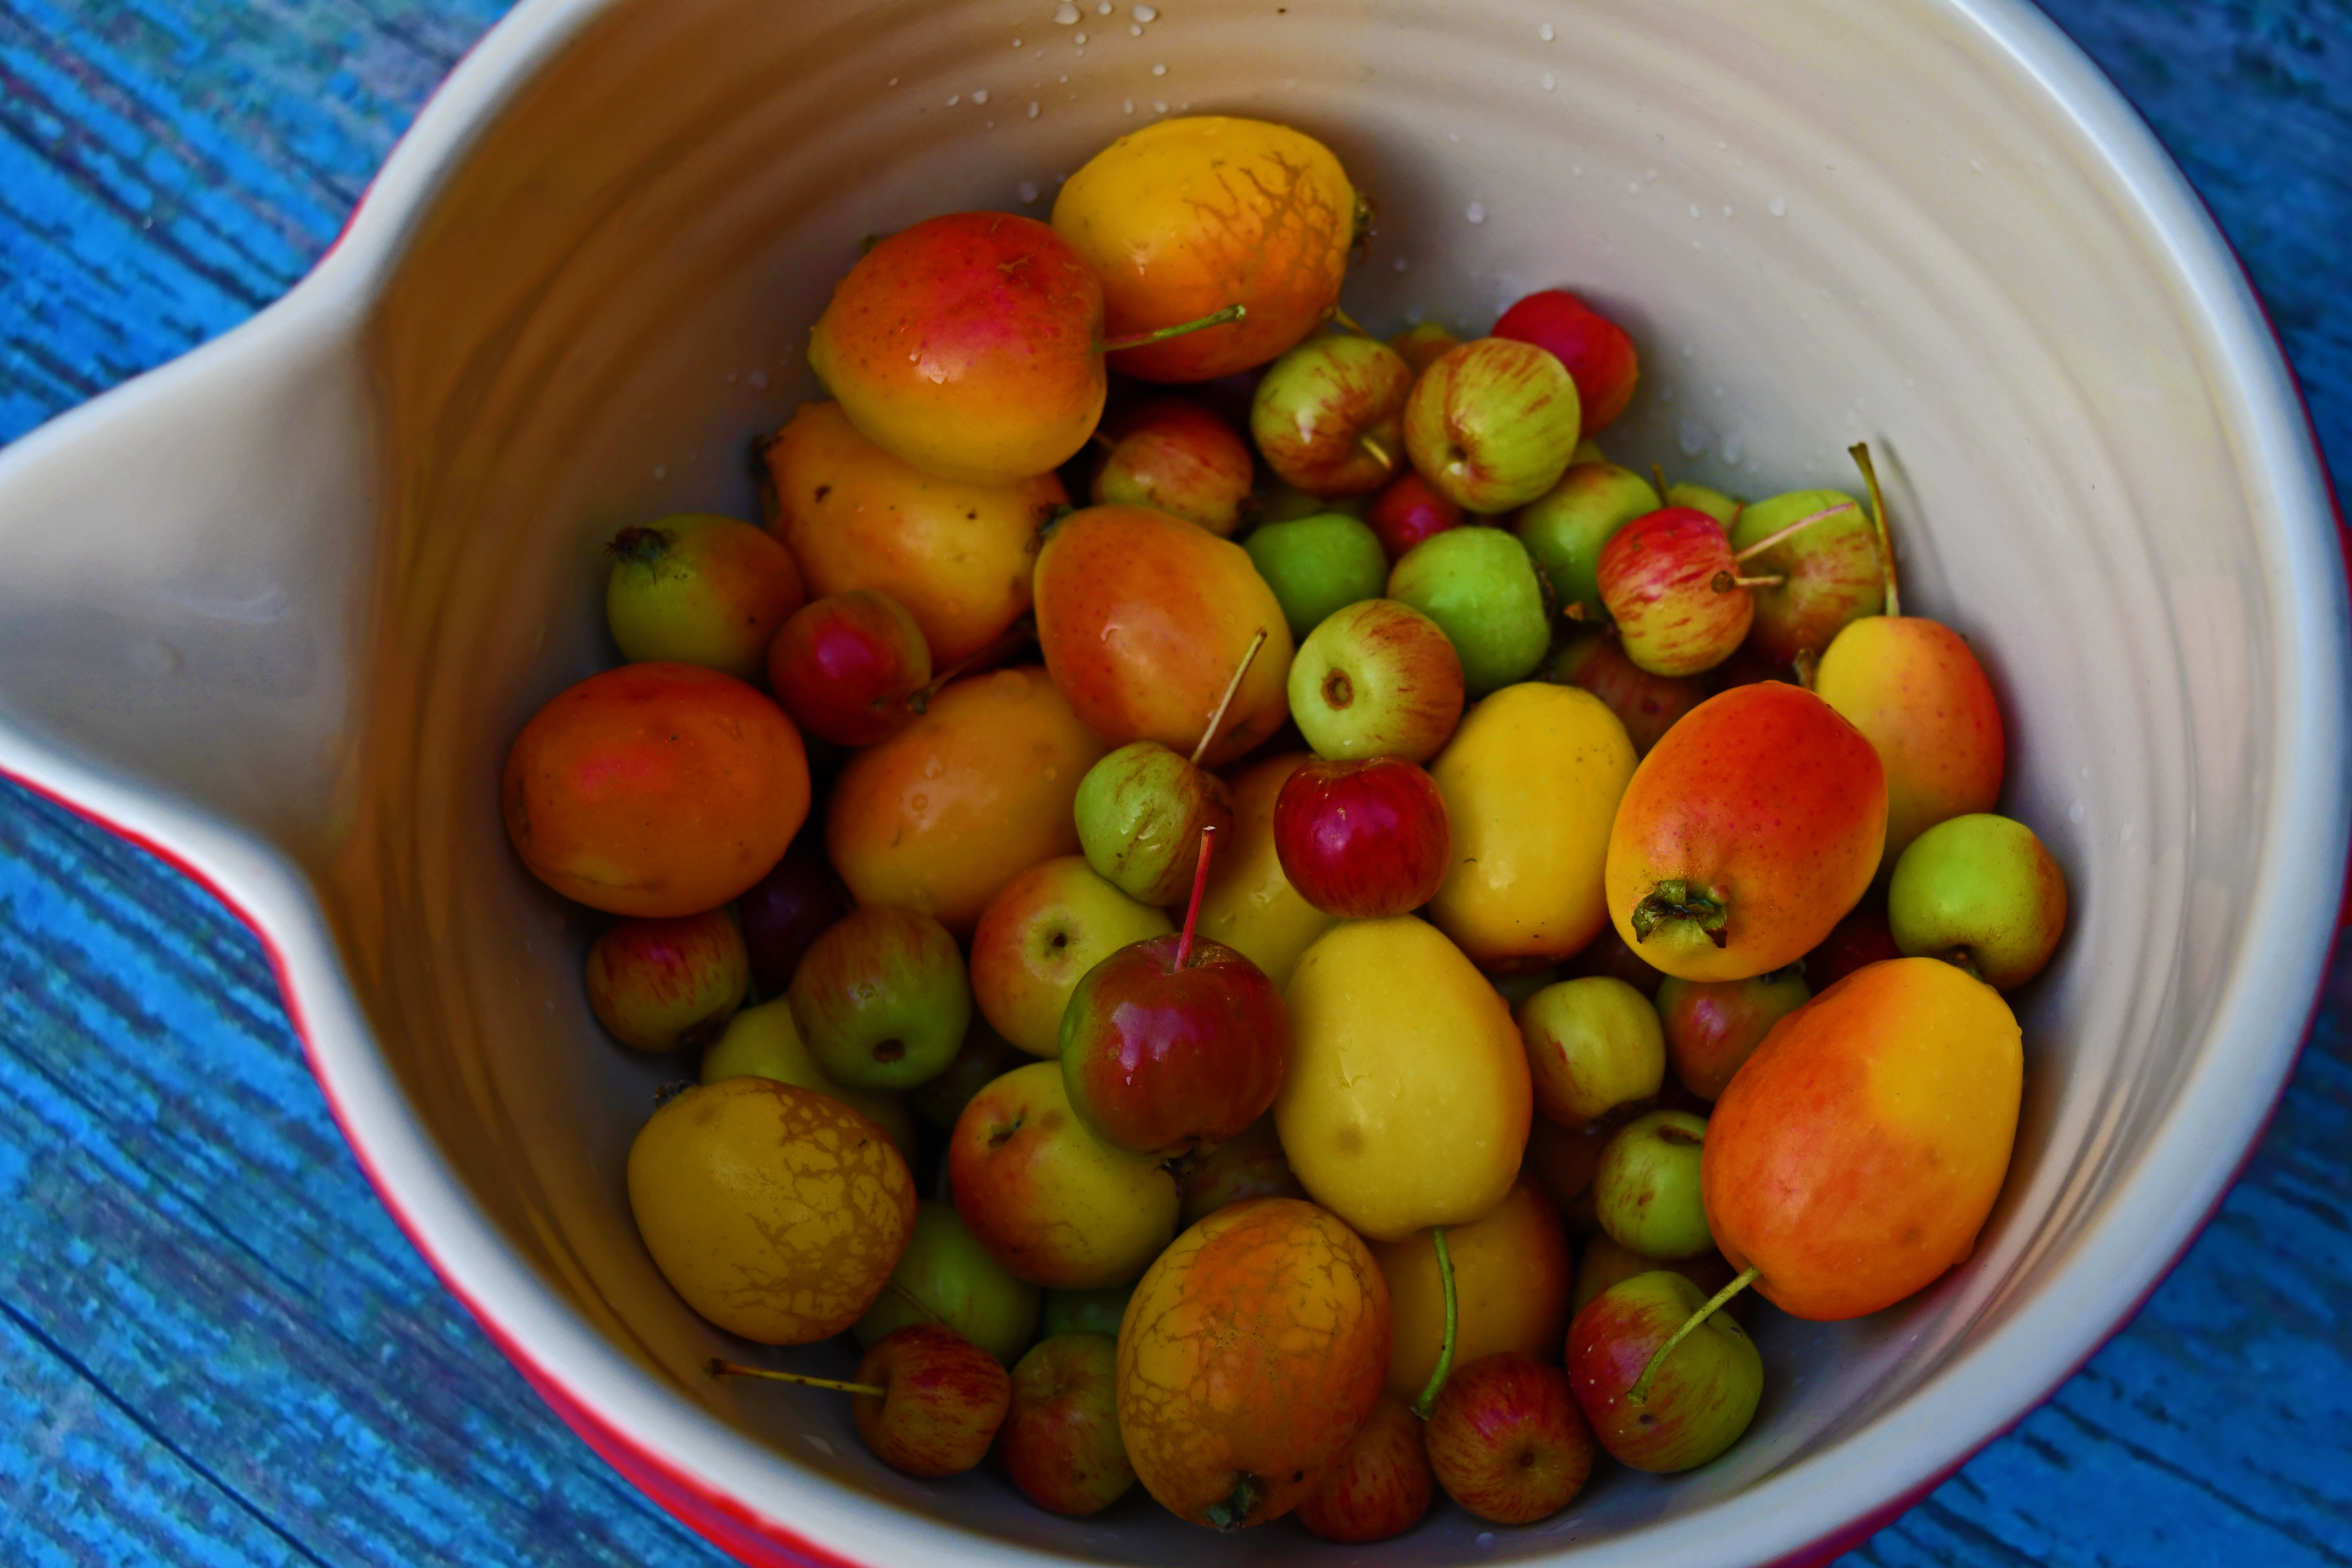
Wash the crab apples and remove any spent blossoms (beards) and stems. However, if your apples are really tiny, you can leave them whole, but its best to cut off any bruises and if you are worried about any creatures lurking inside then cut them in half.

Place them in a saucepan, or a preserving pan if making a larger quantity, along with the sliced lemon and add enough water to almost cover the apples.

Bring the pan up to the boil and then simmer gently for around 40 minutes, or until the apples are soft and broken down, you can give them a gentle mash with a potato masher to help this along.

These little jars make great gifts, especially if you dress them up with a fabric cover

When ready, carefully fill your waiting jelly bag or prepared sieve and muslin with the fruit and leave to drain preferably overnight until every last drop has strained through. Just remember not to squeeze or ‘help’ the liquid come through, or your final jelly will be cloudy.

When you are ready to make the jelly, place a few plates into the freezer so that you can test if the jelly is ready to set.

Weigh the liquid and then weigh out three quarters of sugar to the liquid (I do admit to asking Alexa to help me with the sums!)

Place the liquid into a saucepan, add the sugar and stir over a medium heat until you are sure all the sugar has dissolved.

Turn the heat up until boiling and skim off any foam that rises to the surface. This will help your final jelly be as clear as possible.

Boil for around 8-10 minutes before testing to see if its ready to set. You can also use a candy thermometer. When it reaches 105°C/220°F, it should be at setting point, but the wrinkle test will work just as well.

Take a teaspoon of the jelly and drop it onto a cold plate and push with the back of a spoon. If it wrinkles, then it’s ready to pot.

Using a ladle and preferably a funnel, pot into sterilised jars and put the lids on right away.

Keep in a cool dark place until you are ready to use.

The little jars are great to take along on a picnic, but they also make nice gifts or part of a hamper

I served the jelly on a big, craggy fruit scone, just the thing for a late summer afternoon in the garden

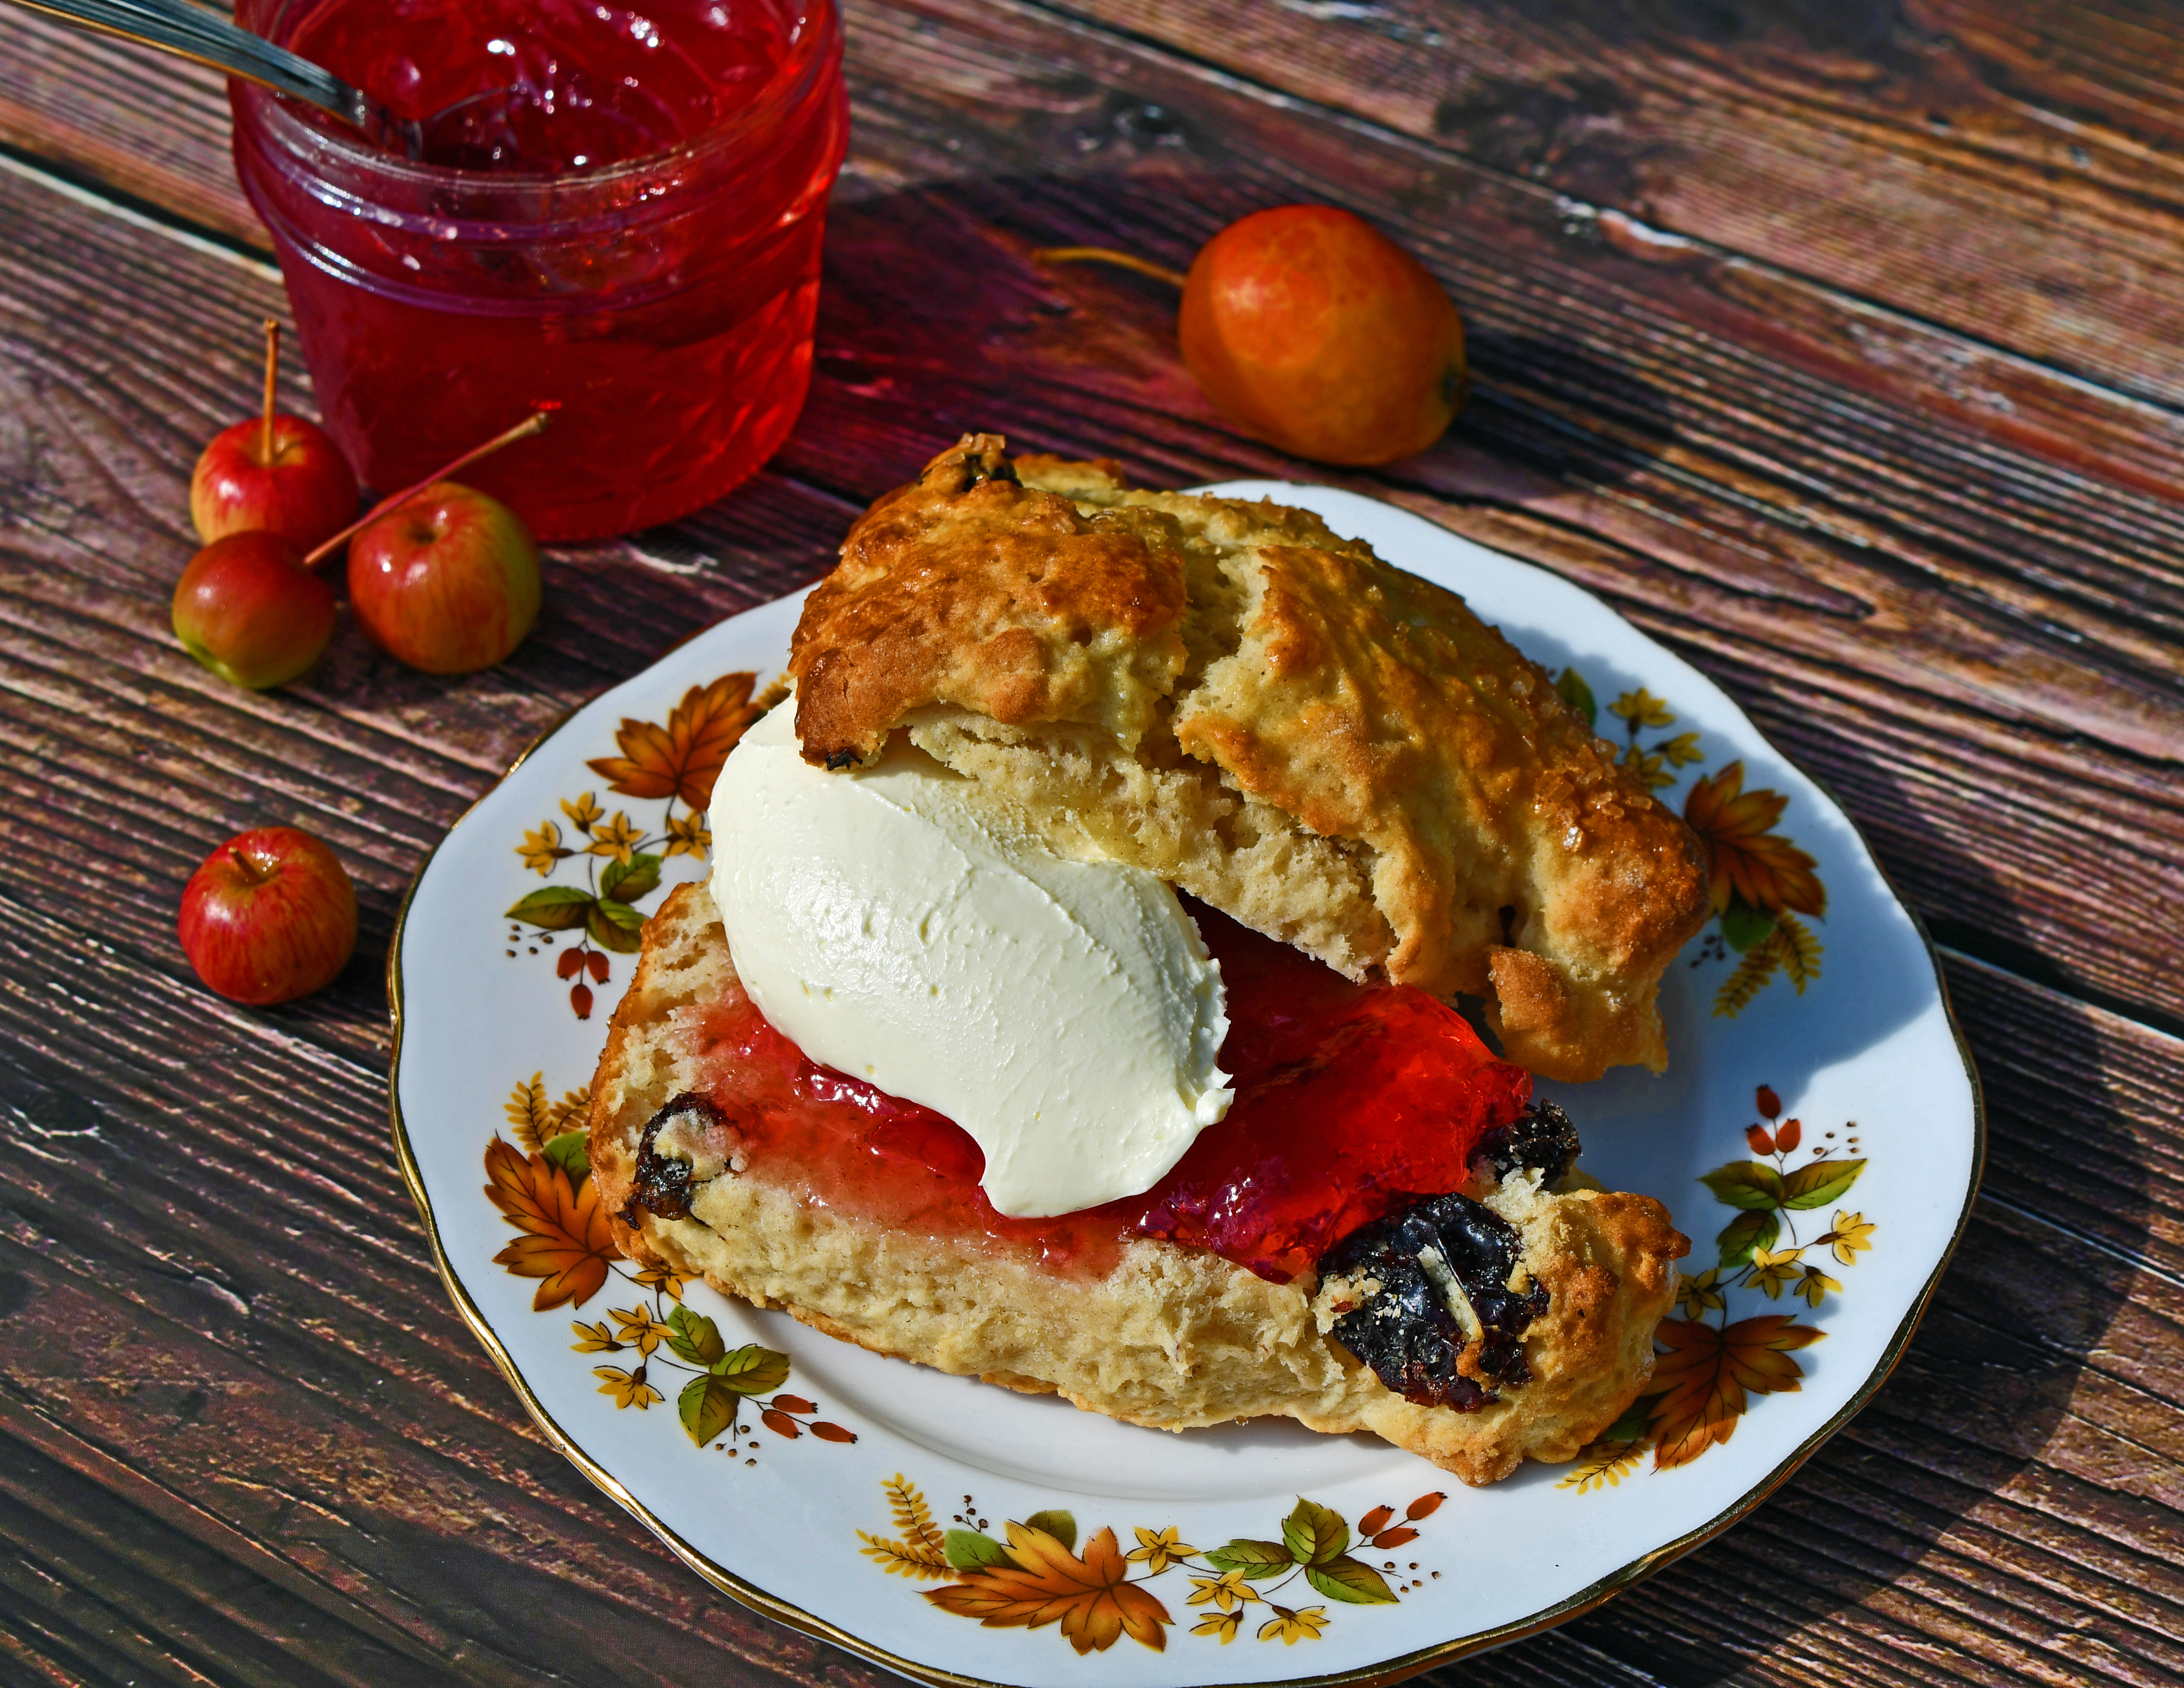
The jelly can be served as an accompaniment to roasted or grilled meat, or served on toast, muffins or scones.

Cherry Hand Pies

It’s coming to the end of cherry season here and I’ve been trying to make a cherry pie for a while now, but every time I buy any cherries, they are eaten!

Cherries

Thankfully, I managed to make these little pies before anyone scoffed them!

These cherries are sweetheart cherries and are really dark, sweet and luscious to eat right away, but also great for making into pies, jams and tarts.  They don’t need too much sugar and make the perfect filling for a hand pie.

Cherry handpie

The pies are really quick and easy to make, the worst thing is taking the stones out.  It’s a really messy job.  You can either cut the cherries in half and remove the stones that way, or I use a cherry stoner.  I’m not sure either way is any less messy than the other, but the little tool is definitely quicker.

When cherries are out of season, frozen cherries work well too and they are already pitted!

In these pies, I have cooked the filling first as I wanted to lock in all the juice that can run out of a little pie, you just need to let it cool before adding to the pastry.

Cherry handpies baked

Ingredients:
For the filling:
300g cherries, pitted – I used two punnets
125g sugar
Juice of one lemon
1/4 cup of water
2tbs corn starch or thickener – I used King Arthur Clear Gel
1/4 tsp almond extract
Pinch of salt

For the crust:
250g plain/all purpose flour
100g icing/confectioner’s sugar
150g cold butter, cut into cubes and refrigerated
2 egg yolks
1tsp vanilla extract
1-3tbs iced water
1 egg and a little milk to make an egg wash

Method:
To make the crust, place the flour, sugar, butter and vanilla into a food processor and pulse until you have the texture of rough breadcrumbs.  You can also do this by hand, using a pastry cutter.

Add the yolks and pulse, before adding the iced water one tablespoon at a time, you are looking for the dough to just come together.

Turn the dough out, form into a disc and wrap in plastic before refrigerating until you are ready to roll out.

Cherry hand pie rack

To make the filling, mix the sugar and thickener together and place the pitted cherries into a saucepan, along with the other ingredients.  If you don’t like almond extract, either replace with vanilla, or leave it out.

Bring up to the boil, turn the heat down and simmer for a few minutes – until the mixture has thickened and reduced, then leave to cool completely.

Roll out the dough and cut out enough shapes for the bases and lids.  I’ve used a circle cutter, but the bottom of a glass would do the job too.

Spoon a little of the filling into the middle of each circle and brush a little egg wash onto the edges.  Cover with the lid and press around the edges with a fork to seal each pie.  Dip the fork into some flour if it starts to stick.

Cherry Hand Pies cooling

Place the pies onto a baking sheet lined with parchment or a non stick liner.  I’ve used a cute little cherry cutter to top my pies too.  Refrigerate for 30 minutes to chill and firm up.

When you are ready to bake, pre-heat the oven to 190°C/375°F

Brush each pie with a little of the egg wash and bake for 15-20 minutes, or until cooked through and golden brown and make sure no one bites into one straight from the oven as they will be insanely hot!

Cherry handpies

These are lovely warm with ice cream, or the perfect portable pie to take on a picnic.  They also make a really nice after-school treat.

Cherry hand pie tin

Asparagus and Hot Smoked Salmon Puff Pastry Bundles

These are a delicious combination of asparagus, hot smoked salmon, cream cheese and lemon zest, all wrapped in buttery puff pastry. I’ve used 4 asparagus spears per bundle here, but it really depends on how thin your asparagus is – you could get away with more, if using the very thin ones. I wouldn’t use the very thick spears for this.

Salmon and asparagus bundle

I think puff pastry – especially ready-made puff pastry is one of the most versatile ingredients you can have on hand. I love homemade puff pastry too, but it’s super time consuming and the all-butter pastry you can get is really very good. The ready rolled stuff – even better!

These asparagus bundles are really delicious to eat and are nice served warm from the oven as an appetiser with salad, cold on a buffet table and make a great portable snack to take on a picnic. Like all things made with puff pastry though, they will lose their crispness, so they are best eaten within 24 hours of making them.

Salmon asparagus parcels

Leave the puff pastry in the fridge until you have all the other ingredients ready to assemble.  It can behave badly if it gets too warm and not puff up as much as it should do.

Ingredients:
1 sheet of ready-made, ready-rolled, all-butter puff pastry
150g (approx) cream cheese – I used Philadelphia, full fat
24 (approx) trimmed asparagus spears – I used 4 per bundle
2 fillets of hot smoked salmon – I used honey roasted, ready to eat
Zest of 1 unwaxed lemon
Salt and pepper
1 little olive oil
1 egg, beaten

Salmon and asparagus parcels

Method:
Pre-heat the oven to 180°C/350°F and line a baking tin with parchment or a non-stick liner

On a lightly floured surface, cut the rectangle of ready-rolled puff pastry into 6 equal squares. I used a pizza cutter to do this.

Then, on a diagonal, spoon a little cream cheese onto each square and flake the salmon on top.  You really don’t need a lot, or you won’t be able to close your parcel.

Rub a little oil onto the asparagus spears with your hands, just enough to help it cook in the oven.

Season with salt and black pepper and then sprinkle over the lemon zest.  This really helps lift the flavours.

Brush the visible edges of the pastry with beaten egg and draw up two opposite corners to form a bundle, press the edges together to seal.

Salmon & asparagus parcels

Place the pastry bundles ontp the prepared baking sheet and brush the tops with beaten egg and sprinkle over a little extra salt and pepper if you like.

If it’s a very warm day and the parcels have warmed up too much, put them in the fridge to chill out and firm back up for 10-20 minutes.

Salmon & asparagus bundle1

Bake for 15-20 minutes, or until puffed and golden.  Serve warm from the oven as an appetiser with salad, or cold for a buffet or picnic