Cherry Hand Pies

It’s coming to the end of cherry season here and I’ve been trying to make a cherry pie for a while now, but every time I buy any cherries, they are eaten!

Cherries

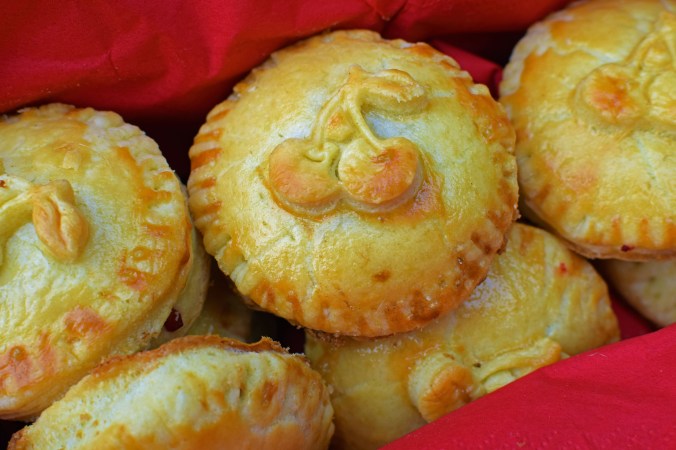
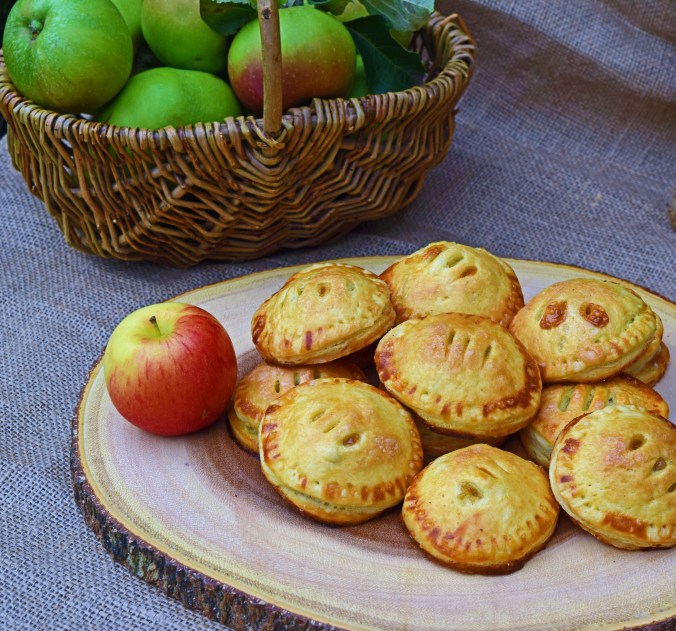
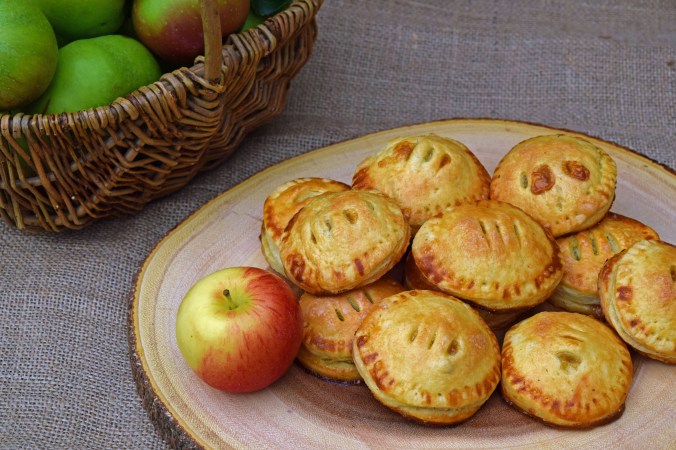
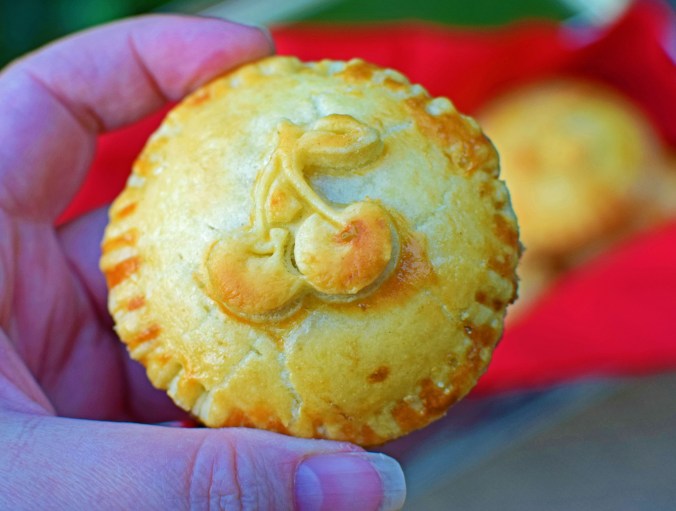
Thankfully, I managed to make these little pies before anyone scoffed them!

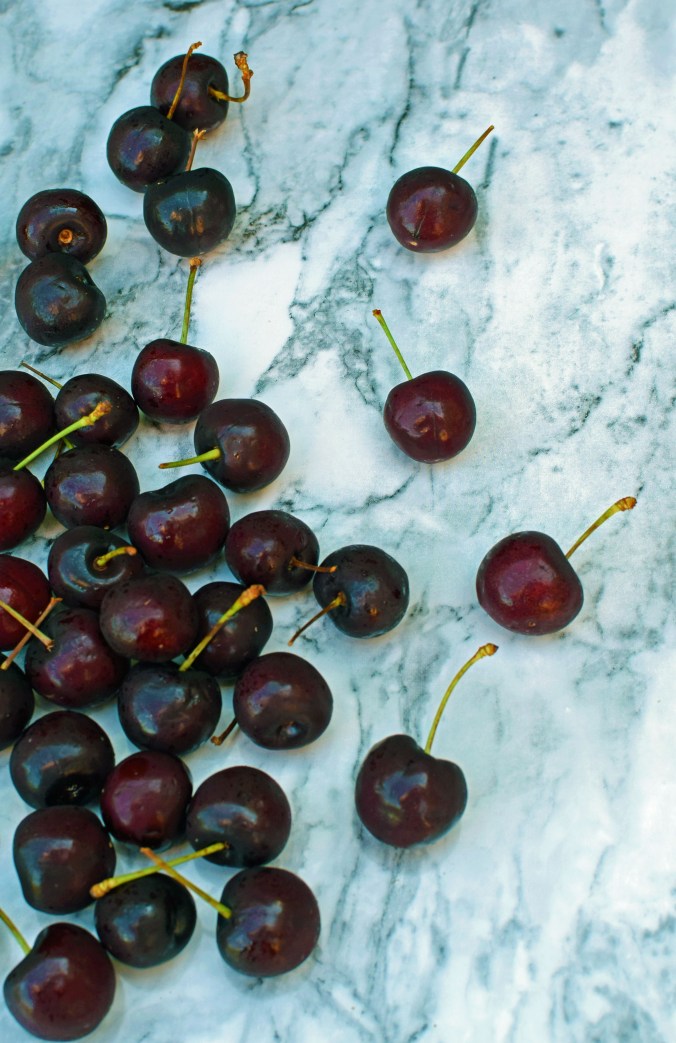
These cherries are sweetheart cherries and are really dark, sweet and luscious to eat right away, but also great for making into pies, jams and tarts.  They don’t need too much sugar and make the perfect filling for a hand pie.

Cherry handpie

The pies are really quick and easy to make, the worst thing is taking the stones out.  It’s a really messy job.  You can either cut the cherries in half and remove the stones that way, or I use a cherry stoner.  I’m not sure either way is any less messy than the other, but the little tool is definitely quicker.

When cherries are out of season, frozen cherries work well too and they are already pitted!

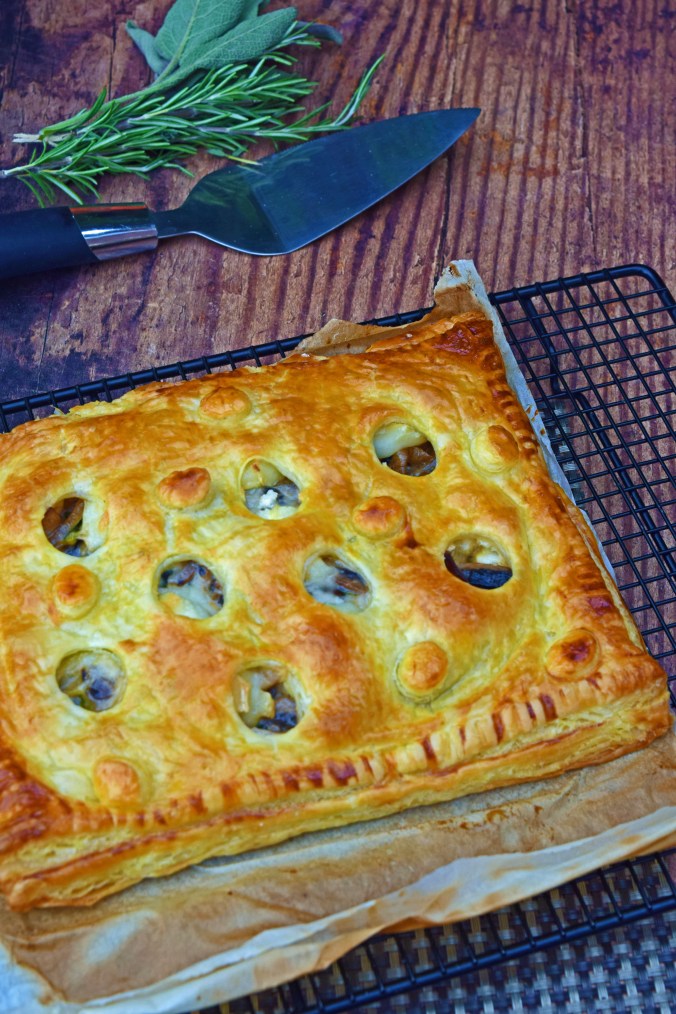
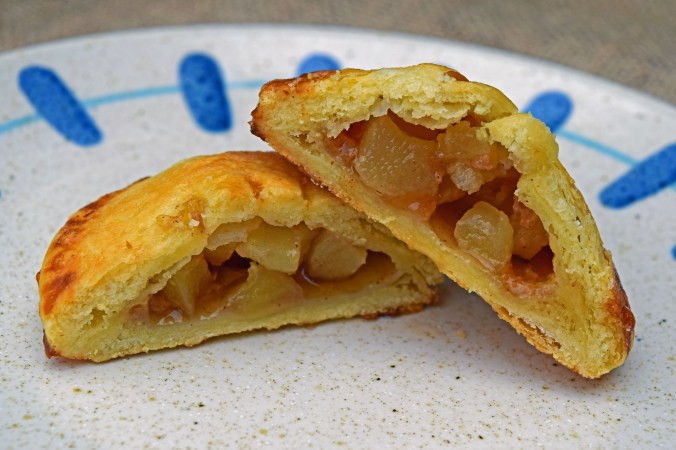
In these pies, I have cooked the filling first as I wanted to lock in all the juice that can run out of a little pie, you just need to let it cool before adding to the pastry.

Cherry handpies baked

Ingredients:
For the filling:
300g cherries, pitted – I used two punnets
125g sugar
Juice of one lemon
1/4 cup of water
2tbs corn starch or thickener – I used King Arthur Clear Gel
1/4 tsp almond extract
Pinch of salt

For the crust:
250g plain/all purpose flour
100g icing/confectioner’s sugar
150g cold butter, cut into cubes and refrigerated
2 egg yolks
1tsp vanilla extract
1-3tbs iced water
1 egg and a little milk to make an egg wash

Method:
To make the crust, place the flour, sugar, butter and vanilla into a food processor and pulse until you have the texture of rough breadcrumbs.  You can also do this by hand, using a pastry cutter.

Add the yolks and pulse, before adding the iced water one tablespoon at a time, you are looking for the dough to just come together.

Turn the dough out, form into a disc and wrap in plastic before refrigerating until you are ready to roll out.

Cherry hand pie rack

To make the filling, mix the sugar and thickener together and place the pitted cherries into a saucepan, along with the other ingredients.  If you don’t like almond extract, either replace with vanilla, or leave it out.

Bring up to the boil, turn the heat down and simmer for a few minutes – until the mixture has thickened and reduced, then leave to cool completely.

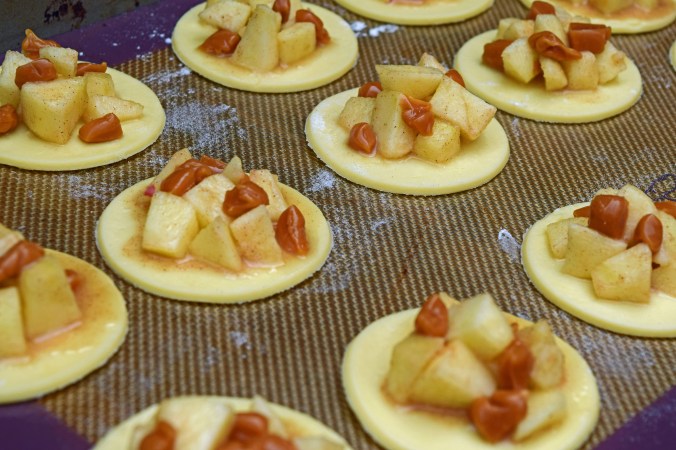
Roll out the dough and cut out enough shapes for the bases and lids.  I’ve used a circle cutter, but the bottom of a glass would do the job too.

Spoon a little of the filling into the middle of each circle and brush a little egg wash onto the edges.  Cover with the lid and press around the edges with a fork to seal each pie.  Dip the fork into some flour if it starts to stick.

Cherry Hand Pies cooling

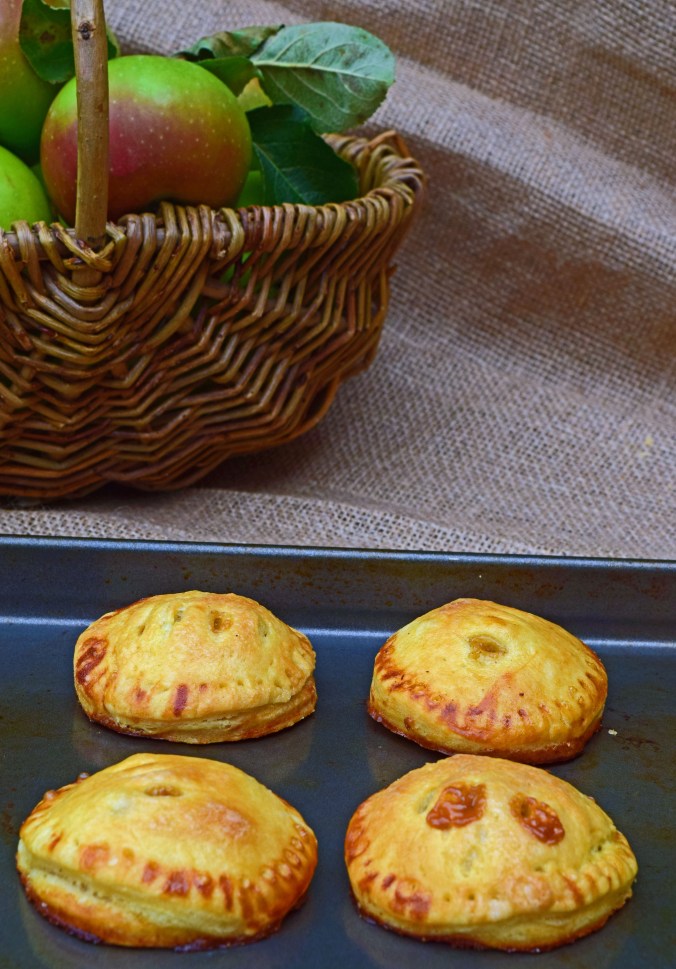
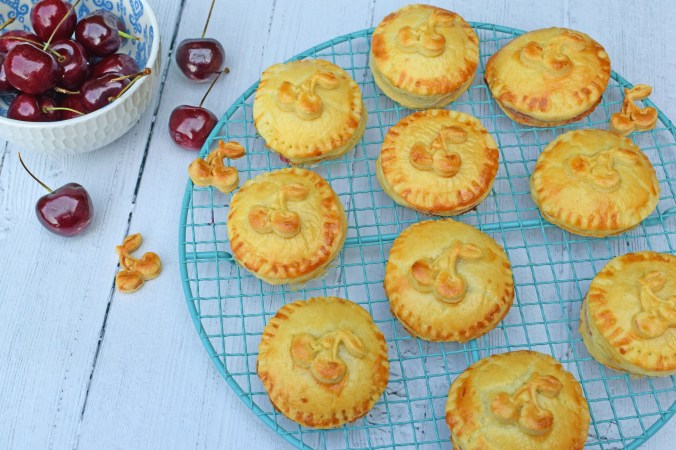
Place the pies onto a baking sheet lined with parchment or a non stick liner.  I’ve used a cute little cherry cutter to top my pies too.  Refrigerate for 30 minutes to chill and firm up.

When you are ready to bake, pre-heat the oven to 190°C/375°F

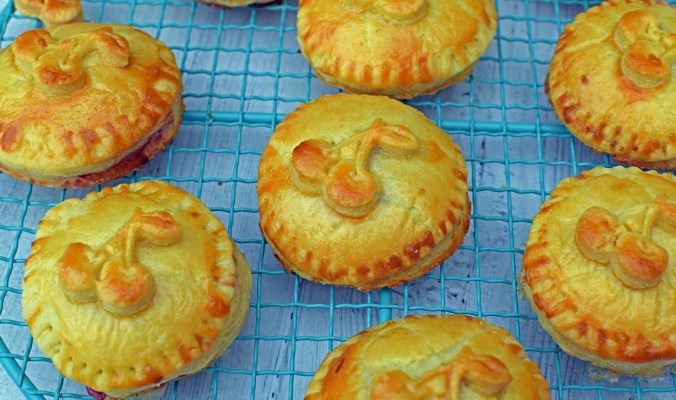
Brush each pie with a little of the egg wash and bake for 15-20 minutes, or until cooked through and golden brown and make sure no one bites into one straight from the oven as they will be insanely hot!

Cherry handpies

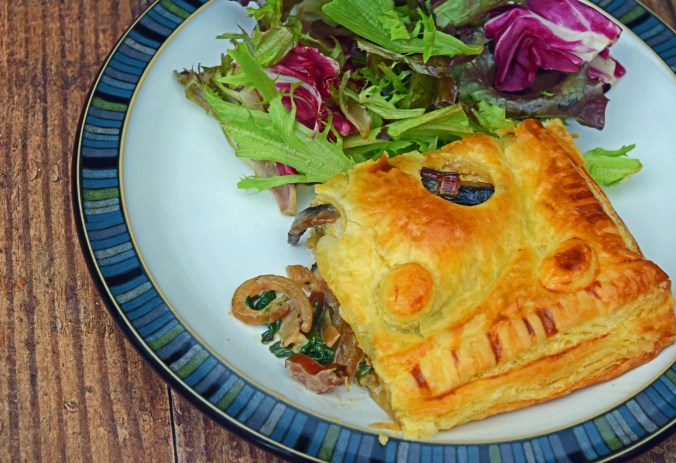
These are lovely warm with ice cream, or the perfect portable pie to take on a picnic.  They also make a really nice after-school treat.

Cherry hand pie tin

Rainbow Chard, Goats Cheese and Mushroom Pie

I picked up some very nice looking rainbow chard this morning.  It’s not a vegetable I often buy, although I do often have the baby stems in prepared bags of salad.  I decided that it would be good with the field mushrooms I also bought, together with some goats cheese.

Swiss chard

This is a very quick pie that makes the most of the autumn produce available right now and uses ready bought puff pastry. The cheese really brings it all together and the finished pie makes for a very nice meat-free lunch or supper dish with salad.

Swiss chard and mushroom pie1

Ingredients:
1 bunch of fresh rainbow chard, washed
2 onions, halved and sliced
1 punnet of field mushrooms
1tbs mixed fresh herbs, I used thyme, rosemary and one sage leaf, all finely chopped
1 small goats cheese
50g Gruyere cheese – grated
Salt and freshly ground black pepper
2-3tbs double cream
1tsp Dijon mustard
1 pack of ready rolled puff pastry
1 knob of butter with a little olive oil
1 egg, lightly beaten

Method:
Prepare the onions by halving and slicing them.  Strip the leaves from the stems of the chard and chop the stems fairly small.  Tear the leaves.

Swiss chard and mushroom pie

Heat the butter and oil in a pan and add the onions and herbs.  Cook on a medium heat for a couple of minutes with a pinch of salt and plenty of freshly ground black pepper.  Add in the chard stems and cook together until softened and translucent.

Swiss chard and mushroom pie3

Slice the mushrooms and add to the onions and chard, cook until golden, before adding in the chard leaves to wilt down.

When the leaves have wilted, stir in the mustard and cream and remove from the heat.

Stir in the grated gruyere cheese off the heat and leave to cool before assembling the pie.

Swiss chard and mushroom pie6

Pre-heat the oven to 200°C/400°F and line a baking sheet with parchment or a non stick liner.

Place the pasty sheet onto the lined baking and cut in half.

In the centre of one half of the pastry, pile the filling, leaving a border of around 2cm. Dot with the crumbled goats cheese and brush the border with beaten egg.

Swiss chard and mushroom pie2

For the other half, I have cut out little holes, but you can just cut steam holes.  Place the second half directly over the filling and crimp the edges together with a fork.  Brush the top with the beaten egg.

Swiss chard and mushroom pie4

Bake for 45-50 minutes or until crisp, golden and completely cooked through.  Leave to cool a little before serving with salad and a nice glass of chilled white wine.

Apple Hand Pies

The welcome arrival of September (and my very favourite season) also means the arrival of apple season.  We have a tree full of apples to use in the garden and one of my family’s favourite things is apple pie.

Apple Tree.jpg

These are little hand pies and they are just the thing to have on hand for hungry children.  They are portable too, so great to take with you on a trip to the park or to work.

Apples are available all year round, but it’s really worth looking out for the new seasonal arrivals that have been grown locally, to enjoy apple season to the full.

Caramel apple hand pies2

Crust:
375g plain/all-purpose flour
165g butter, cut into cubes and refrigerated
2tbs sugar
1tsp salt
Iced water
1 egg and a little milk to make a wash

Filling:
2 crisp dessert apples, peeled, cored and chopped into small pieces
Juice from half a lemon
3tbs sugar
2tsp cornflour
1tsp cinnamon
Pinch of ground cloves
1/2tsp salt
10 soft caramels (like Werther’s) cut into tiny pieces (optional)

Caramel apple hand pies4

Method:
Place the flour, butter, sugar and salt into a food processor, fitted with the steel blade and pulse until crumbly, with pieces of butter still visible.

Then add one tablespoon of the iced water at a time, pulsing until the dough just comes together – around 4-5 should be enough.

Turn the dough out onto a lightly floured board, cut in half and pat each half into a disc.  Wrap in cling film and chill for 30 minutes.

Caramel apple hand pies5

For the filling, place the apples into a large bowl and toss them with the juice from the lemon so they don’t turn brown. Then add the sugar, salt, spices and cornflour and turn to coat.

Leaving one batch of dough in the fridge, roll out the first batch evenly on a lightly floured board and cut out circles for the bases (using a cutter measuring approximately 7.5cm/3 inches).  Place them onto a lined baking sheet, re-rolling until most of the dough is used up.  Refrigerate any scraps.

Then place a small, heaping amount of the apple mixture into the centre of each one and top with a few caramel pieces if using.  Take care to leave a gap around the edge.

Caramel apple hand pies

Roll out the rest of the dough and cut out the same number of circles, but use a slightly larger cutter.  Use up the scraps of the first batch if needed.

Brush the pastry bases around the apples with the egg wash and place the remaining pastry circles over the filling.  Crimp and seal the edges together using a fork, dipped in flour to stop it sticking.

When they all have their lids, it is important to chill the pies before baking.  Leave them in the fridge for 30 minutes to an hour.  This helps stop the pastry shrinking and bursting open in the oven.  They can also be frozen at this point too.

Caramel apple hand pies1

Pre-heat the oven to 200°C/400°F

When you are ready to bake, brush the tops with the egg wash and cut little vents in the lids to allow steam to escape.  You can also sprinkle with a little extra sugar too.

Bake for around 20 minutes or until the pies are golden and cooked through.

Caramel apple hand pies6

These are the perfect after school treat, but a personal pie is good at any time and these can be taken on a picnic, or placed into a lunchbox too.

Caramel apple hand pies3